There are quite a few different tools you’ll need to build your DIY camper electrical system. You’ll need wire cutters, strippers, crimpers, and some other assorted ‘standard’ hand tools. This is the list of tools I typically use when building these projects.
Wire Cutters
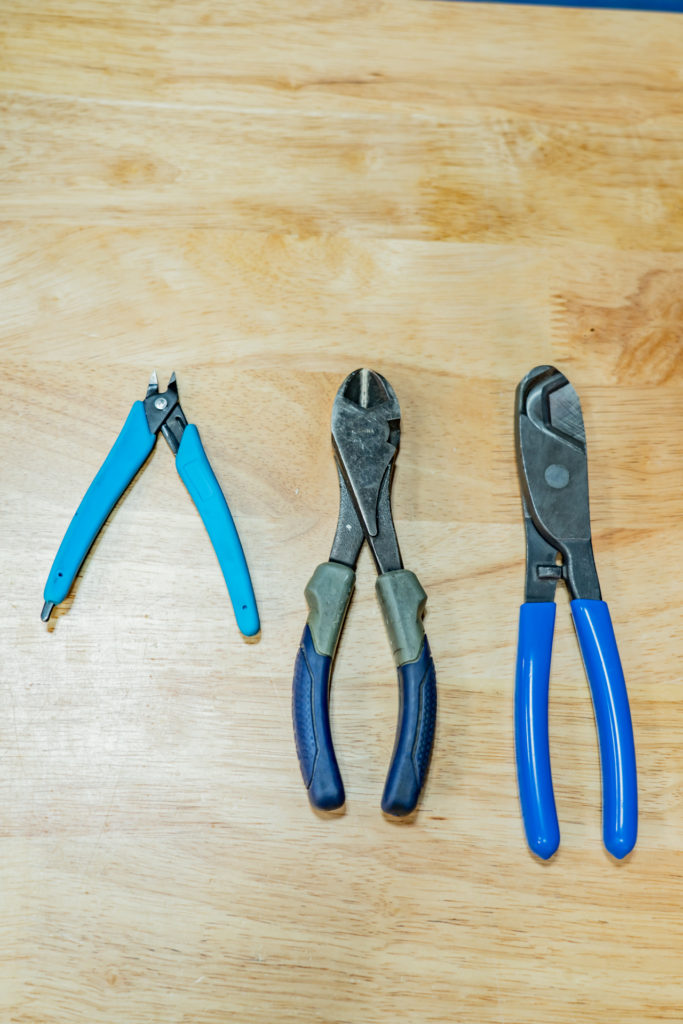
You’ll need to cut wires to specific lengths during your DIY camper electrical install, and I typically use 3 different types of cutters depending on the size of the wire:
- Klein 63030 Coaxial Cutters
- 8″ Diagonal Cutters
- Flush Trim Cutters

Klein 63030 Coaxial Cutters
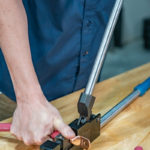
These Klein 63030 coaxial cutters are pretty much the most versatile wire cutters I have. They are small enough that they aren’t too cumbersome to use for small wires, but the hex cutting head is sharp enough to cut the big 4/0 wires we use for bigger inverters and battery banks.
These have completely replaced my 9” cable cutters and all but replaced my 16” wire cutters I showed in a previous blog post teaching you how to cut wire. These Klein coaxial cutters are cheaper than their 16” counterparts and can be used for smaller wires without being super overkill. I would classify these as a necessary tool if you have wires larger than 2 AWG in your system.
8” Diagonal Cutters
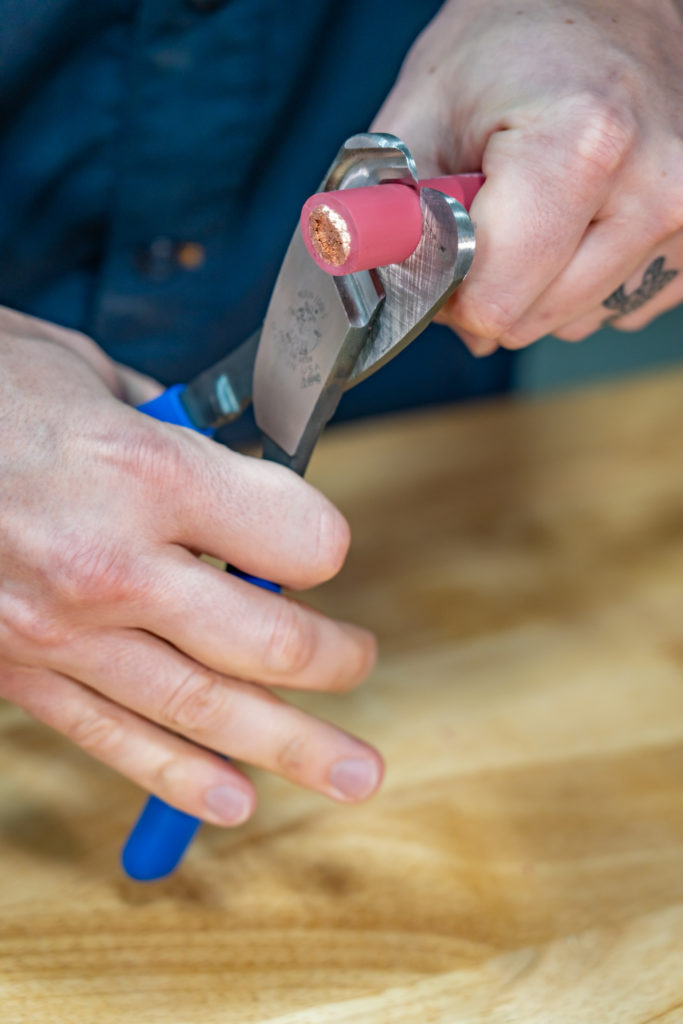
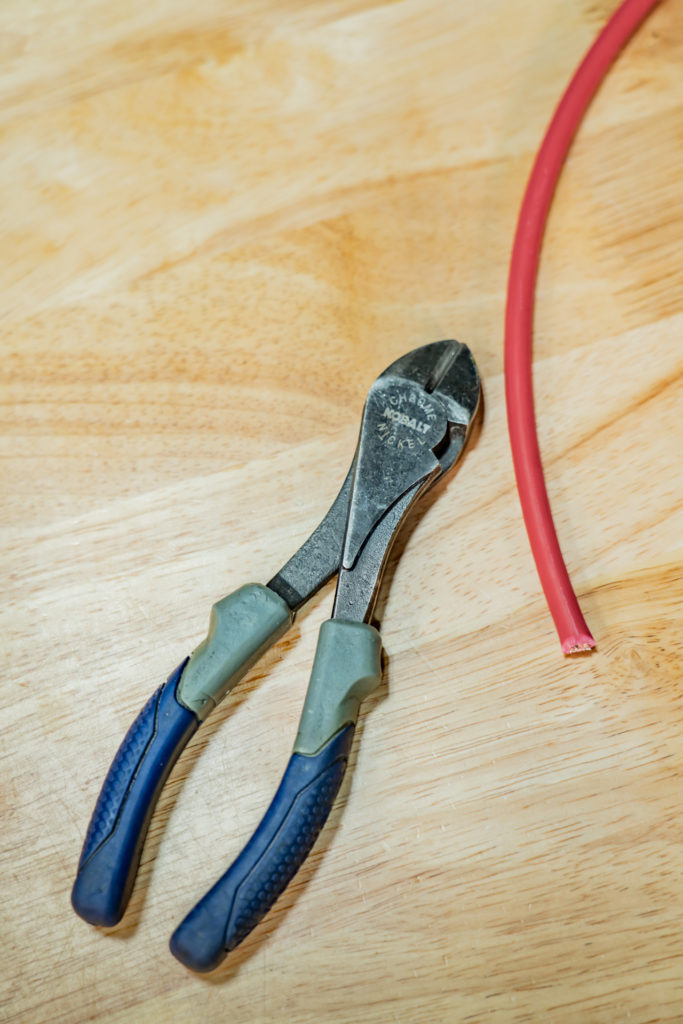
I keep a set of 8” Diagonal Cutters in my toolbelt as well because they are a little easier and faster to use than the Coaxial Cutters on smaller wires (6 AWG and smaller). The coaxial cutters need to be opened wider than the diagonal cutters do to accept the wire; which isn’t a huge deal, but gets a bit tiring on my hands after repeated use. I would also classify these as a necessity.
Flush trim cutters:
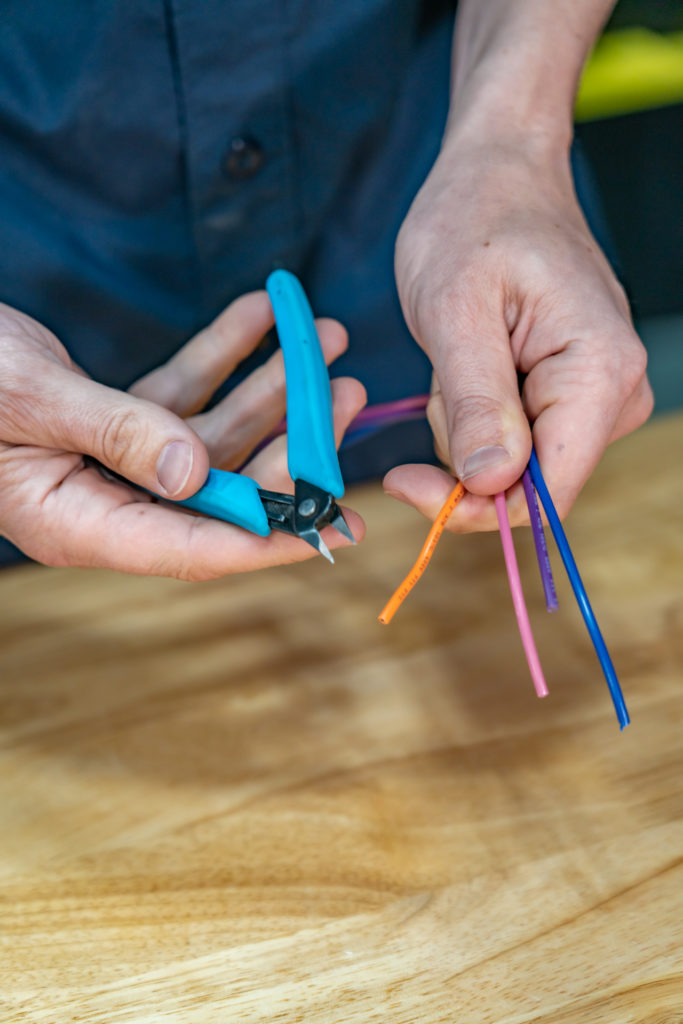
I keep these flush trim cutters in my toolbelt for really small wires; like 16 gauge and smaller. These open with the help of a spring. These are also great for zip ties. I would classify these as ‘nice to have’.
Coaxial Cutters vs 8″ Diagonal Cutters vs Flush Trim Cutters
So… those are all of the wire cutters I use regularly. Of these three, I’d say the coaxial cutters are the MOST versatile, followed by the 8” diagonal cutters, and lastly the small flush trim cutters so if you only have room in your tool budget for one of them; the Klein 63030 1” Coaxial Cutters are the winners in my book.
Wire Strippers
Once the wires have been cut to their proper length, we need to be able to strip back the insulation to expose the bare copper. Here are the various wire strippers I use for various sizes of wire:
- Self Adjusting Wire Strippers
- 6-12 AWG Wire Strippers
- Jokari Cable Knife
- Klein 63030 Coaxial Cutters
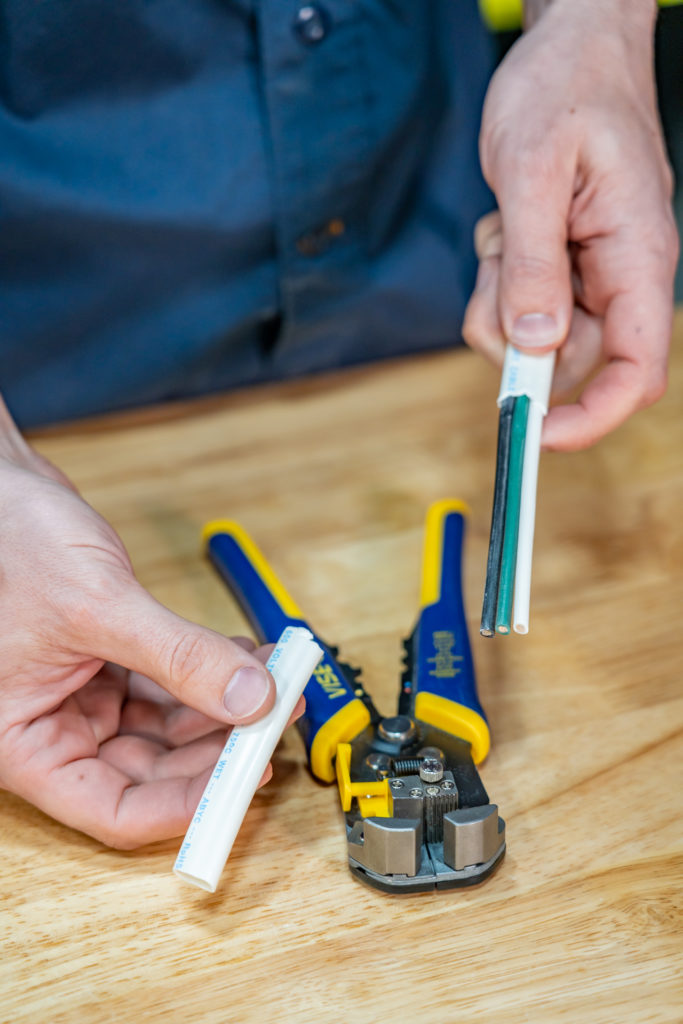
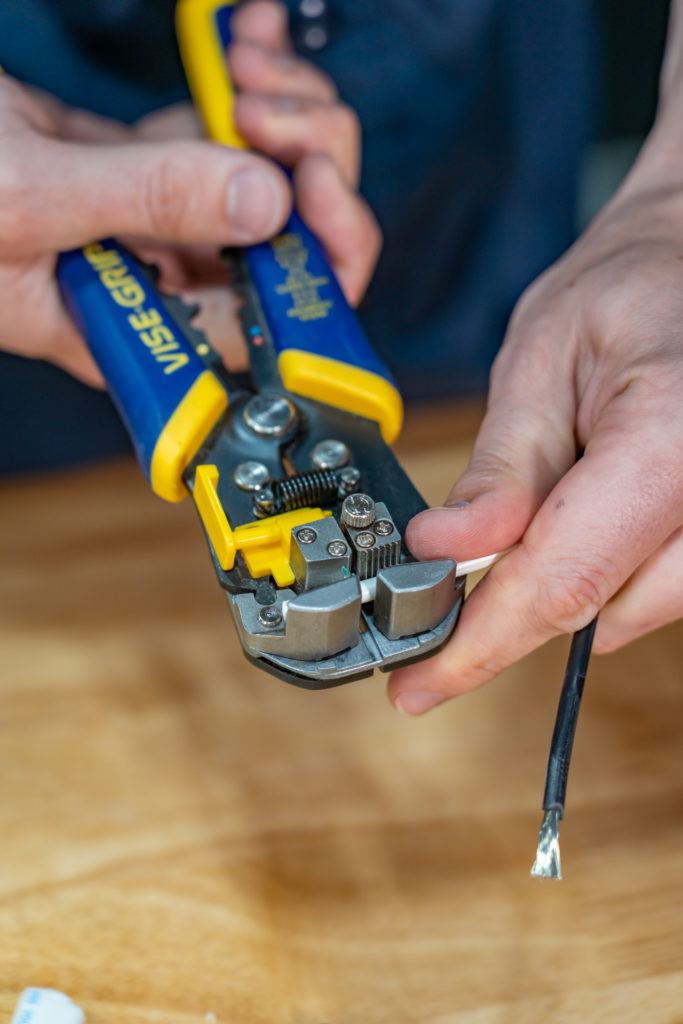
Self Adjusting Wire Strippers
For wires smaller than 10 gauge, I’m always reaching for these self adjusting wire strippers. I’d consider these a must have. They are simply the fastest and most beginner friendly way to strip wires smaller than 10 gauge. I would classify these as a necessity.
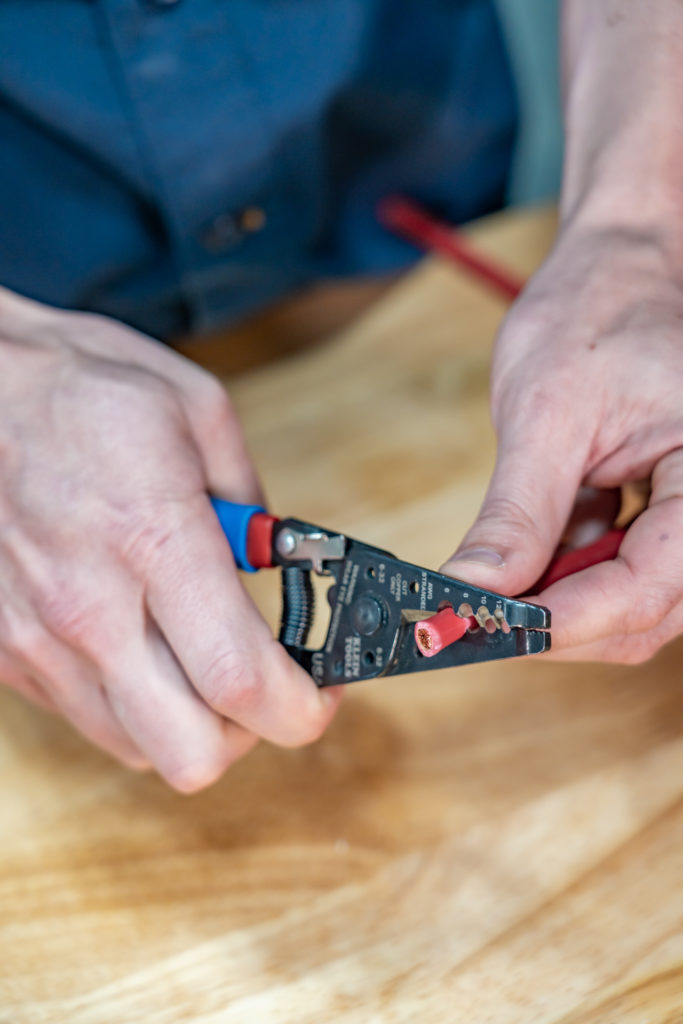
6-12 AWG Wire Strippers
These 6-12 AWG Wire strippers can strip wires from 12 gauge to 6 gauge, but I really only use them for 6 gauge; so they are a bit of a one trick pony, but they are super useful for 6 gauge as it’s a bit of an awkward size to strip by using the other tools I talk about in this video. I would classify these 66-12 AWG Wire Strippers as ‘nice to have’.
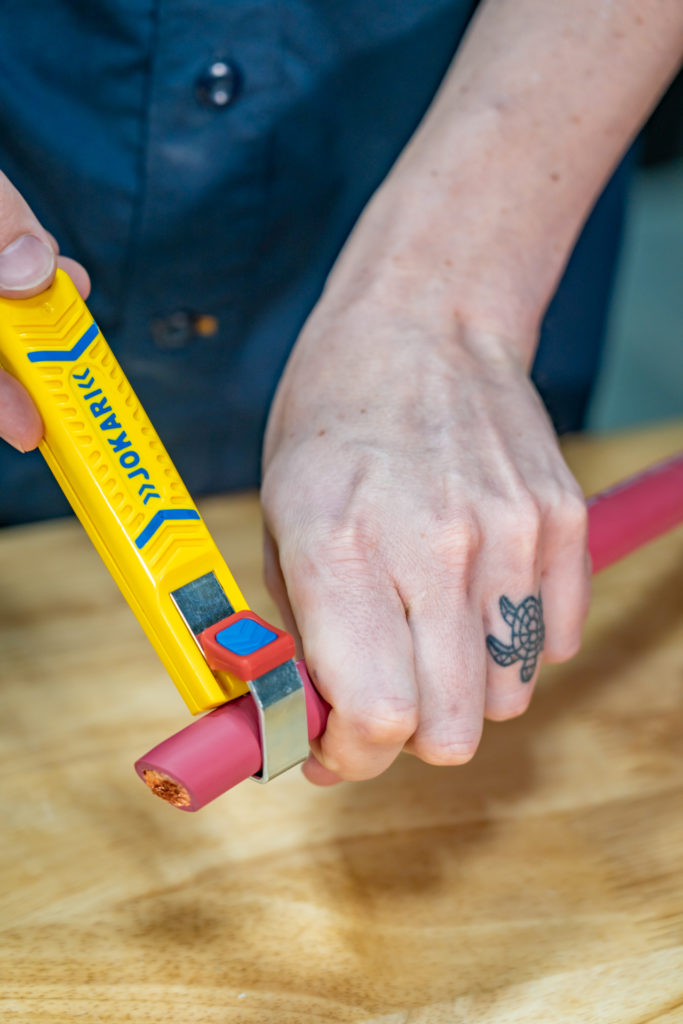
Jokari Cable Knife
For Wires larger than 6 AWG, I use this Jokari cable knife. It has a little tiny blade inside that cuts into the wire insulation as you spin the knife around the wire and this knob on the back lets you control the depth of the blade. Once the cut is made around the wire; I can then pull the blade up the insulation and remove the insulation. This one is pretty user friendly. I would classify these as a ‘nice to have’… Because the Klein 63030 coaxial cutters also work well for stripping wires larger than 6 AWG.
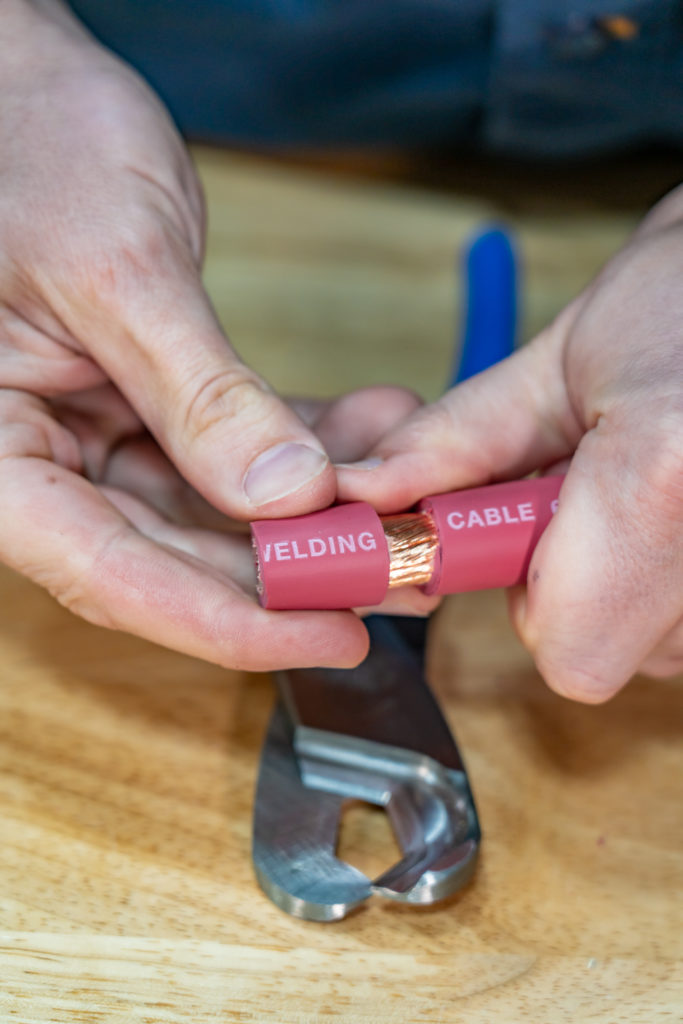
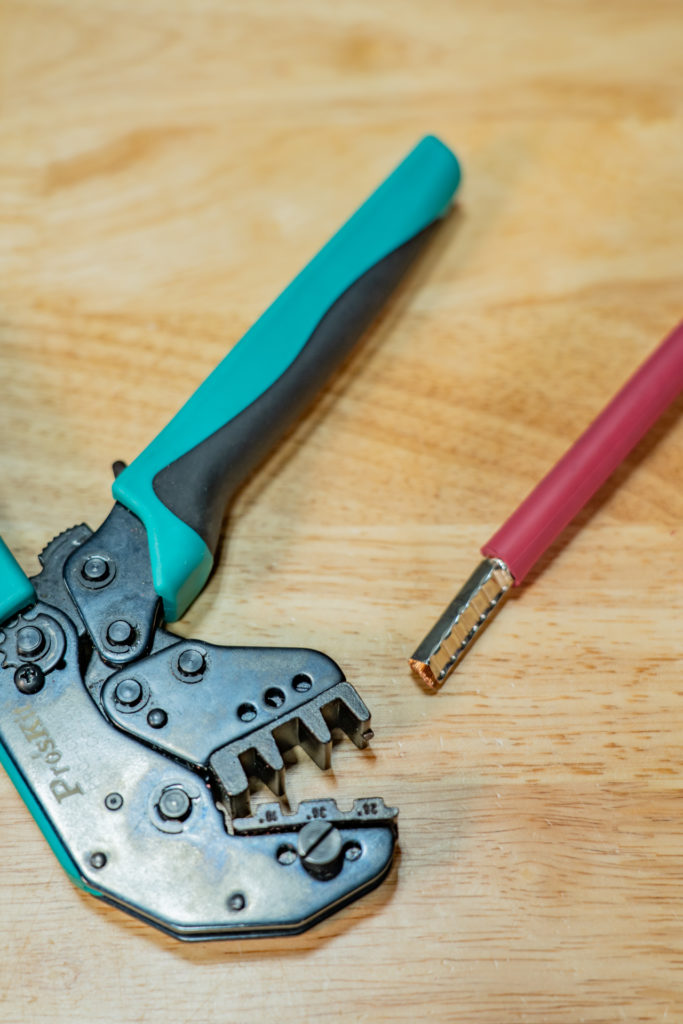
Klein 63030 coaxial cutters
The Klein 63030 coaxial cutters are also great for stripping wire. This is a bit less user friendly than the Jokari Cable Knife, but with a bit of practice it works well. These cutters are sharp enough that I can just open them up, put them around the wire, LIGHTLY close them and then spin them around the wire until the insulation is cut; and then just pull the insulation off of the copper. I actually find myself using this method more than the cable knife most of the time; but they are both good methods. I would classify these as a necessity.
Crimpers
Once the wires have been cut and their insulation has been stripped off, you’ll need the correct type of crimper to crimp the terminal (lug, ring terminal, spade terminal, ferrule, etc) on the end. Here are the crimpers I use for these various terminals:
Ratcheting Insulated Terminal Crimper
For insulated ring terminals, insulated spade connectors, and insulated butt splice connectors smaller than 10 gauge; I’ve got these Ratcheting Insulated Terminal Crimpers with a flat jaw on them so the insulation doesn’t get damaged. There are 3 different jaws on these crimpers depending on the size of the terminal that is being crimped. I would Classify these as a necessity.
Ratcheting Un-insulated Terminal Crimper
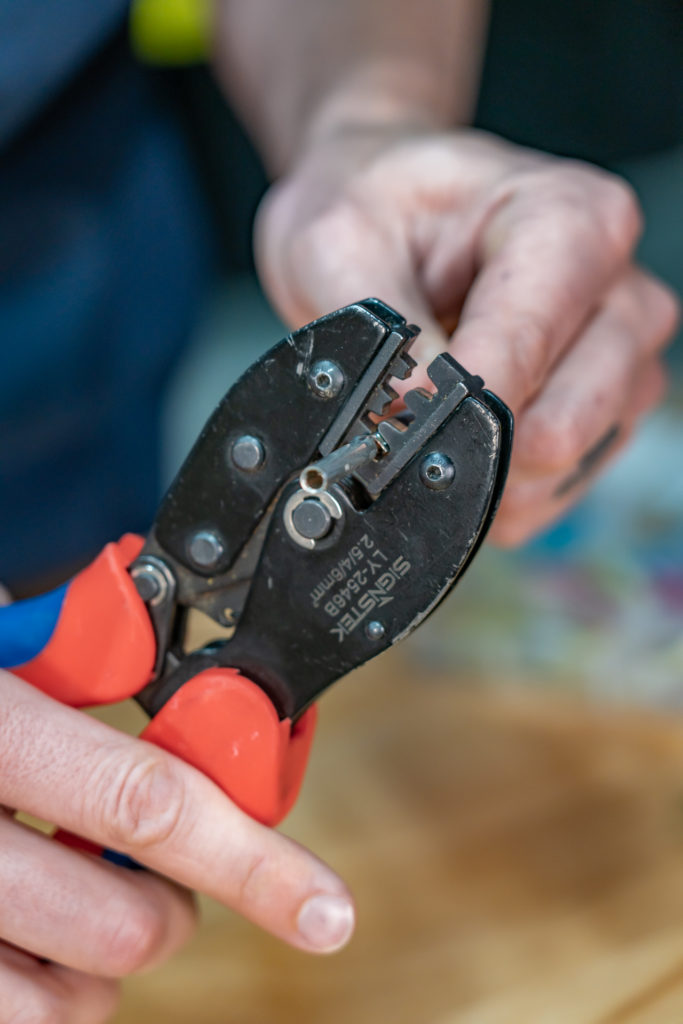
For un-insulated terminals like open barrel splices or PV connectors like MC4 connectors; I use these Ratcheting Uninsulated Terminal Crimpers. They are pretty much the same as the last crimpers, but the jaws have a little ‘tooth’ in the middle that folds the terminal over on itself for a nice secure crimp. I would classify these as a necessity.
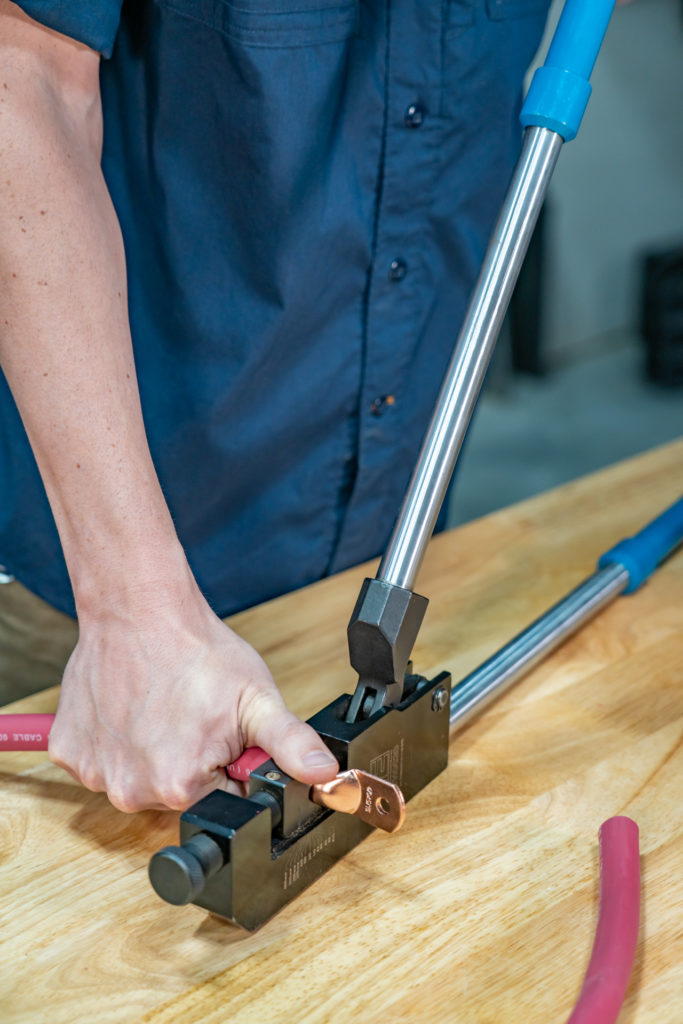
Lug Crimper
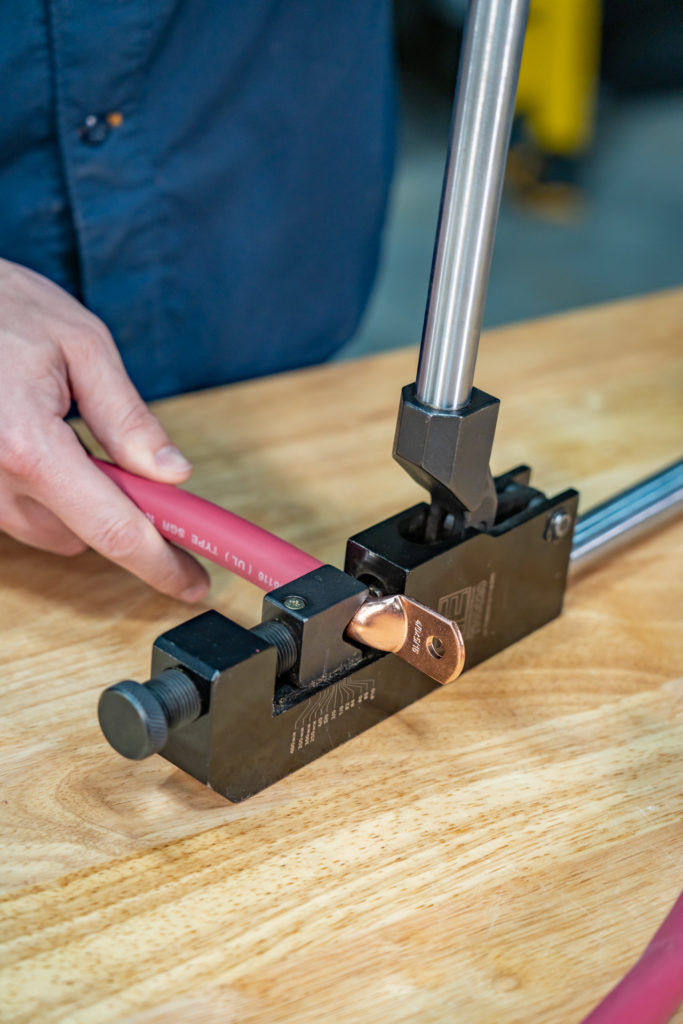
For wire lugs bigger than 10AWG all the way up to 4/0; we have to bust out the big guns with this big Indent Lug Crimper. This indent lug crimper has an adjustable punch in it that can accommodate wire lugs from 8 AWG all the way up to bigger than 4/0. The lug goes on the wire; the wire in the crimper and I’ll squish this handle down which drives the punch into the lug, crimping the wire in place.
There are several other types of crimpers for big lugs out there (like hammer crimpers or hydraulic crimpers), but the one I’m showing you, or ones similar, are the ones I’ve seen work the best with the most consistent results. This crimper is pretty expensive; but these are big wires flowing big amperages so for the sake of doing it right the first time so you don’t have to do it again… this is a necessity.
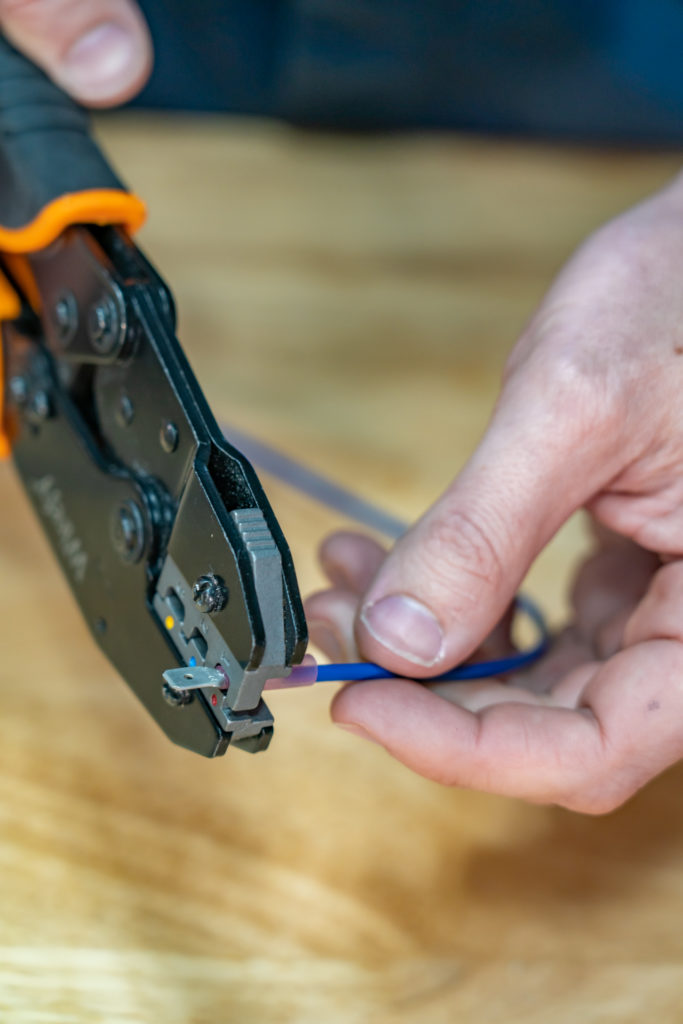
Ferrule Crimpers
Ferrules are a fantastic way to make your DIY camper electrical install more professional and ultimately safer through better connections to screw terminals. Here are the 3 different ferrule crimpers I use:
- Ratcheting Square Ferrule Crimper for Wires Smaller than 6 AWG
- Ratcheting Hex Ferrule Crimper for Wires Smaller than 6 AWG
- Trapezoid Ferrule Crimper for 2 AWG to 4 AWG Wires
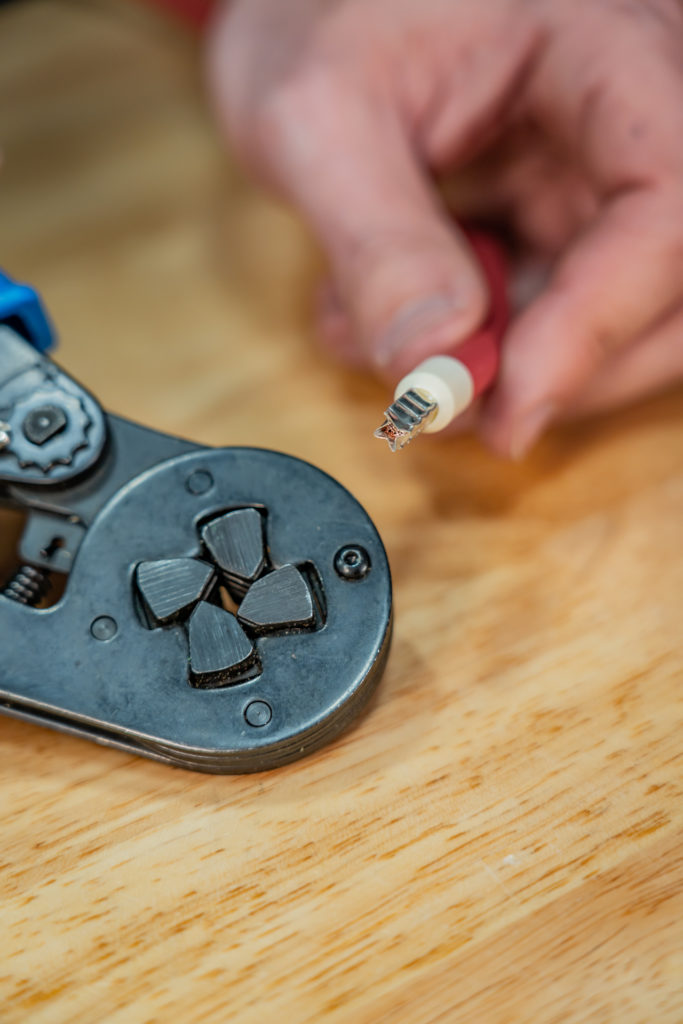
This Ratcheting Square Ferrule Crimper makes square ferrules on wires smaller than 6 AWG for things like the smaller Victron smart solar charge controllers.
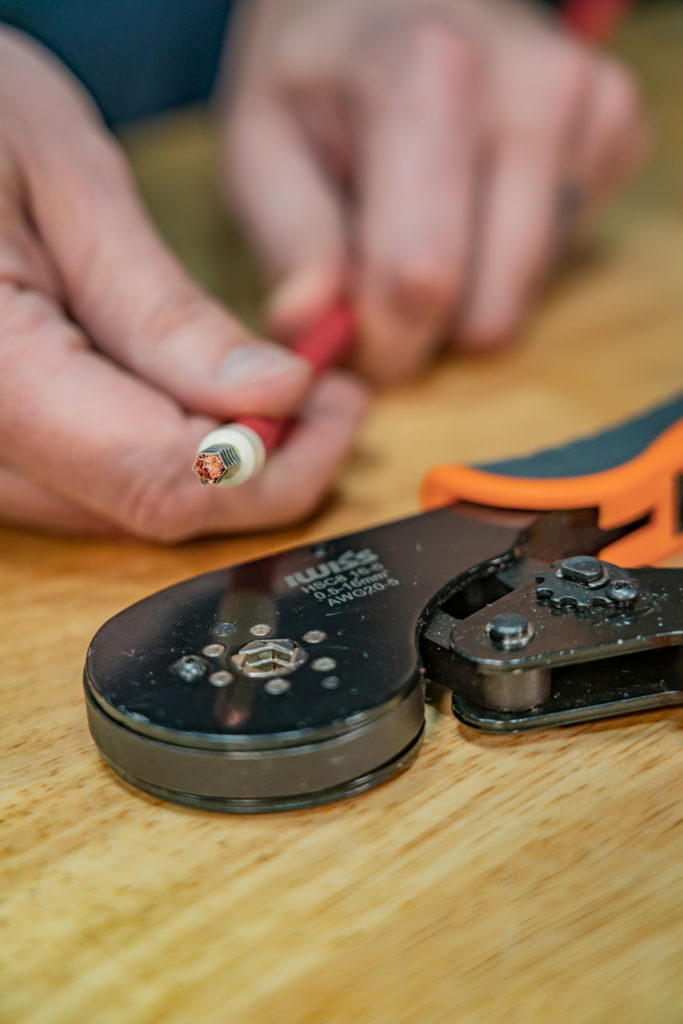
This Racheting Hex Ferrule Crimper makes hex ferrules on wires smaller than 6 AWG for things like DC Distribution panels or Victron Multiplus Inverter/Chargers.
And this Large Ferrule Crimper is for crimping square-ish ferrules on wires from 6 AWG to 2 AWG for things like the larger (150V and 250V) Victron SmartSolar charge controllers.
Now… Ferrules are made to make your life easier, your workmanship better, and your install more professional. So since you ‘CAN’ do an install without ferrules; I have to classify these as ‘Nice to have’ but a necessity if you are trying to achieve professional results.
Misc Items:
Here are a few ‘other’ tools I find necessary for a DIY camper electrical install. I’d say that most people have some or all of these tools already laying around as they are fairly commonly used across many different DIY projects (and not just DIY camper electrical systems.
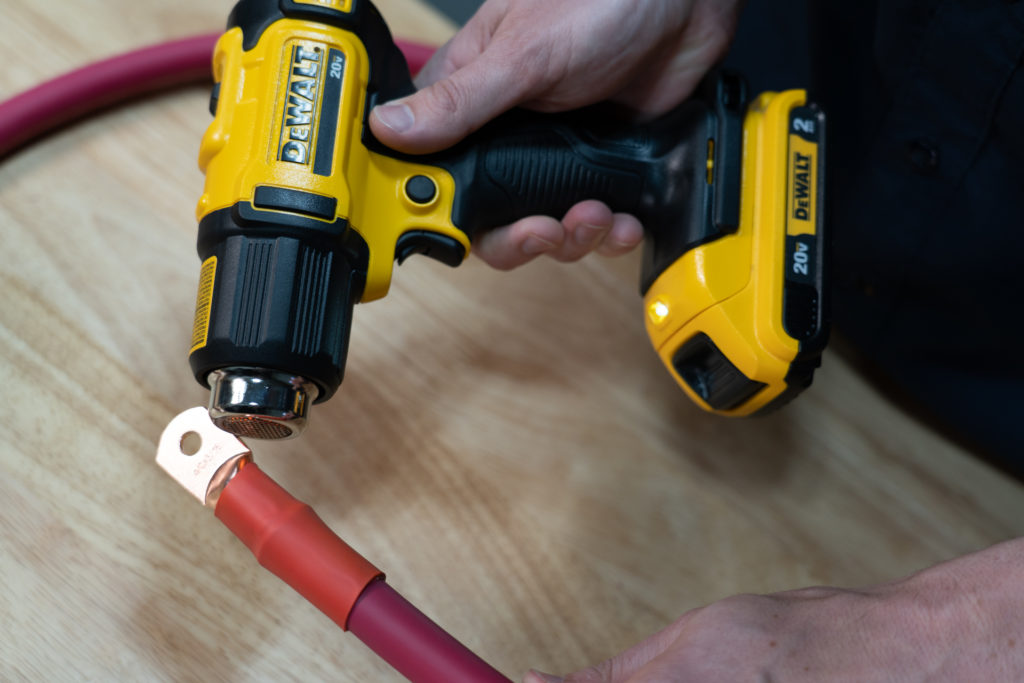
Heat Gun
First, a Heat Gun. We put adhesive lined heat shrink on all of our wire lugs and the best way to shrink this heat shrink and make the heat activated glue sticky… is to use a heat gun. My cheap heat gun I’ve been using for the last 2-3 years broke last week; so I took this chance to upgrade to something nicer, so I got this dewalt battery powered heat gun. It has two heat settings on it and the lack of power cord is pretty nice. A heat gun is a “Necessity”, but if you are trying to pinch some pennies… Most of the inexpensive heat guns on amazon will work just fine for what we are asking them to do; but once I break the inexpensive version of a tool; I try to upgrade to a higher quality version since it’s pretty clear I actually use it.
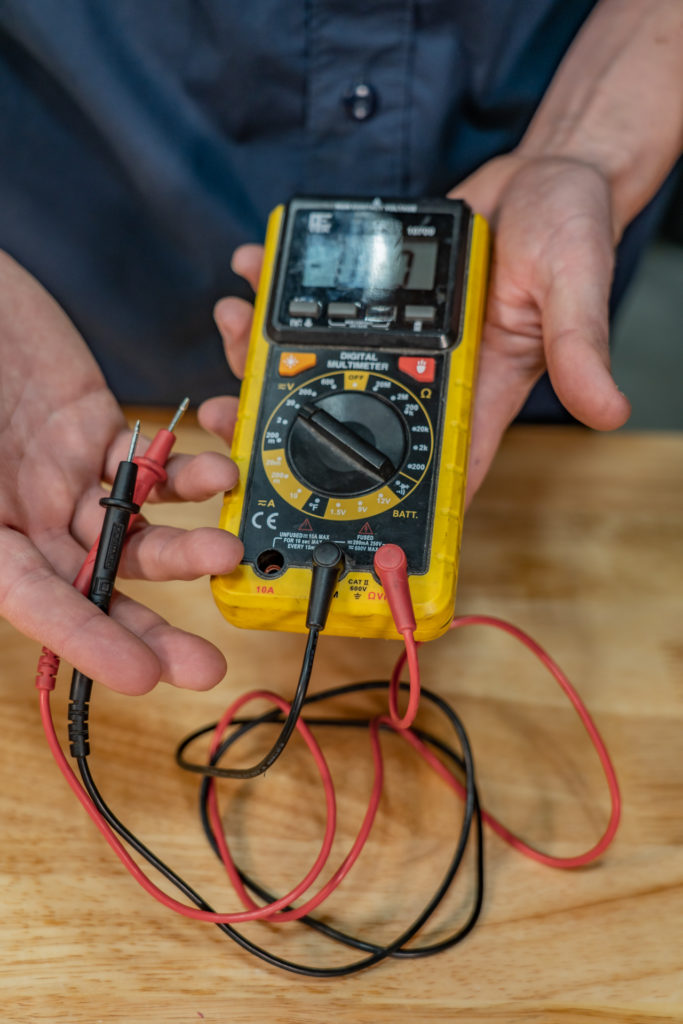
Multimeter
Next up; a digital multimeter. Most will work fine for just checking voltage; which is what I primarily use mine for. This is a necessity for troubleshooting as well as double checking the polarity of various wires and components in the system.
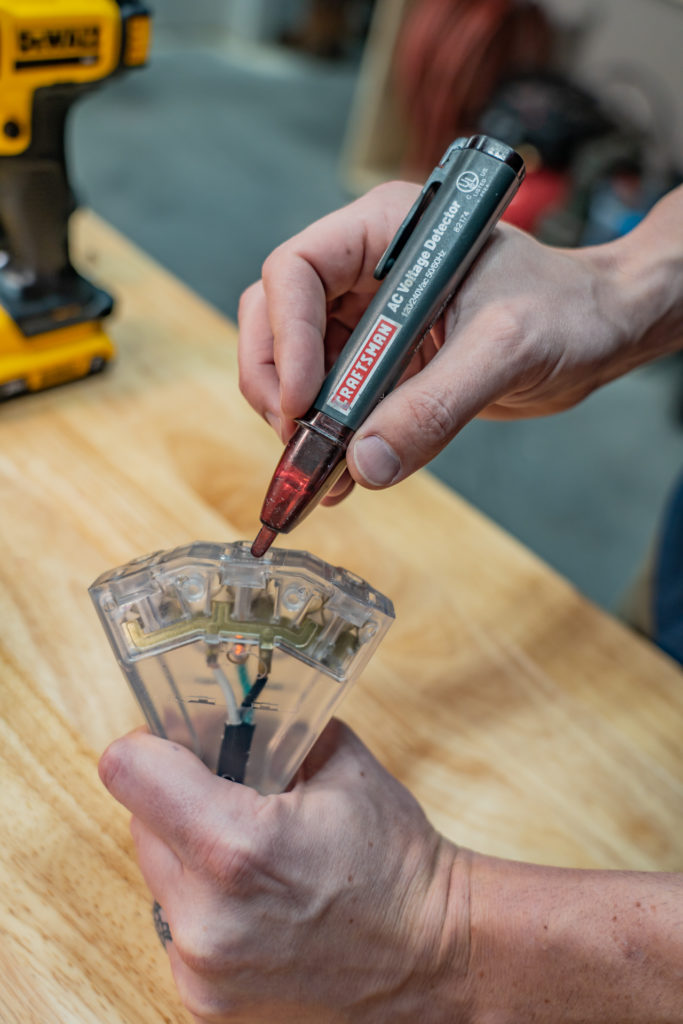
AC Voltage Detector
I also carry an AC voltage detector. This simply lets me know if a wire has 120 or 240 volts coming to it or not so I can be sure to not touch it. It’s a proximity sensor, so I can just hold it next to a wire and the detector will use demon magic to tell me if the wire will shock me if I touch it or cut into it. I’d consider this ‘Nice to have’ as some multimeters sometimes have this same functionality built in.
Standard Hand Tools
Lastly is… just, standard hand tools… If you are going to tackle a DIY camper electrical project, you’ll need a full set of sockets and ratchets, screwdrivers, wrenches, a drill, an impact driver, and all the other ‘more normal’ things you’d need for any other household DIY project.

8 Responses
Which Ferrules do you prefer?
Question: I am looking for a quality ferrule that I don’t have to worry about the quality/impedance of. What ferrules do you like to use? (Brand, source, etc if important)
Thanks!
Sure! Each of our wiring kit includes the proper ferrules we recommend: https://shop.explorist.life
Nate:
I simply need some advice about which components to purchase as I’m looking to upgrade my existing solar setup. I have about 240 watts of solar panels on the roof, a 30 amp GoPower PWM controller, a 3000-watt inverter, and 2-100ah BattleBorn lithium batteries. I am going to remove my old crank OTA TV antenna and free up a lot of space on the roof. I’d like to replace my existing panels with 2-200 watt panels, and a new Victron solar controller to match. I have a Victron battery monitor by the way. I’d like to know which controller and fuse(s) I’d need to replace what I have. I just got a 12V compressor refrigerator to replace my absorption so having a bit more solar capacity would help a lot as the panels I currently have can’t keep up. I have a backup set of Renogy portable panels but they are heavy, bulky, etc. Finally, are flexible panels worth considering? Thanks!
Sure! I’ve got several different options for you at https://www.explorist.life/solarwiringdiagrams. You’ve already made a bit of a mistake by purchasing 3000w inverter and only 200ah of batteries. You need at least 400Ah of battery bank capacity for a 3000w inverter or back down to a 2000w inverter for your 200ah of batteries. All of that is covered in the wiring diagrams previously linked, though. You may have to return some of the items you’ve purchased, but you may just have to consider that the ‘I started purchasing things before I had a plan’ tax.
Hi Nate!
Sorry, this is probably a stupid question, I’m just getting started with van conversion and have watched multiple videos of yours when it comes to the electrical. I am looking into buying one of the complete wiring kits on your website and following along with the YouTube video you have posted about it, but before I do I’m just making sure that there is nothing sprinter-specific about the install… I am going to be doing a Reno on a promaster, and I assume it really doesn’t matter what vehicle model it is being installed within but just wanted to check. Thanks so much for your education and videos!
The only thing that is often ‘vehicle specific’ is the fuse type needed to connect to the starting battery for alternator charging. For a Promaster, a MEGA fuse is usually a better choice than the MIDI fuse.
Hey Nate – looking at the 600Ah – Multiplus 3k 12v – Orion 12-12 | 30 – 400W Solar Wiring Kit and considering building it out with Enduro 300 Ah batteries. I plan to start off with two for the 600 Ah, but wondering if I would be able to add a 3rd into the this system without any other changes beyond wiring the additional battery in. I plan to also add the MultiPlus Inverter / Chargerl. Thanks for the input.
Battery capacity can be added without additional changes to wire sizes and fuse sizes.