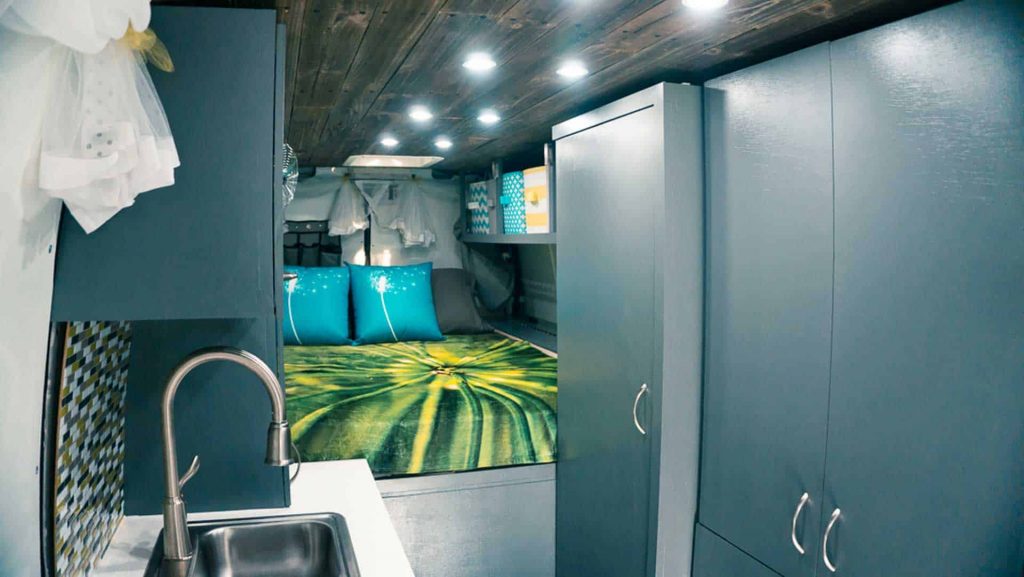
This is it, it’s finally done! We can proudly announce that our DIY campervan conversion, aka Backpack 2.0, is COMPLETE. After three months of blood, sweat, and tears (mainly sweat), we are ready to hit the road in our custom DIY Sprinter Camper Van.

FROM THE BEGINNING
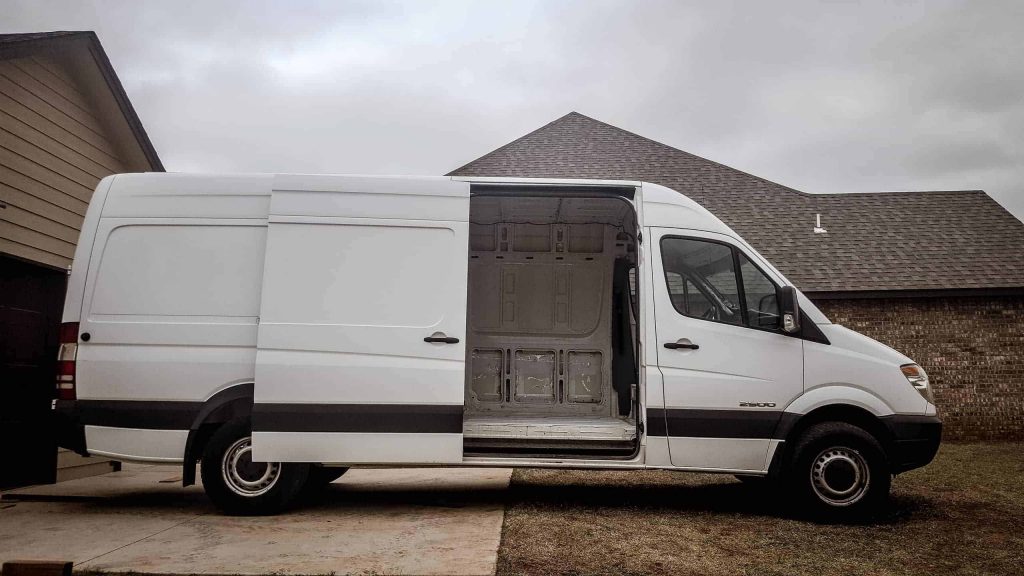
So for those of you who might be new here, we purchased our 2007 Mercedes Sprinter from St. Louis, MO back in March 2017. It had 194,000 miles on it and had previously been used as a plumbing van. Overall, it was in good shape and a great candidate for a campervan conversion.
We planned to take about 2 months converting the van before taking off to live in it full time with our two pups. This campervan will be our home for the next however many years we decide to stay in it. So, let’s get to the build…
FACTS ABOUT OUR DIY CAMPER VAN
- 2007 Mercedes Sprinter (Badged as a Dodge)
- 194,000 Miles at Purchase
- Purchased for $12,400
- Total cost $14,082.57 after registration fees
- Built entirely by Nate and Steph
- Approximately 90 sq. ft living area
- Total campervan conversion cost: $38,867.57 (including price of van)
WATCH THE FULL VAN TOUR HERE:

BUILDING OUR CUSTOM DIY CAMPER VAN
To start the process of our DIY campervan conversion, we had to strip it down and clean it thoroughly. It had previously been a plumbing van, so it needed a lot of scrubbing. Each of the steps below are links to the full tutorials, so if you are looking for how-to’s, be sure to click the title of the section you are looking for.
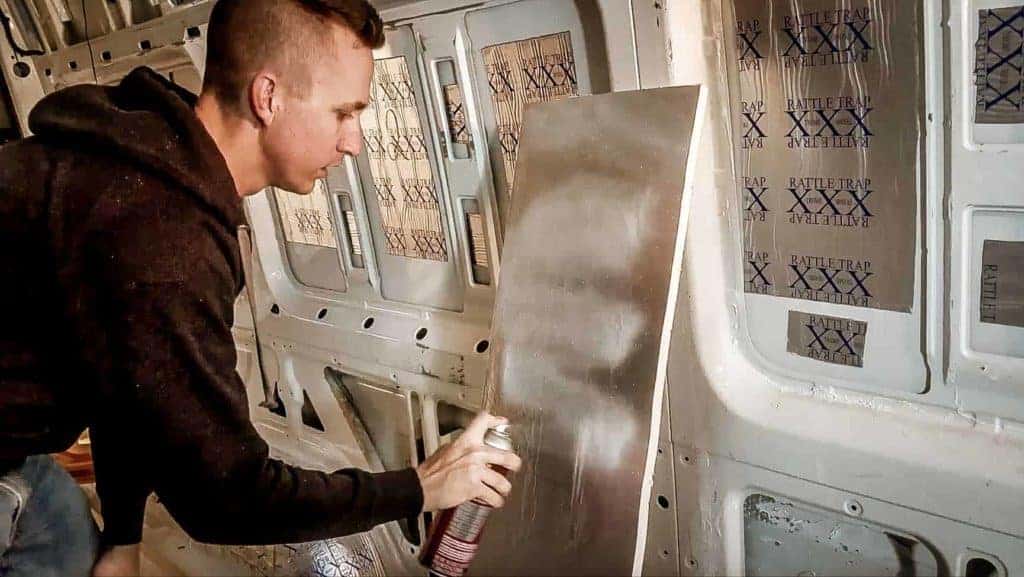
SOUND DAMPENING
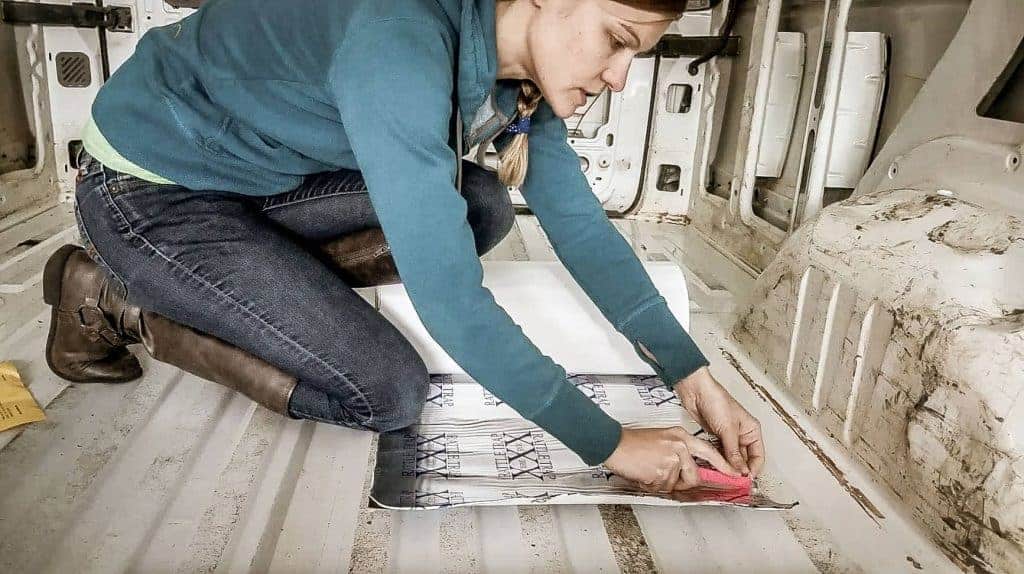
Driving an empty sprinter with no sound dampening is like rolling down the highway inside of a bass drum. NOT pleasant. To quiet down the ride, we installed FatMat RattleTrap sound dampener, mainly on the walls and around the wheel wells.
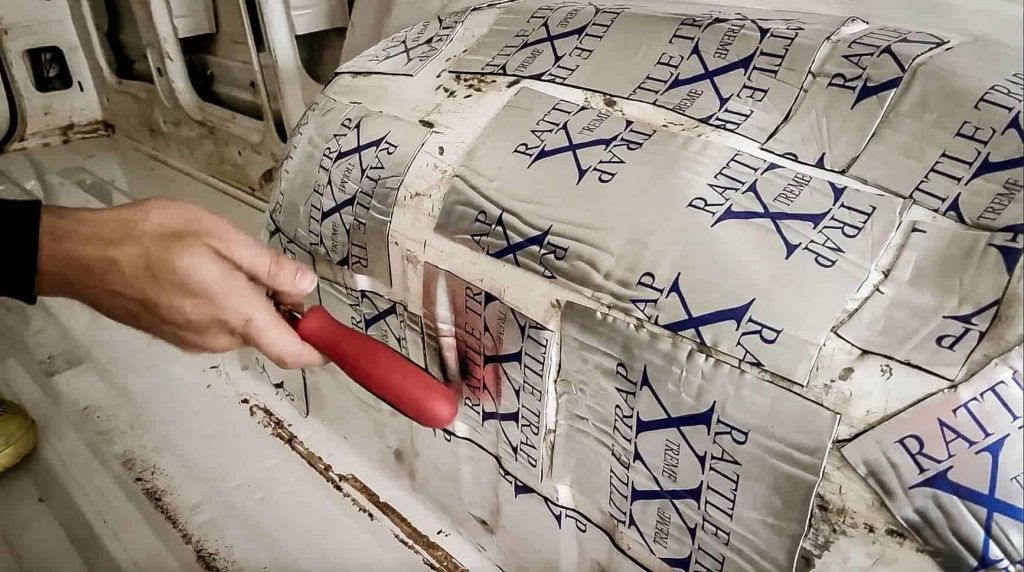
Total Cost of Sound Dampening: $142.34
RELATED BLOG POST: INSTALLING SOUND DAMPENING ON A DIY CAMPER VAN
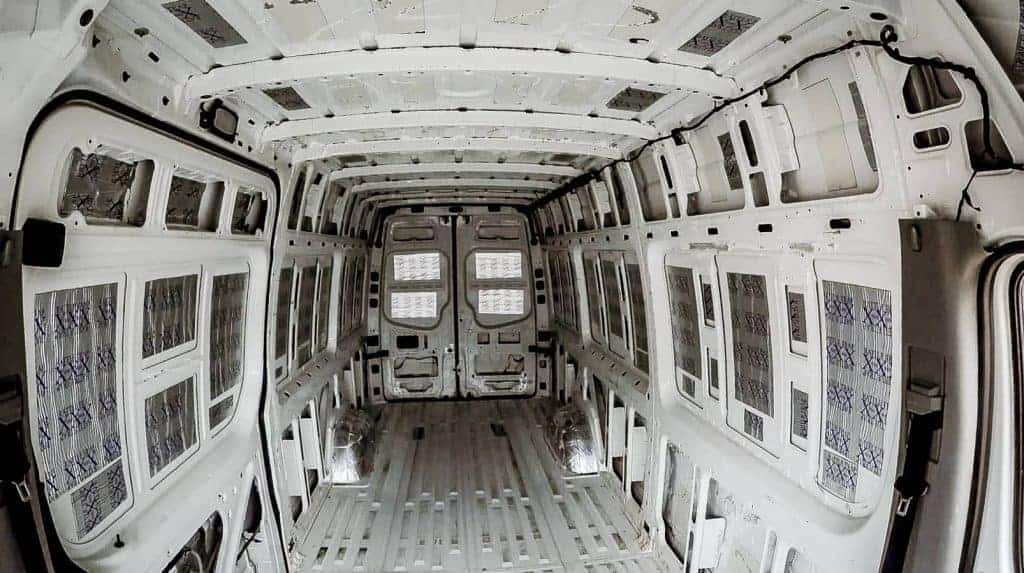
INSULATION
Insulation was a huge project, and we ended up using rigid foam insulation along with Great Stuff expanding foam.
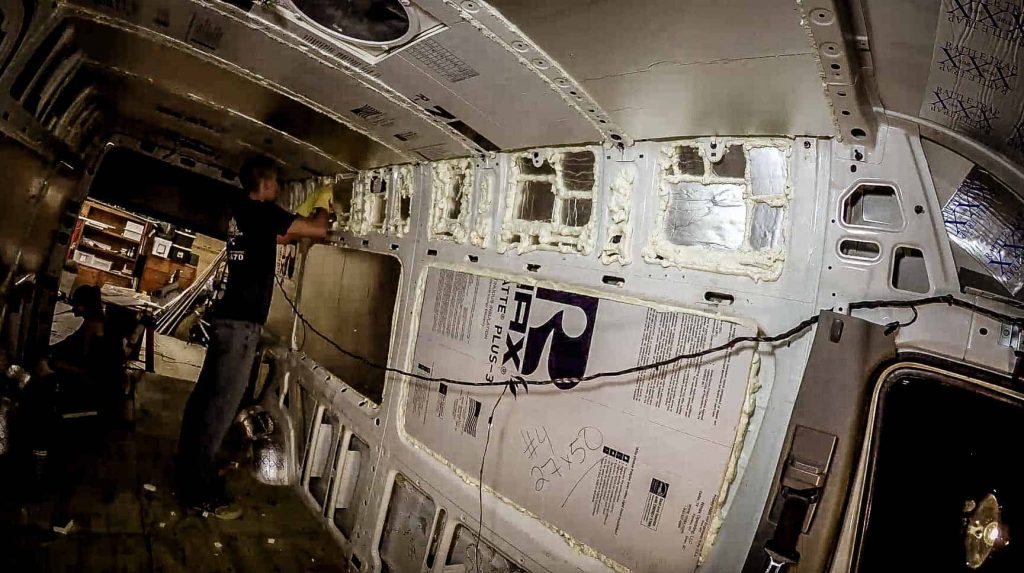
So far, we are happy with the results of the insulation, although we haven’t done any scientific testing on it.
Total Cost of Insulation: $410.63
RELATED BLOG POST: INSTALLING INSULATION ON A DIY CAMPER VAN
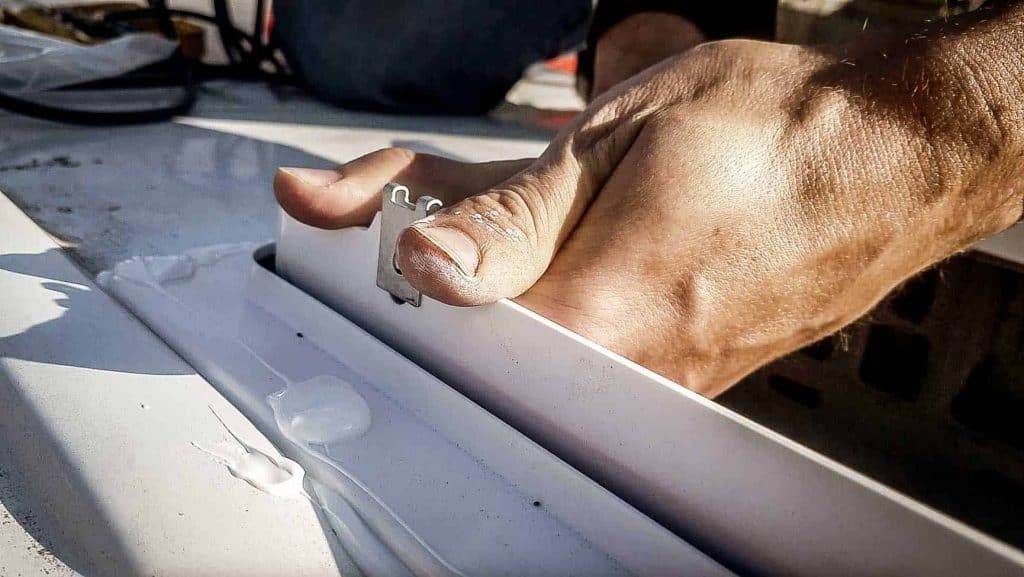
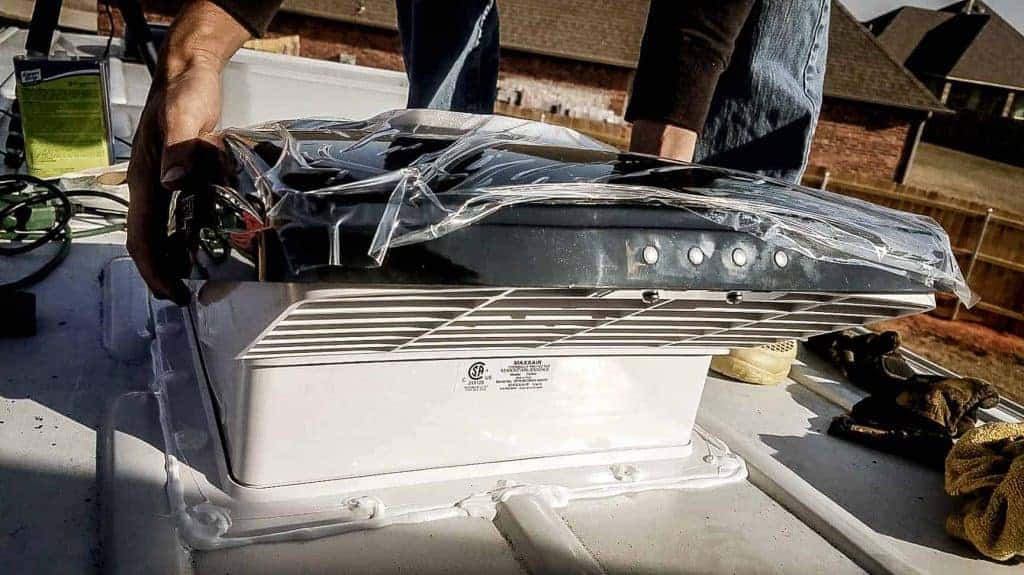
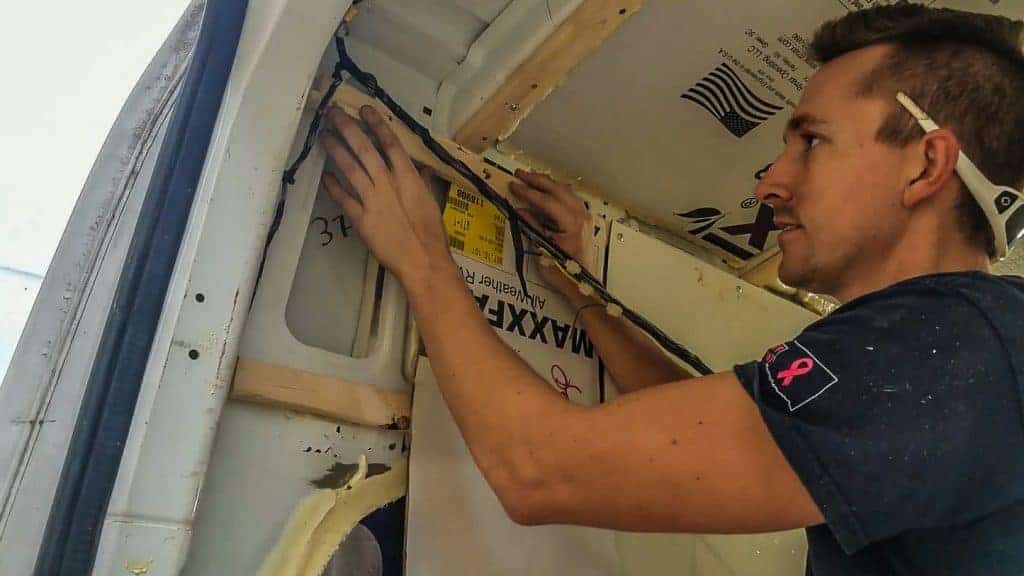
INSTALLING ROOF VENT FANS
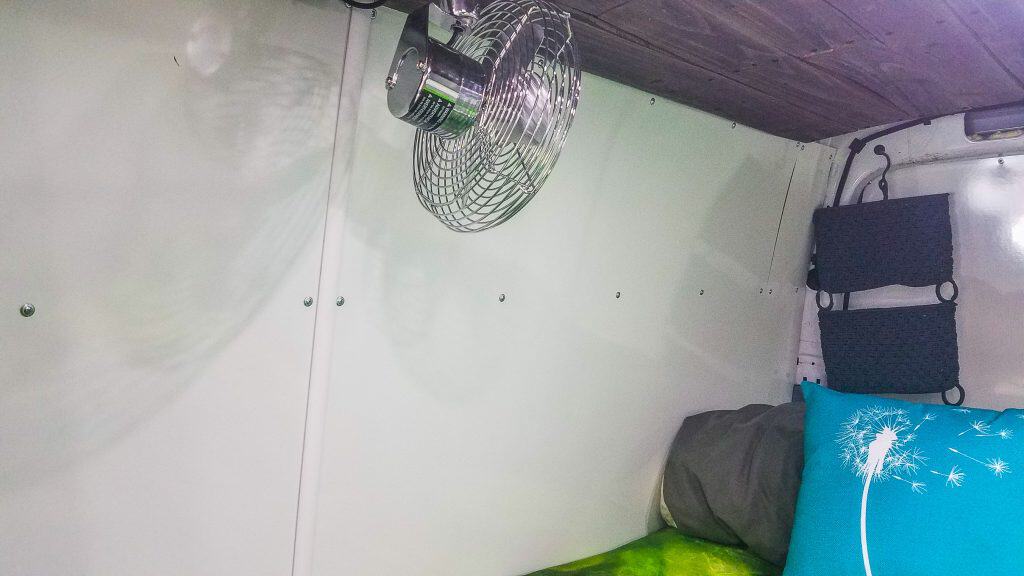
We decided against installing A/C in our campervan, and instead opted for a huge amount of air flow through fans.
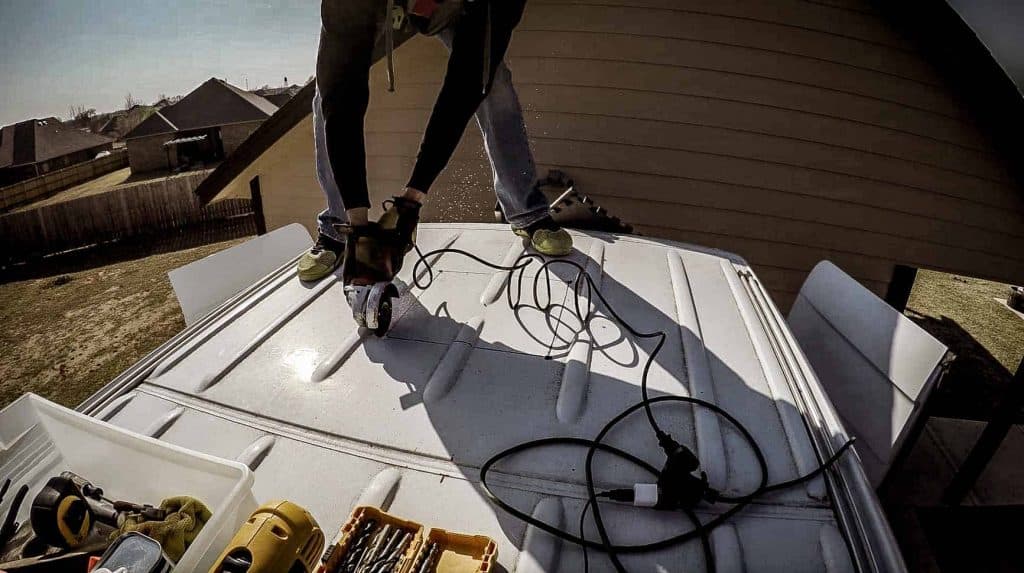
We installed two MaxxFan Deluxe rooftop fans at the front and back of the van and put three small DC fans throughout the van as well.

When all of them are on, it pretty much makes a wind tunnel in through the van.
Total cost of Installing MaxxFan Deluxe: $689.93
RELATED BLOG POST: INSTALLING MaxxAir Fans ON A DIY CAMPER VAN
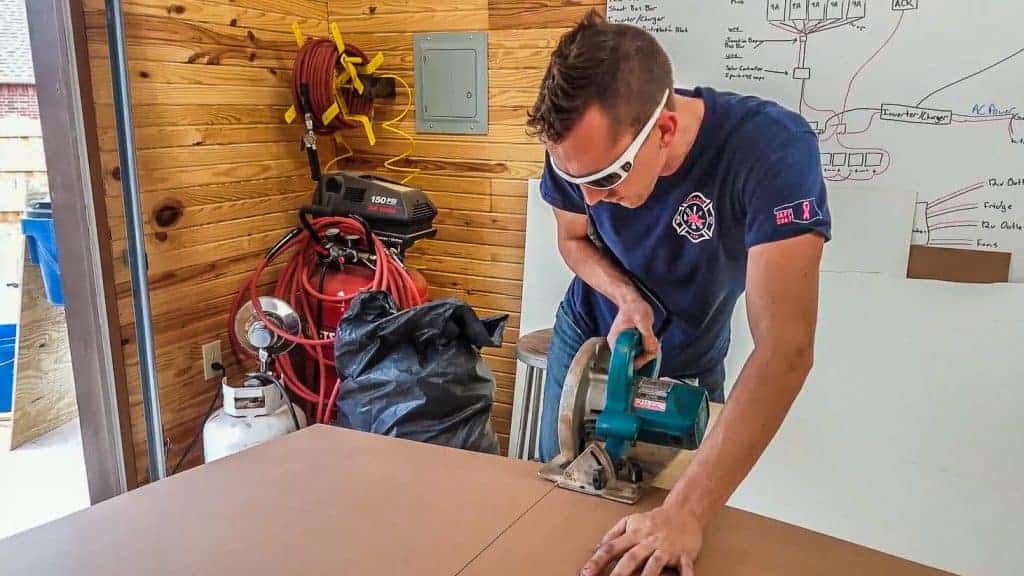
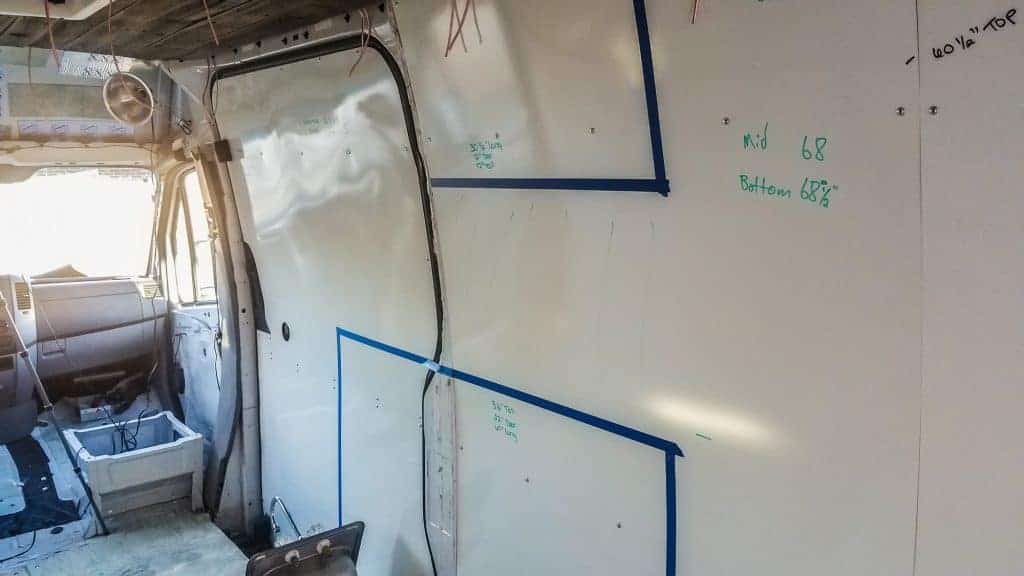
INSTALLING CAMPER VAN WALLS
Installing Walls: Our walls in our Sprinter van are made from white tile board that is essentially dry erase board. Installing the walls was really simple, and was made very easy with the help of a Dremel tool.
Total cost of Installing Walls: $347.39
RELATED BLOG POST: INSTALLING WALLS IN A DIY CAMPER VAN
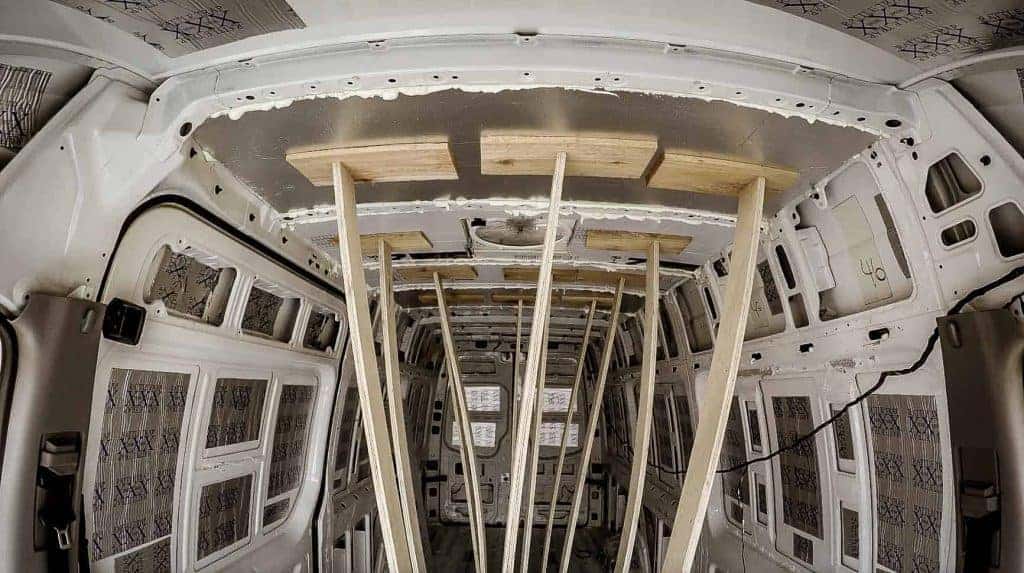
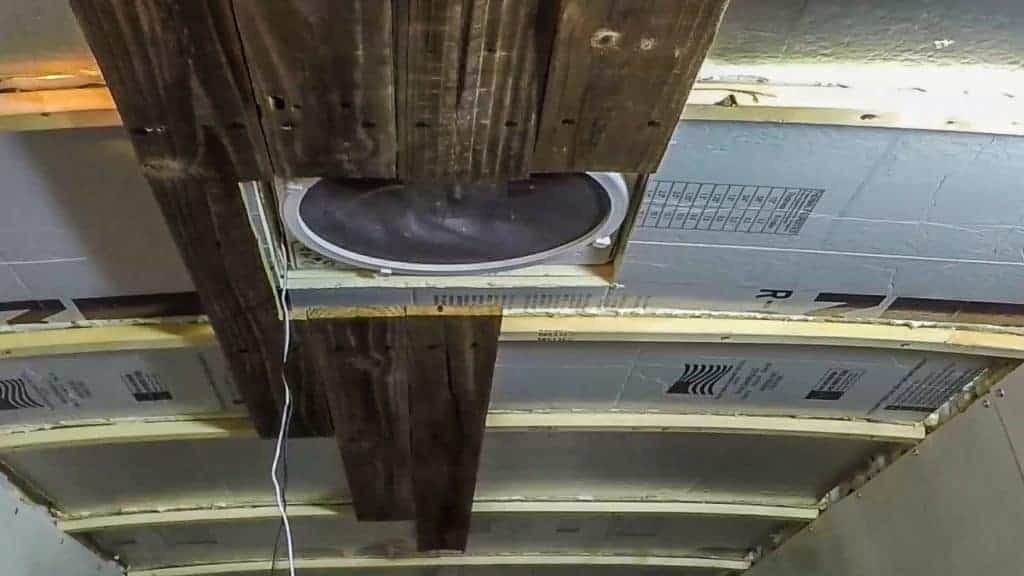
INSTALLING CAMPER VAN CEILING
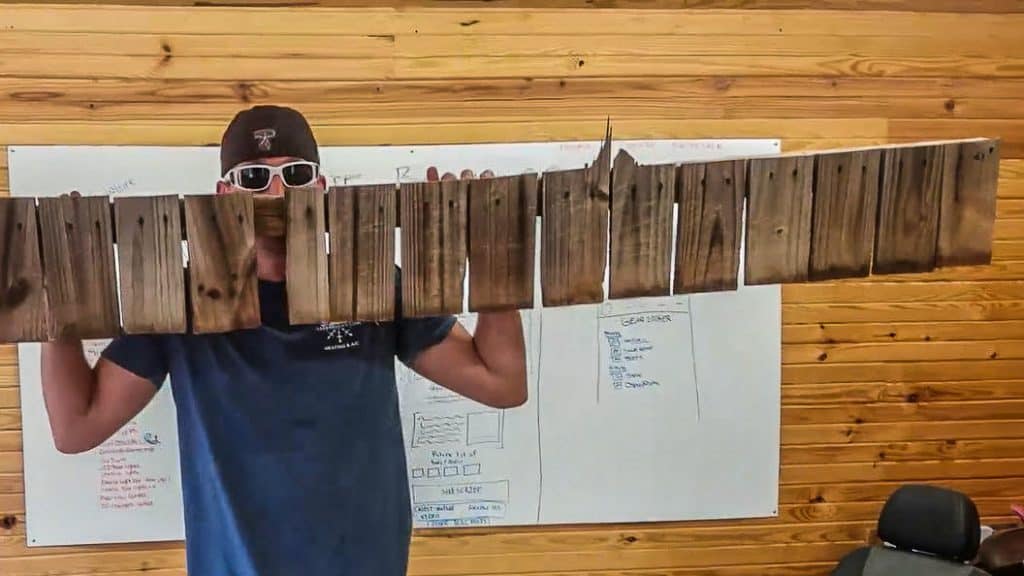
A wind storm took out the fence at Nates mom’s house. Rather than loading all of that cedar up and taking it to the landfill or burning it for a nice backyard campfire. We cleaned it up, sealed it, and used it as our ceiling.
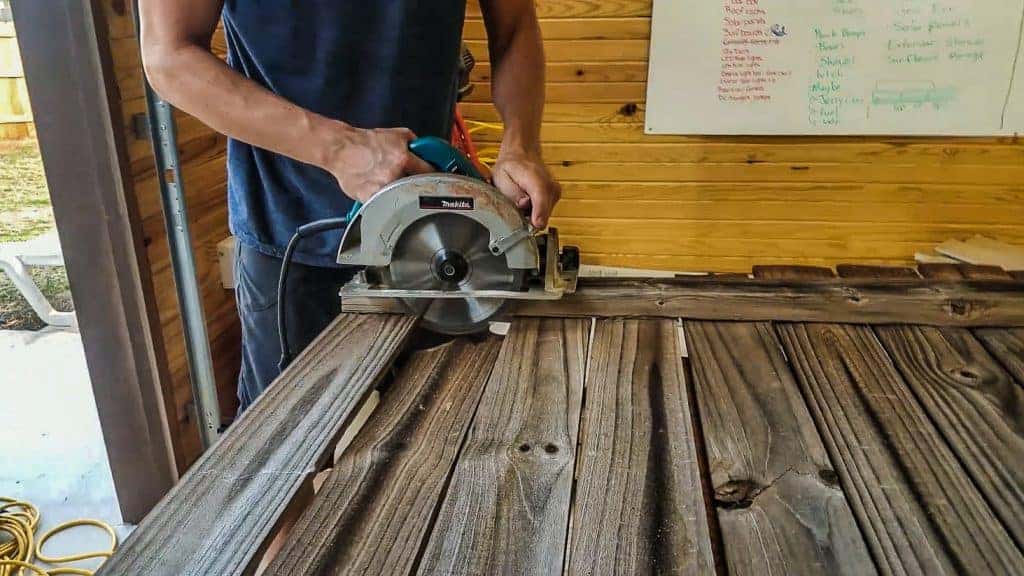
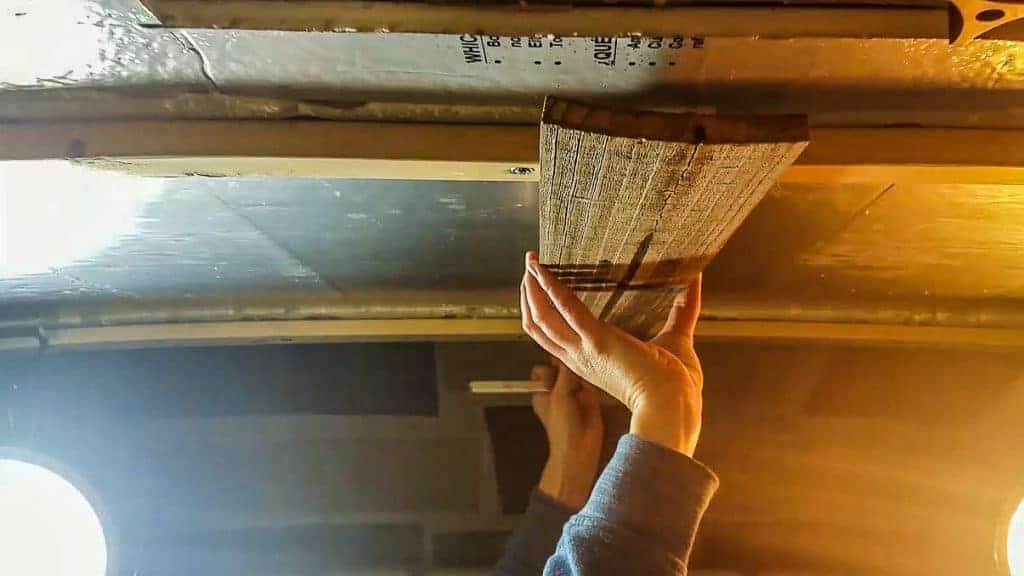
Total cost of Installing ceiling: $125.34
RELATED BLOG POST: INSTALLING A CEILING IN A DIY CAMPER VAN

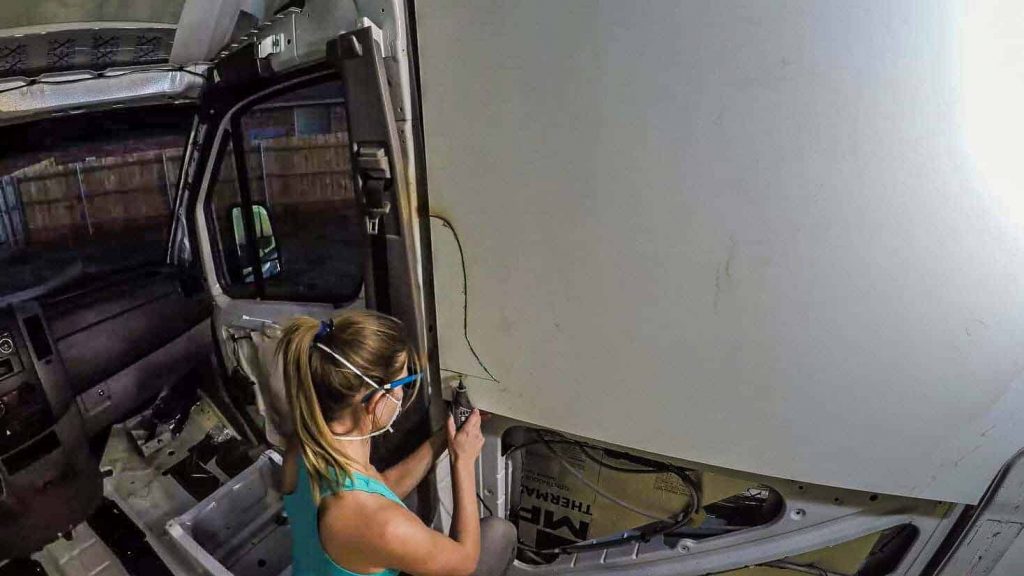
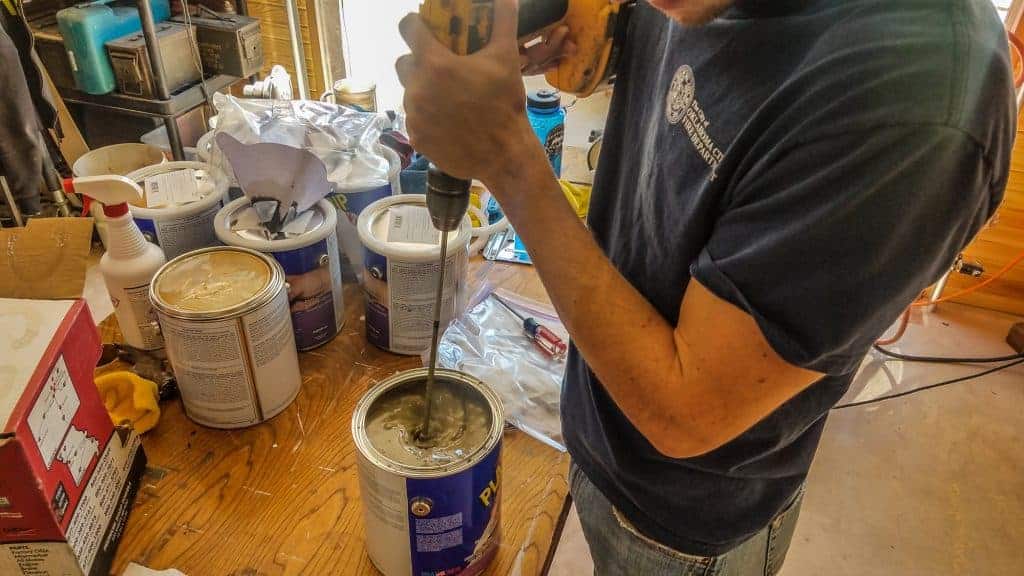
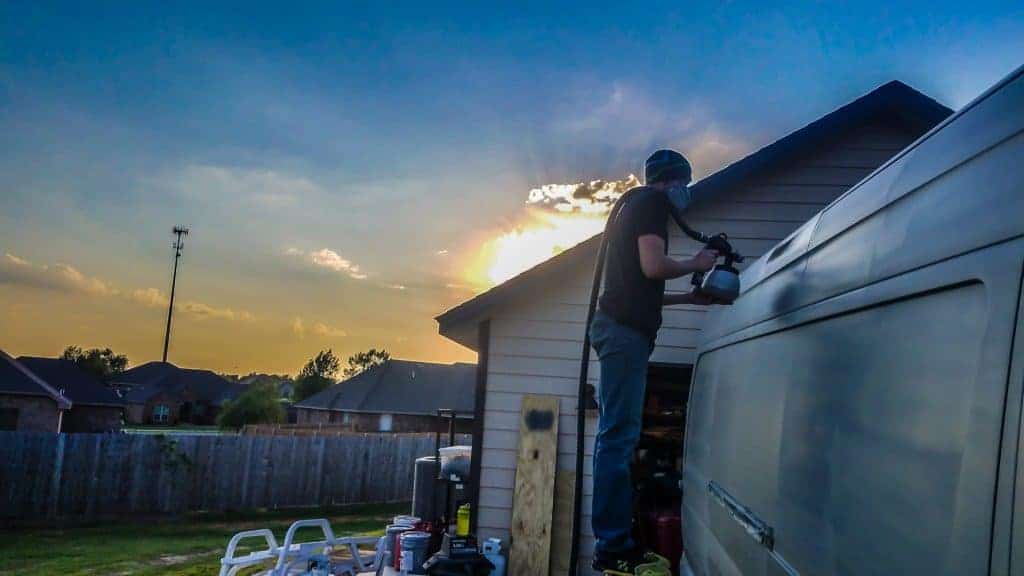
PLASTIDIPPING THE VAN
After making so much progress to the interior of the Sprinter van, we had to do something about the outside. The white van wasn’t cutting it for us.
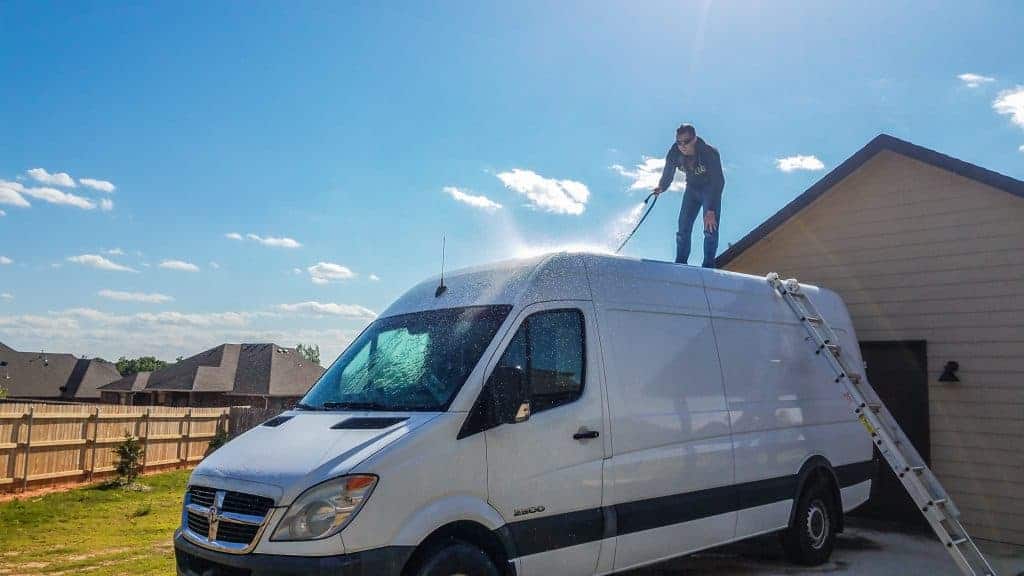
We opted for PlastiDip and actually applied it ourselves. It was a pretty simple process, honestly. We are happy with how it turned out.
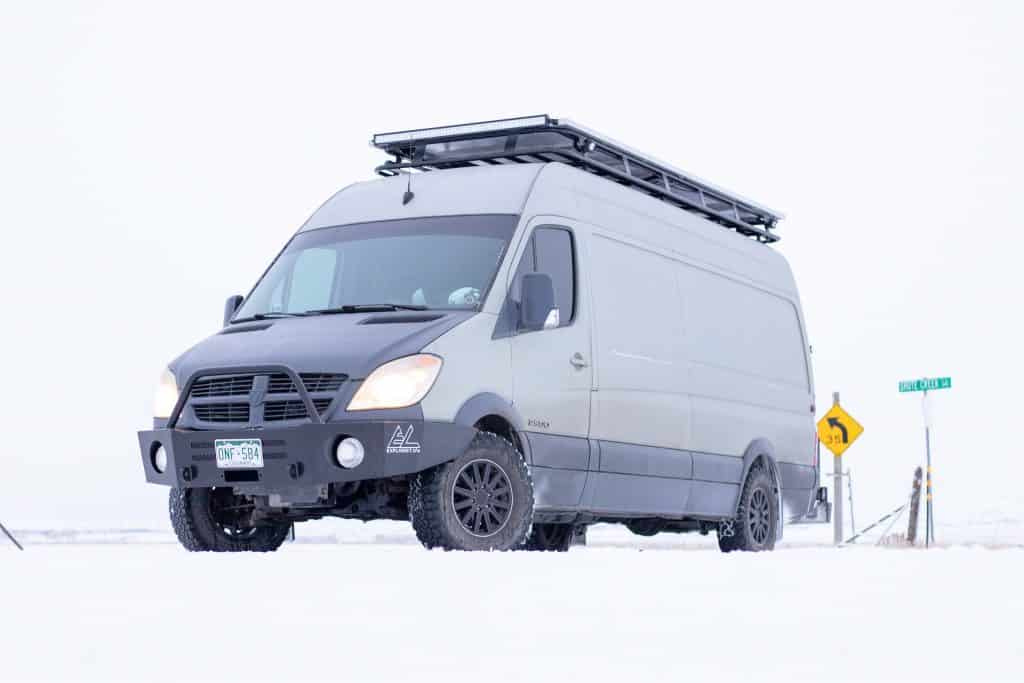
Total Cost of PlastiDip: $765.81
RELATED BLOG POST: SPRAYING PLASTIDIP ON A DIY CAMPER VAN
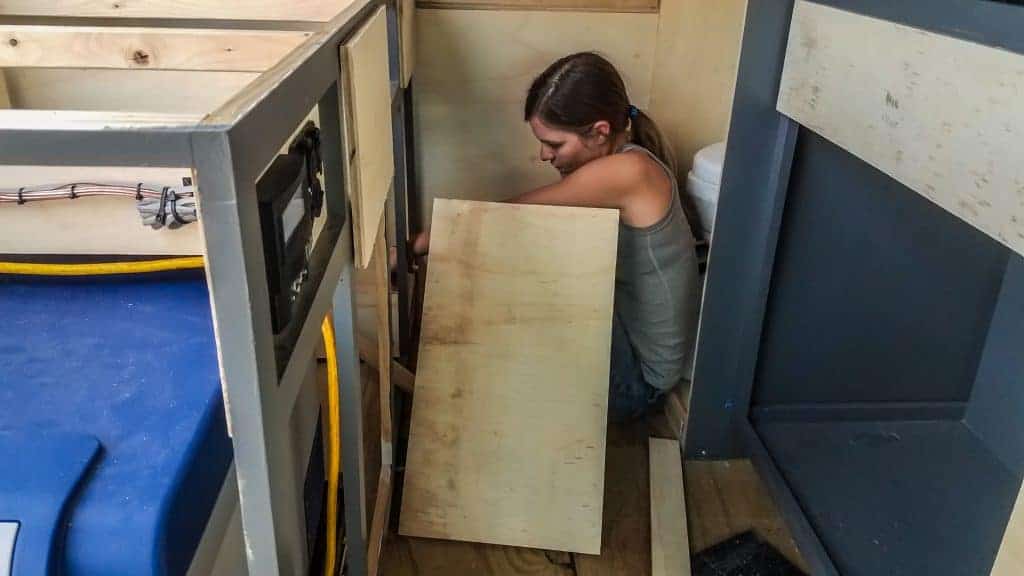
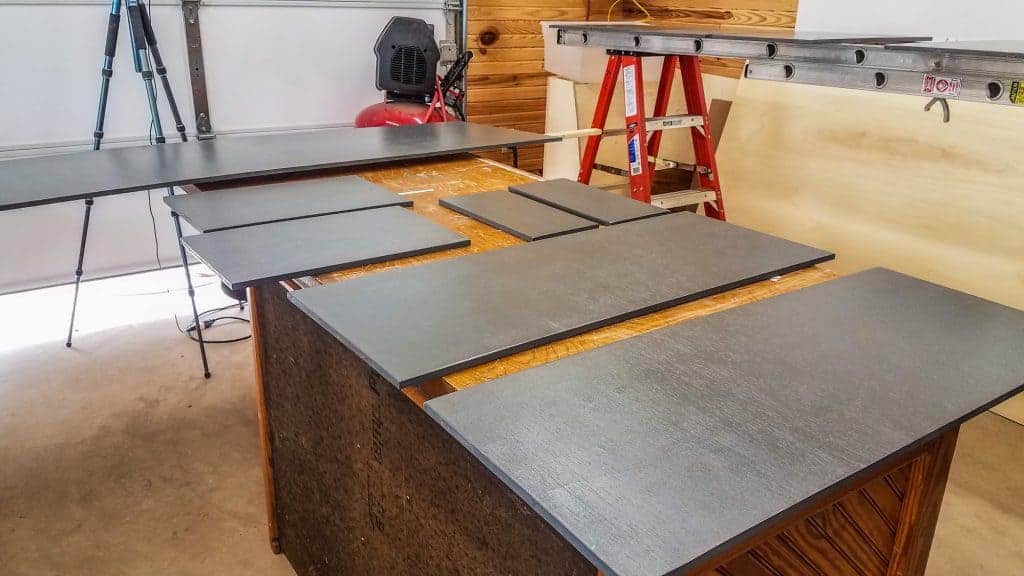
BUILDING CAMPER VAN CABINETS
This was truly the toughest part of the build. Neither of us had much woodworking experience, much less making it pretty and lightweight.
After about two weeks of late nights, we ended with a pretty slick looking set of cabinets.
Total Cost of Cabinets: $1,143.99
RELATED BLOG POST: BUILDING CAMPER VAN CABINETS
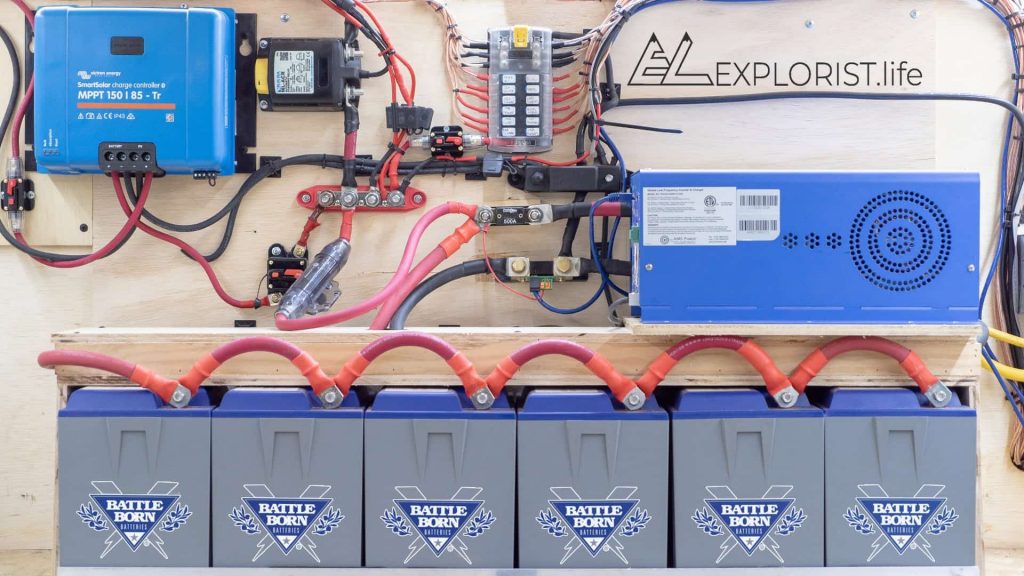
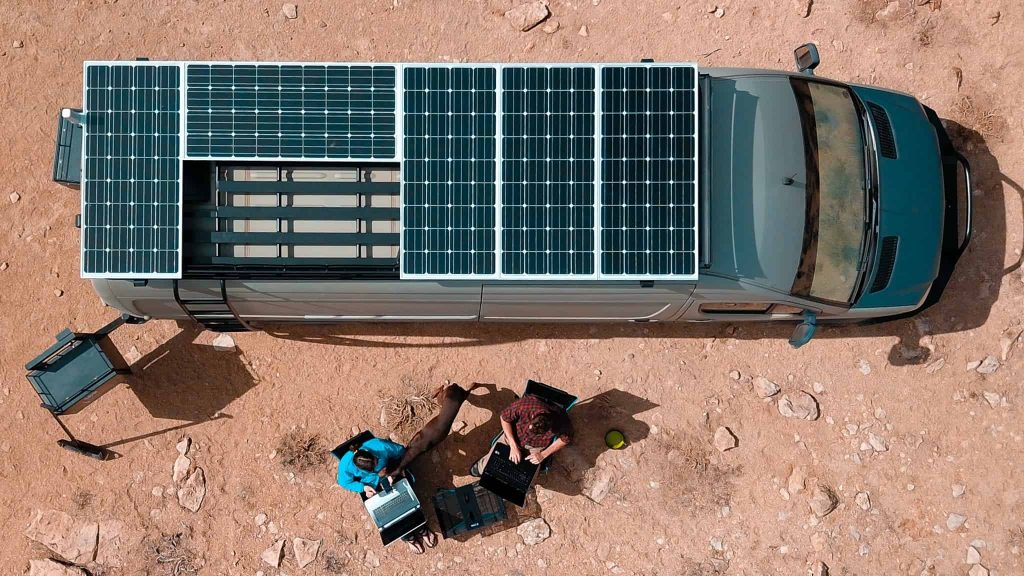
INSTALLING SOLAR
We are super proud of our solar setup. We have 825 watts of solar and 600 amp hours of battery. We did a full writeup with wiring diagrams and buying guides, so definitely check it out if you are looking to do solar.
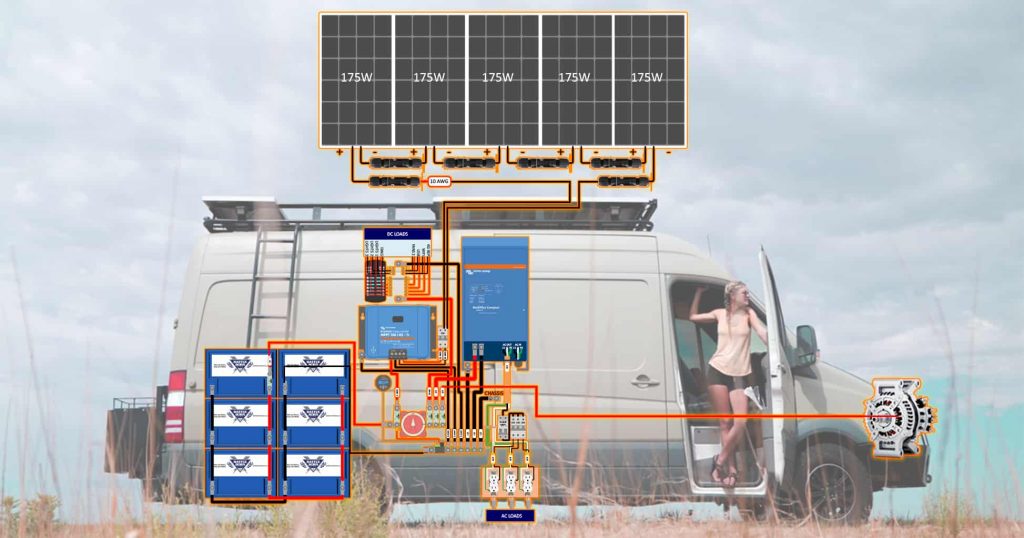
Total Cost of Solar Installation: $4,686.31 (mk i We spent more on mk ii after the first year upgrading to lithium)
RELATED BLOG POST: INSTALLING CAMPER VAN SOLAR
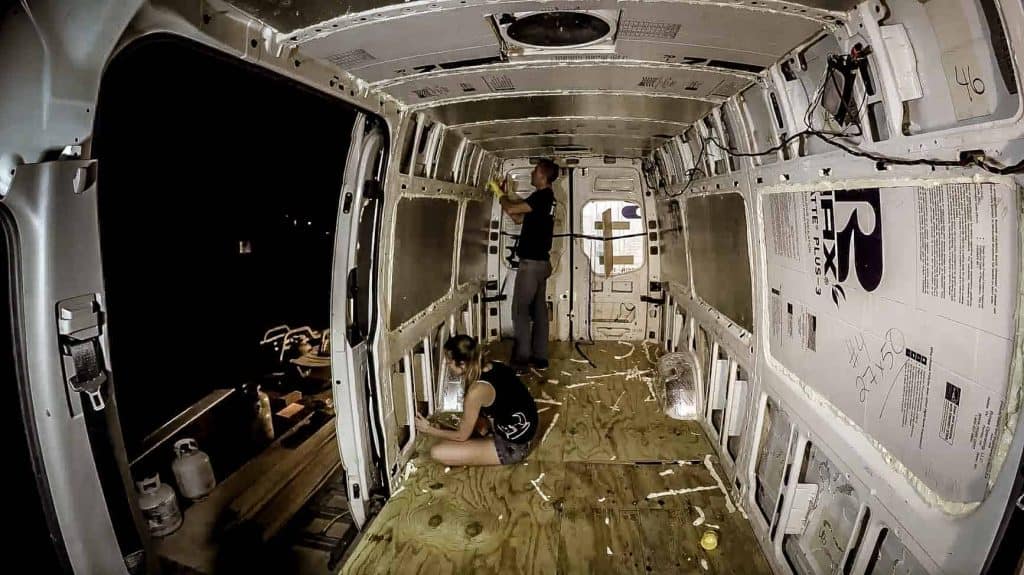
Flooring
We installed bamboo flooring for easy cleanup in the van. It was simple click and lock flooring and the installation was quick and easy to do.
Total cost of Flooring: $283.99
We didn’t write a blog post about this. Oops! Maybe next time. 🙂
plumbing
Our plumbing for fresh water is run from the back “garage” of the van under the bed and is plumbed to the sink in the kitchen. It’s run off of a simple irrigation pump and drains by gravity down to the grey water tank under the sink.
Total Cost of Plumbing: $255.89
Note: We have actually been unhappy with how our plumbing setup has worked but have yet to make improvements. This means there is no tutorial available… yet…
Other Misc. Costs:
| Appliances | 338.39 |
| Composting Toilet | 400 |
| Sound System | 718.96 |
| Bed & Mattress | 482.56 |
| ARB Refrigerator | 607.18 |
| Roof Rack | 3114 |
| Front Bumper | 3066 |
| Rear Bumper with Boxes | 3910 |
| Swivel Seats and Seat Covers | 705.05 |
| Wheels and Tire Upgrade | 1899.75 |
| Window Tint | 125 |
| Tools/Misc. Parts | 566 |

25 Responses
Hello; I am really enjoying your tutorials–my own build is just a few weeks out so lots of planning right now. Do you have any sort of table for eating, working, writing, playing cards or whatever? If not, how do you do these things? Thx!
We actually do not have a table. We just eat/work from our laps. In our next build, though, we’d have a table of some kind.
Hi Nate and Step,
What kind of slider did you guys use for your nature head?
I am thinking of a design where the toilet can be slide out into a shower space and slide back into a cabinet. The slide will not rest on the shower head and will have to be supported while pulled out. Will appreciate what hardware you guys used. Thanks in advance.
I can’t find the exact ones anymore after a 5 minute search, but they were something like, 18″, 250lb capacity, soft close drawer slides.
The camper van walls ceiling and cabinet looks great thanks for such informative article.
Thanks so much! 🙂
Will you be featuring your cabin build in colorado?
Yes!! We will be. Is that something you’re interested in?
Yes!
Nate and Steph –
It looks like you have taken your van into the mountains during winter a lot and that you insulated for winter. I am curious if your van is 4×4. If not, how does it handle on snow and icy roads. I have a 144, 2017 Sprinter without 4×4 and love to ski. I live in the PNW and am a little worried about winter travel. I am use to all wheel drive Outback with Blizzack tires for skiing. Can you talk about (maybe you have blogged about this and can direct me to a link) advice on what I need to do to my van for these conditions? Tires? Do you use chains? Weight over the wheels?
Your videos have been a huge help to my research on my future build. I am a little hung up on insulation, but as you say the best choice is the insulation in your van.
Thanks for your help.
Hugh Montgomery
Hey Hugh! The only thing I can compare it to, is, it drives like a long wheelbase rear wheel drive with the bed fully loaded down. It’s no subaru with winter tires, but for us, it handles fine, but we are fairly skilled at driving in sub-par conditions AND we know our limits and when to stop and let the weather pass. We have BFG KO2’s which are winter rated (snowflake) tires and we carry chains. We also carry a shovel, traction boards, shackles and a snatch strap in case we get stuck. We do have another blog post and video which you can find here: https://www.explorist.life/2wd-vs-4×4-campervan/
When i click on the blog building camper van cabinets, im sent to installing solar each time. Has that blog been removed?
That’s definitely not supposed to happen. It looks like a LOT of the links on this page spontaneously broke for some reason. Sorry about that! I’ll fix it soon. In the meantime, you can go to this page and you should be able to find all of the diy camper van posts you are looking for: https://www.explorist.life/diy-camper-van-build/
I have a question for you I have some used panels I have to 100 watt panels and I have four 55 watt panels can I connect two 55 watt panels and one 100 watt panel together to make a 36 volt 210 Watt panel x 2. I ask because I have these in the garage and I have a 40 amp mppt controller
CAN you? Yes… Is it ideal? No… and I’m a big proponent of doing it right and doing it once.
Was that a lot of mileage on the engine? Or does that model get a lot more miles on the motor?
Nice build by the way.
Thanks! It’s average mileage for this year of vehicle. These engines can go FOREVER with proper maintenance.
Hey…
Can i just pay you guys to make me an exact diagram I would need for my van. And I could tell u all that I want powered, and U guys could basically tell me what i need. Because i dont was tospend alot of unnecessary money but i want the energy thank hop to talk to u guys soon
Hey Nessa! We currently are not offering 1 on 1 consultations, but you can learn how much power you’ll need here: https://www.explorist.life/what-size-of-solar-system-is-needed-to-power-a-camper/
I am working on more wiring diagrams to be uploaded, so stay tuned! In the meantime, I wanted to make sure you knew about this wiring diagram: https://www.explorist.life/solarwiringdiagrams/
3.5
5
0.5
4
5
4.5