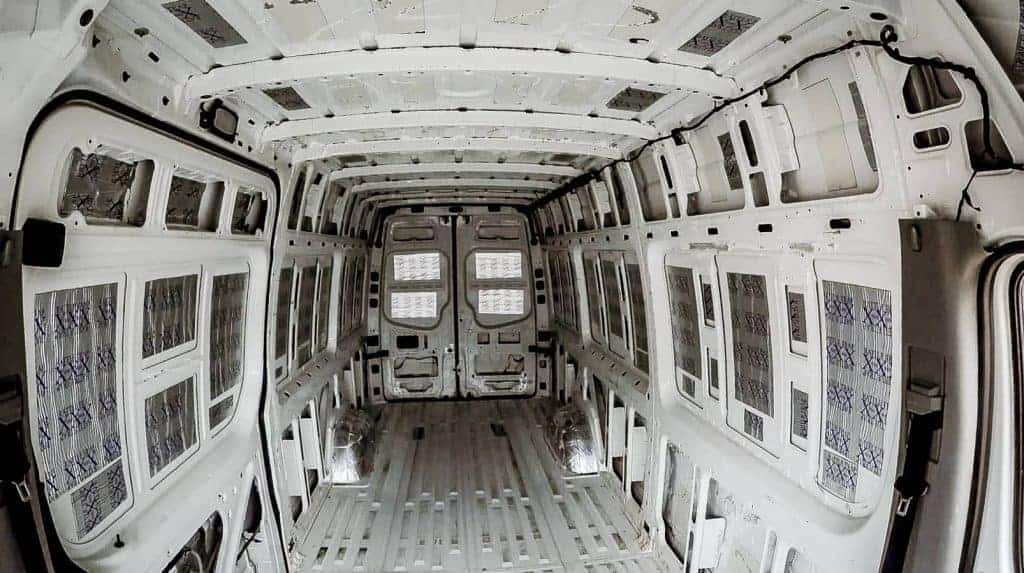
In its previous life, our Sprinter was a work van and despite being a Mercedes, it still was quite noisy driving down the road. We decided to install FatMat Rattle Trap Sound Dampener to make the ride quieter for our campervan.
HOW MUCH SOUND PROOFING IS NEEDED?
In its previous life, our Sprinter was a work van. And despite being a Mercedes, it still was quite noisey driving down the road. We decided to install FatMat Rattle Trap Sound Dampener to make the ride quieter for our campervan.

Tools/Items You Will Need
- FatMat Rattle Trap Sound Dampener
- Box Knife
- Heat Gun/Blow Dryer
- Roller (included with Rattle Trap)
Total Project Cost: $142.34
STEP BY STEP – HOW TO SOUND PROOF A CAMPER VAN
Clean the Surface: Since this is a peel and stick application, you want to make sure you clean the surface of the van before you insall the Rattle Trap. We used a simple vinegar solution to wipe down the metal.
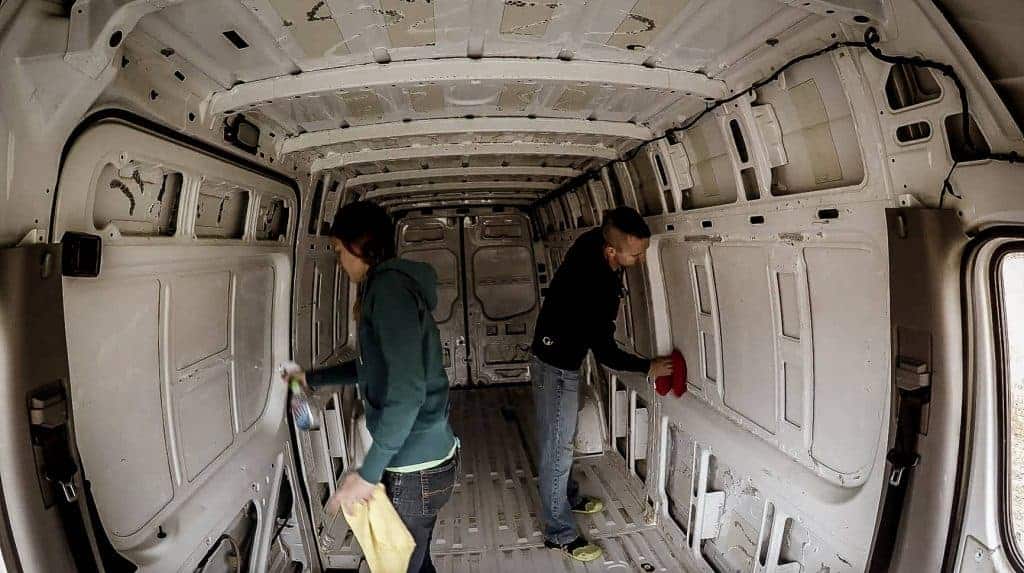
Cut the FatMat RattleTrap into about 5-6 inch strips. You don’t need 100% coverage on the metal to get the affect you want. Really just the biggest surfaces are the most important, so you don’t need to be overly concerned about measurements.
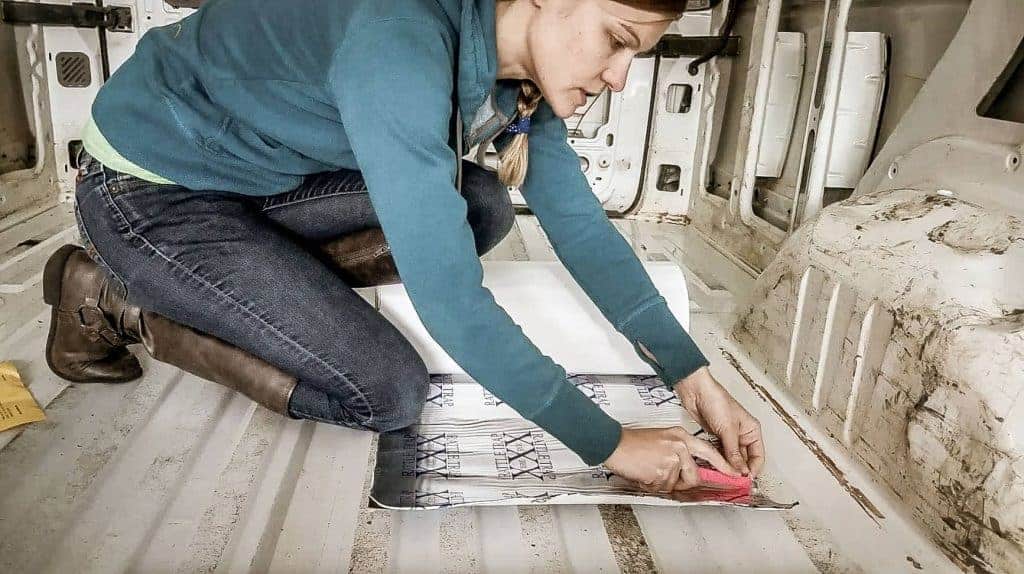
Peel and Stick. This is a pretty simple application, as it’s just a peel and stick! We were most concerned with the larger areas of metal and the wheel wells. We started with the wheel wells and worked our way through the big metal areas.
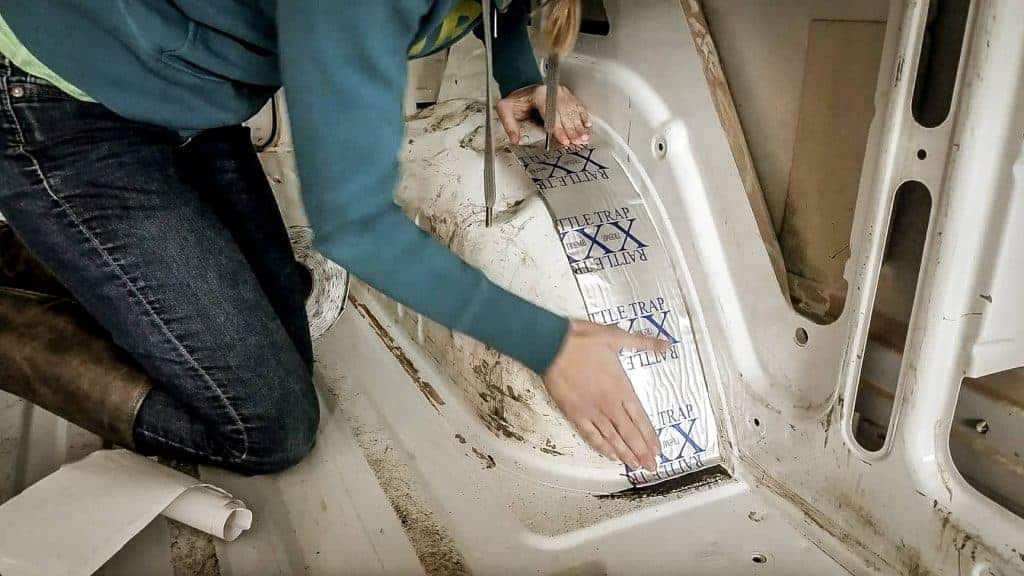
Heat it Up! We found that it was much easier to apply when it was heated up a bit. We had a heater going in the van for warmth anyway, so we just used that. You could also use a heat gun or a hair dryer to make it more pliable.
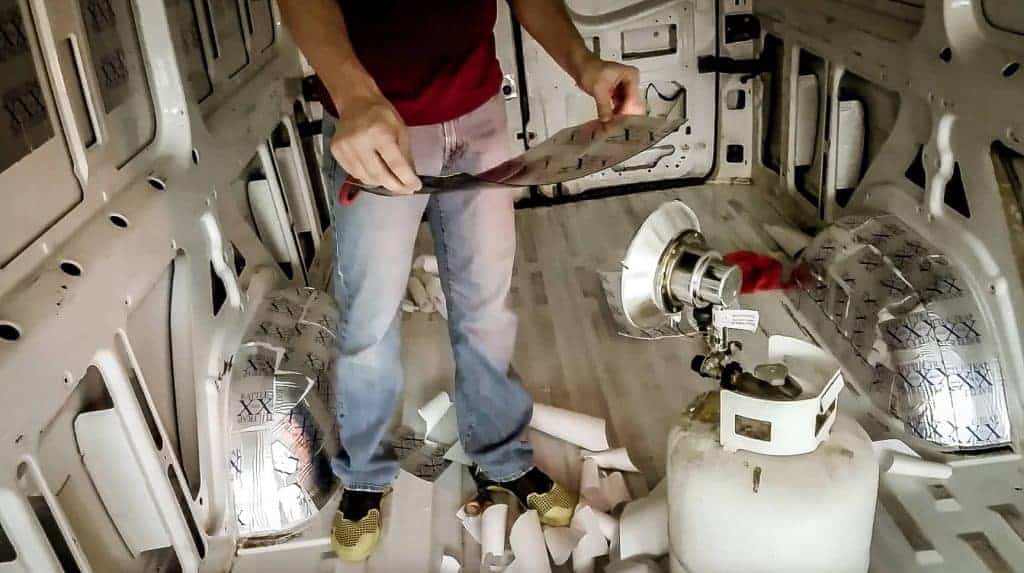
Smash it! A little muscle with the roller smashes the edges down and makes sure your RattleTrap is fully applied to the metal. Note that the Rattle Trap actually comes with a roller in the box. Amazon didn’t mention this and it was a suggested add-on for our purchase. While we didn’t purchase a roller, we can see how someone would buy one not knowing it comes with one. So save the five bucks and buy yourself a beer instead! ?
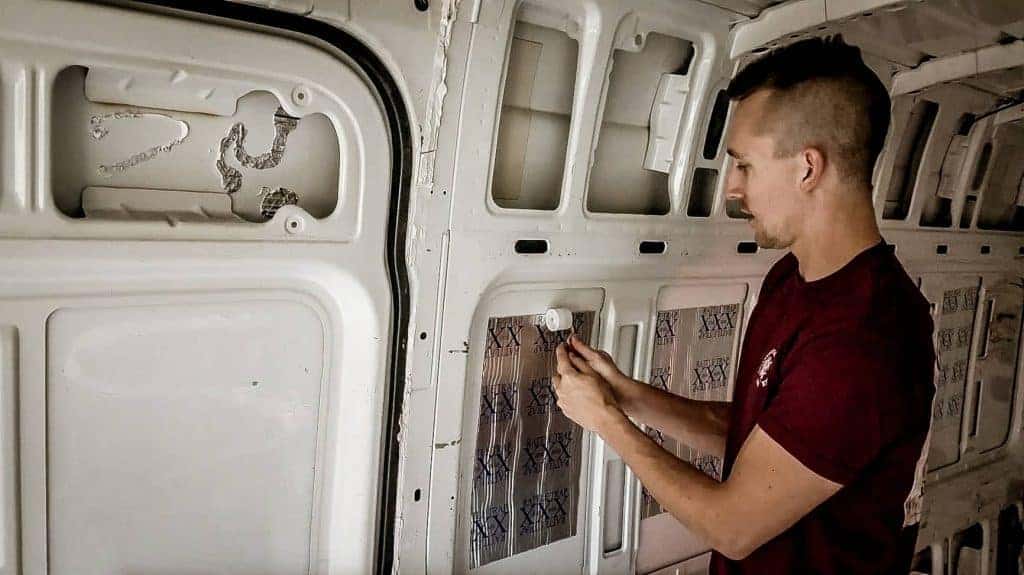
That’s all there is to installing FatMat RattleTrap in a Mercedes Sprinter! It didn’t take us very long at all and we got a good amount of coverage with the 50 square feet that we bought. It made a world of difference in the sound of the metal, too. That should kill some road noise!


18 Responses
What do you think about a hydronic heater that can heat both your water and air at the same time?
Great idea!
@Nate Yarbrough, did you ever install one? How do you heat your hot water?
I have not installed one, no. We did not have hot water in our van, but in our next one; we will heat water with a 120V electric water heater: https://amzn.to/2WVkAW5
Nate, thanks so much. Great post. Sounds like all you need is time and some patience, but not a lot of experience. Best, Trent
Do you have a link for the rattle trap
Yep! Here ya go: https://amzn.to/35DmUUR
Any fume or VOC down the road? I am very concerned with breathing crap gassing off the sound deadener..
Any feedback?
Claude
None that’s noticeable.
Did you install the insulation over the sound proofing?
Yes! Here is the insulation process: https://www.explorist.life/how-to-insulate-a-campervan/
Did you insulate over the top?
Yes, we did.
Question, you mentioned in your insulating blog that you cleaned the walls with vinegar. You mentioned the same here. Are you cleaning the sound proofing and then putting spray adhesive on that for the insulation to stick to?
Thanks!
The vinegar was just to get grease off of the walls. Just simple cleanup so the adhesive would stick better.
4.5
3.5
5