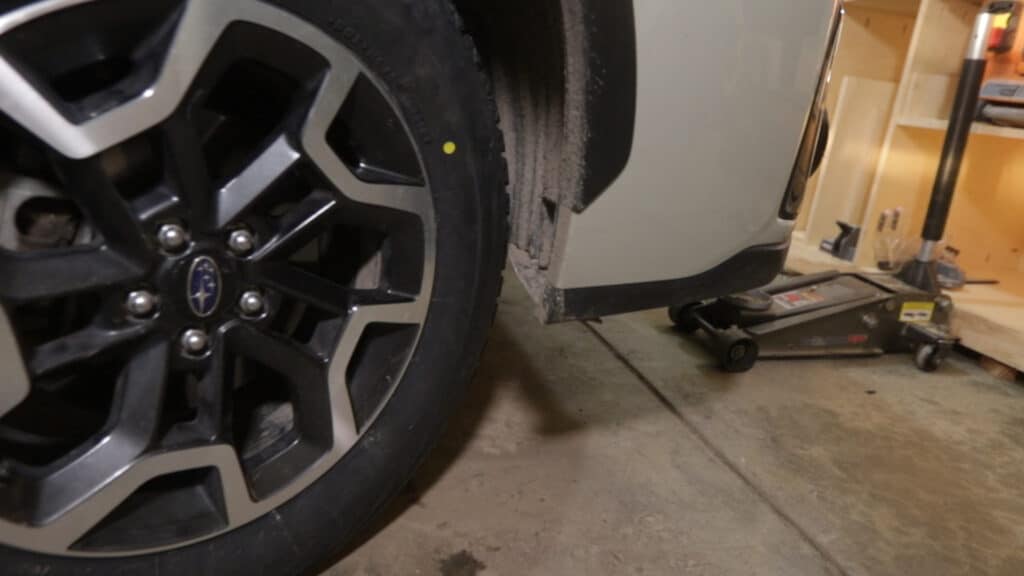
In the last chapter of our DIY Crosstrek Camper build we installed a 2″ Rough Country Lift. This blog post will give you the run-down of what tire we chose as well as how it actually fit inside the wheel well and where we had to trim to get the bigger tire to fit. I’ve made a video about this crosstrek tire upgrade you may find helpful:
We chose to install Bridgestone Blizzak WS80 winter tires. We installed these on the stock rims as these will only be on during the winter and the stock 17″ rim size is a great size for this application. We will be upgrading our rims to a smaller size and a tire with a larger sidewall in the spring.
What do Tire Sizes Mean?
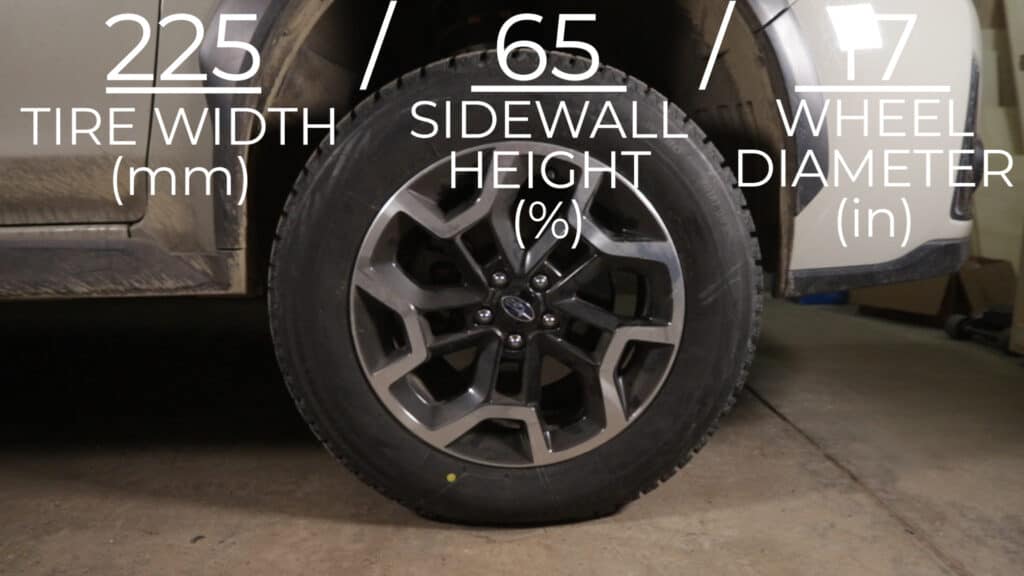
The bigger tires we installed are 225/65/17. Here’s a quick recap of what those numbers mean:

The first number, 225, is the width of the sidewall in mm.
The third number, 17, is the diameter of the rim in inches.
The middle number, 65, is the height of the sidewall expressed as a percentage of the width of the tire. This means… the height of the sidewall is 65% of the width of the tire (225mm).
I’ve also made a calculator that will do this calculation for you AND will let you compare the total heights of two separate tires for the sake of comparison. Here is that:
Tire Size Comparison Calculator
If you want any other functionality added to this calculator; leave a comment at the bottom of this page and I’ll see what I can do.
Trimming to Fit Bigger Crosstrek Tires
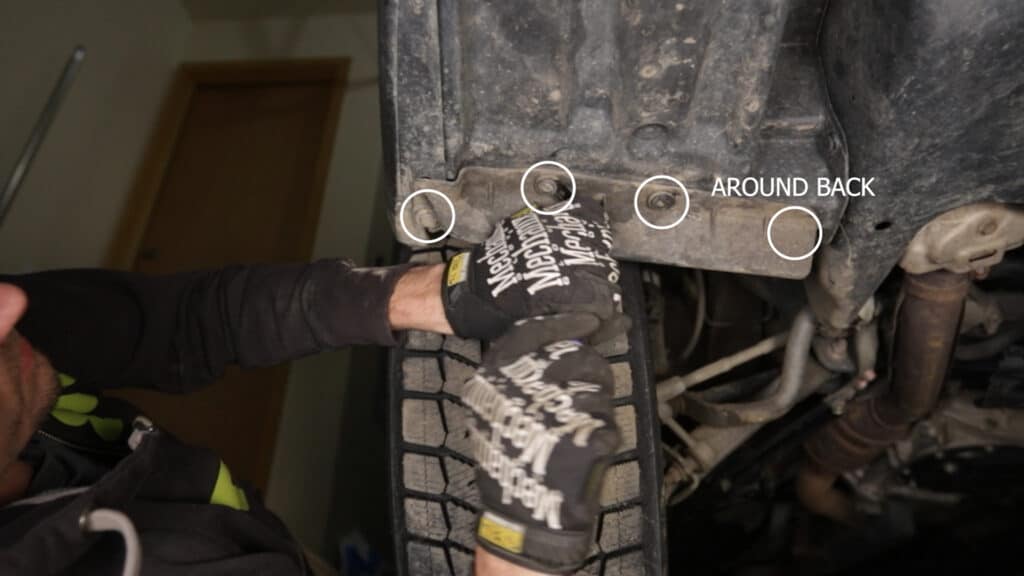
The first and biggest problem area where the tire was rubbing on the front fender liner was not TECHNICALLY on the fender; but was on the little mudflap thing in front of each of the front tires. Worse yet; when in reverse, the treads of the tire were grabbing the mudflap and pulling it up; making some terrible noise.

Fortunately, this mudflap can simply be removed without cutting anything. There are four trim clips that need to be removed that hold the mudflap to the fender. Remove these trim clips, remove the mudflap, and reinstall the trim-clips without the mudflap in place.

There was one spot on the passenger side fender liner where the tire was rubbing. It was only rubbing at FULL turn; and it was BARELY rubbing. Knowing this and knowing that the only time I’ll ever be at full steering lock will be at low speeds; turning into or out of a parking space, I’m going to leave this alone for now. If it bothers me further; a simple zip tie pulling the liner forward may be a better solution than cutting the fender.

6 Responses
I have hear when you get a bigger tire, you need to have 15mm offset. Stock offset for those wheels is 48mm. Have you considered a 25mm (1in) spacer?
Our winter tires (the one in this blog post) fit fine on stock wheels (48mm). If you used a spacer, a slightly larger size would be able to be used with some wheel well trimming. Our summer tires (225/75/15 Toyo Open Country) are mounted on some 15″ wheels with a 15mm offset (https://www.motegiracing.com/product/wheels/mr148-cs13/?attribute_pa_finish=satin-black) and I had to do some trimming to get those to fit.
@Nate Yarbrough, thanks for your reply! I really appreciate it. Where did you have to trim for the 225/75r15s?
Just in the fenderwell and a bit of the pinch weld behind the front tires.
Do you think these rubbing issues would have existed with this exact same setup without the 2” lift? I’m looking at these exact tire for my crosstrek at stock height
Yes. Likely.