While most van lifers and RVers are heading south for the winter, we are chasing snow and preparing for van life in the winter. We had to make a few modifications to our van from the very get-go.

INSTALLING A HEATER
The very first and most important change we made in preparing for van life in the winter was installing our Espar D2 Diesel heater. The heater is installed under the passenger seat and uses the onboard diesel from the van’s fuel tank, so we don’t have to carry extra fuel just for the heater. We did a full post all about the heater and all of the details, which you can read here.

INSTALLING A HEADBOARD
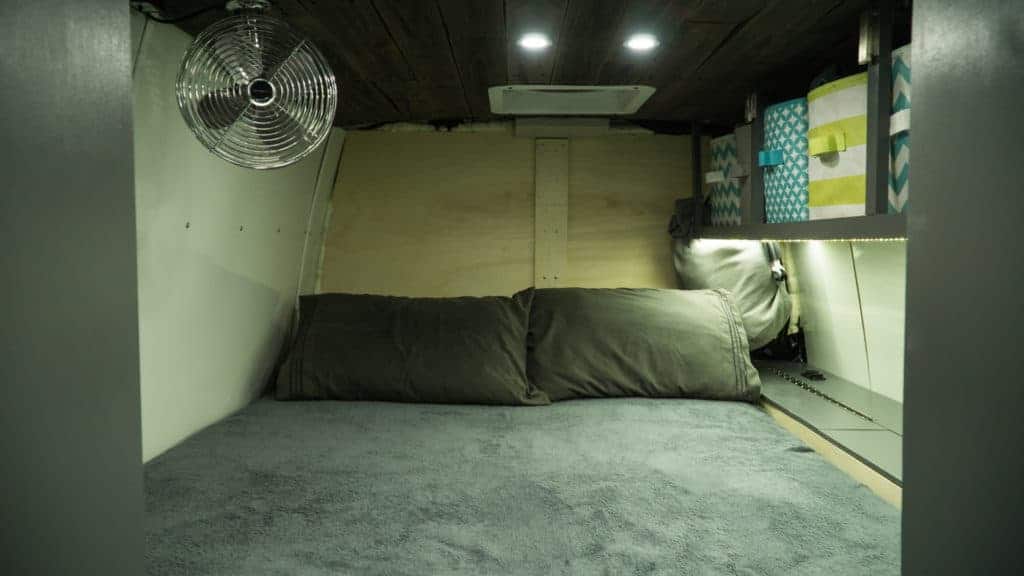
In our original van design, the back of the van was completely open, allowing us to look out the back doors when they were open. Whereas that was great for views, it wasn’t great for much else. Specifically for the winter, we had drafts coming in from the back doors. And since our heads are right up against the back doors, we were getting the coldest air coming in right there on our heads while we slept. Installing a headboard and sealing all the way around it with expanding foam eliminated those drafts completely. Now, the design of this headboard is actually temporary for the winter and will be removed in the summer. However, we will likely replace it with a more permanent solution that addresses those issues but is prettier. While preparing for van life in the winter, we chose function over beauty.

INSULATED WINDOW COVERINGS
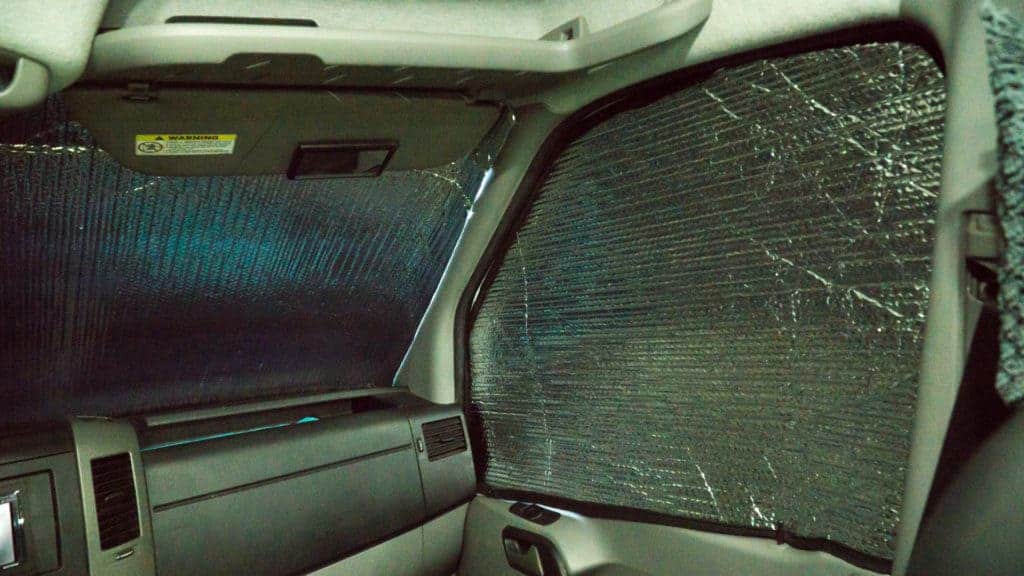
When we first encountered cold weather in our van, there was a noticeable difference in temperature from the living area of the van to the cab. We were losing a lot of heat to the windows, and it was making the cab area significantly colder than the rest of the van. To combat that, we made insulated window coverings. These coverings are cut exactly to the size of each window as well as the windshield. The side windows are Reflectix on one side, heavy duty black fabric on the outside, and have neodymium magnets glued and sewn into them to fasten them in place. The windshield covering is only Reflectix, without the black fabric on the outside. The windshield covering is only held in place by the visors, and mostly stays in place because of the snug fit to the windshield. We did make our own custom Sprinter window covers, but if you would prefer to purchase them, you can get the side windows HERE and the seller mentions they can do custom orders as well.

INSULATED WHEEL WELLS
In our initial build-out of our campervan, we opted not to insulate the wheel wells. The shape of the wheel wells made them difficult to insulate with the type of insulation we chose, and we were more concerned about heat than cold at that point. Fast forward to preparing for van life in the winter and now we are more concerned about cold.
Here’s how we insulated our van!
The best material we could find for the contour of the wheel wells was Reflectix. It’s pliable enough to meld to the shape of the wheel wells and fit tightly enough over them to still look sleek after installation. We added two layers of Reflectix to each wheel well for insulation.
ENSURING AIR CIRCULATION IN THE GARAGE
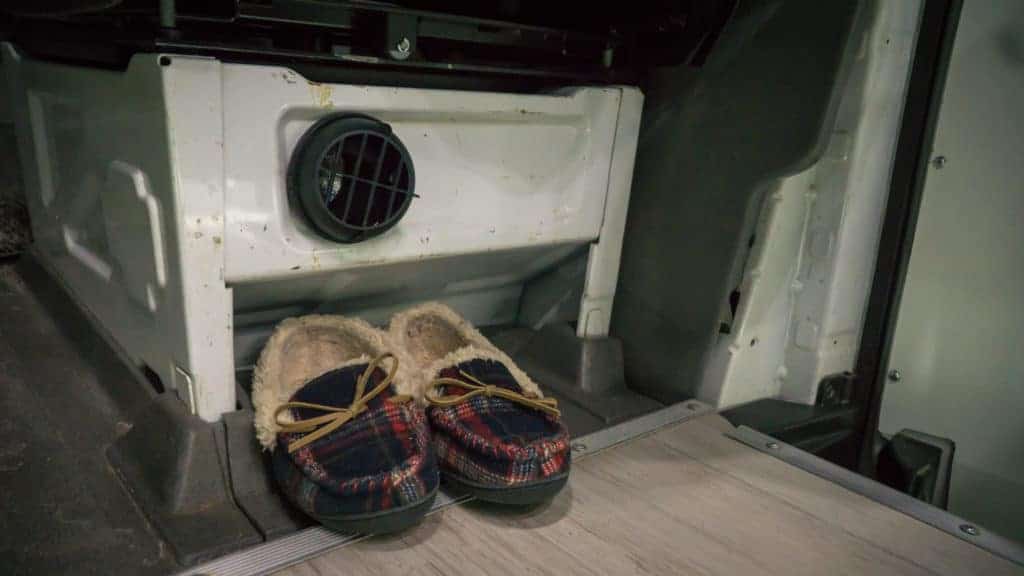
After installing the headboard to cut off drafts from the door, we effectively sealed off the “garage” space (i.e. under the bed) of the van from the living space. Because of that, we also sealed it off from the heat coming from the newly installed Espar heater. Since our fresh water storage is in the garage area and is plumbed to the front, it’s important for us to keep that area above freezing. To combat that issue, we had to ensure there was enough air circulation from the front (heated) part of the van to the garage. We drilled two large (2-inch) holes under the cabinets to the garage on either side of the van (one under the kitchen area and one in the bathroom area). On one side, we installed a small computer fan to pull some of the warm air from the living space to the garage. The other side acts as a “return air” vent and pushes the colder air from the garage back into the living space. These act together to help air circulation in the garage and bring the temperature difference down.
EMERGENCY PREPAREDNESS KIT
Let’s face it: you’re more likely to get stuck in the snow in the winter than to get stuck in dirt in the summer. At least, that’s how our experience has often been! We added a few items to our emergency preparedness kit (or our “unstuckedness kit”) for the winter months ahead. The items we have now include:
- Square shovel for digging and/or moving snow
- Tow Straps
- A bag of sand for providing traction on ice
- Traction boards for providing even more traction
- Shop broom for brushing snow off the solar panels
Hopefully we will never have to use any of those items, other than the shop broom for when it dumps. But it’s always better to have them on hand than to wish you had them.
MERINO WOOL CLOTHING
Finally, our preparations for winter van life had us revisiting our closets. Merino wool has long since been a part of our lives, as many of you know from reading and/or following along. Merino wool is an even bigger game changer for the winter months. The sheer amount of clothing and laundry that is needed over the winter gets cumbersome quickly, but the anti-microbial, fast drying properties of merino wool cuts that down significantly. Having dry clothing every day makes life much better in the winter, and not stinking after a day on the slopes is an absolute must. Some of our favorite brands of wool clothing are Icebreaker, Ridge Merino, and Farm to Feet.
VAN LIFE IN THE WINTER
While our winter van life is just kicking off, we will likely have some more tips for cold weather van living in the future. These are the first things we did in preparing for van life in the winter. Hopefully all of our prep work will pay off and we will have a cozy, comfortable winter!

6 Responses
Hi Nate – Question for you! Should I be concerned about condensation in my van AS I build it? I am thinking about converting the van in December and I am worried about the snow and rain outside affecting my build.
Yes, you should make every attempt to keep your van as dry as possible during the build.
I am converting a Toyota minivan and am very concerned about how to seal off the engine department from the cab area, not only against cold, but critters as well. Any suggestions ?
Critters will eat through pretty much anything; so there’s no use in worrying about that except for keeping a clean and tidy living space. For sealing it off for temperature, We did not do anything special up there. There is already a bit of insulation as the firewall is insulated due to heat.
4
5