
One year ago, we changed the color of our van from white to tan and grey using PlastiDip. Now, we’re doing a full inspection of how it held up and what it looks like today. Would we do it again?
Want to see how we PlastiDipped our whole van? Click Here!
HOW DID THE PLASTIDIP HOLD UP?
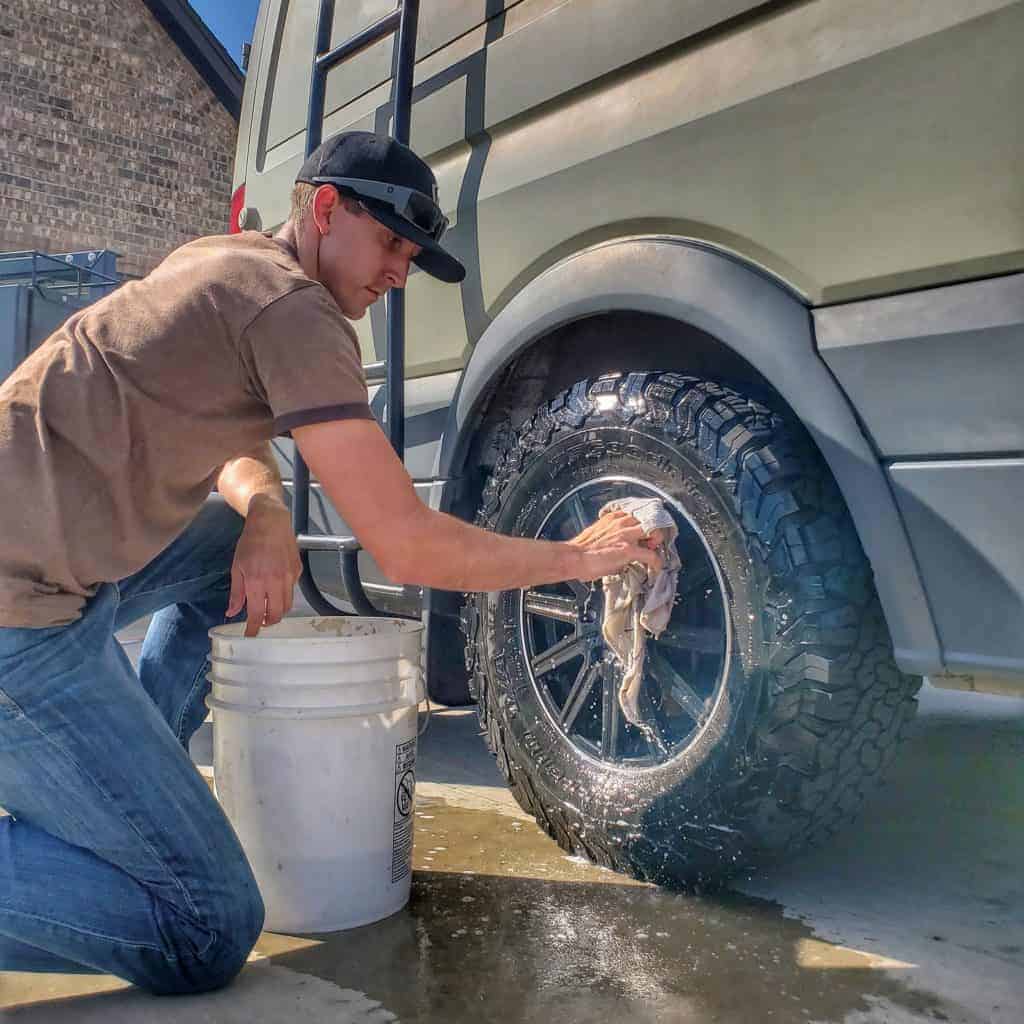
Over the past year, we have not been easy on our van, including the PlastiDip. We often drive down narrow back roads with shrubbery scraping the sides of the van. More than once, we’ve scraped up against a low-hanging branch. Additionally, we had not washed the van since we applied the PlastiDip. So the first course of action was to give the van a wash!
DINGS AND DAMAGE
Aside from a few rock dings in the hood and a few other spots around the body where rocks have hit, the PlastiDip has held up very well. The most damage is to the hood and the backs of the side mirrors, which is what we would expect to have the most damage. Check out the video above for the visual inspection of the van.
Aside from dings from driving, there are three main places that have damage to the PlastiDip after a year. One spot is on the handle to the side door of the van, which gets a lot of wear and tear from us opening and closing the van. Since we were not able to get full coverage on the handles, we knew there would be lifting, and one year later we were correct.
The second place that has damage not from road wear is a couple spots that have bubbled (above the windshield and on the back door). These two places were bubbled from moisture under the PlastiDip upon application. However, they have not gotten any worse over the year and still appear to be holding their form. So we aren’t too worried about it.
And the last place that shows signs of wear and tear is behind the ladder to the roof of the van. This is another obvious spot that would have wear, as shoes tend to rub against it as we climb the ladder. It isn’t bad wear, though, more like scuffs to the paint.
WOULD WE PLASTIDIP A WHOLE VAN AGAIN?
After a one year checkup on how PlastiDip has held up, we would absolutely use this again on our van. For the price point of $765.81 for the entire job (check out the full kit that we purchased here), we couldn’t have asked for a better result. From the color to the durability, we haven’t had any issues and would do it again. If you want to pick up some PlastiDip for yourself, click HERE.

SOME FAQS ABOUT PLASTIDIPPING OUR VAN
Q: How much was it?
A: We paid $765.81 for the entire kit, including the prep kit, 10 gallons of PlastiDip, a sprayer, an after care kit, and miscellaneous other parts.
Q: How many gallons did it take to PlastiDip the entire van?
A: We used 10 gallons: 6 gallons of Gunmetal Grey as a base (recommended by Dip Your Car) and 4 gallons of Camo Tan. If we were to do this again, we would get 1 more gallon of Camo Tan.
Q: Why did you choose PlastiDip over paint or vinyl wrap?
A: Plain and simple was cost. We were quoted $7-10,000 for vinyl wraps and paint jobs, so we opted to try this route.
Q: Why would you want to change the color from the beautiful white?
A: Because we didn’t agree that it was beautiful in white!
Q: Why didn’t you prep before PlastiDipping your van?
A: PlastiDip does not require any special prep. You simply wash the vehicle thoroughly, make sure it is completely dry, and then give it a wipe down with the Pre-Dip Spray before spraying. This isn’t paint, so you DO NOT need to sand or “rough up” the paint for it to adhere.
Q: Why did you not use Linex or Rhino Liner instead?
A: We didn’t know this was an option when we did our PlastiDip. We likely would have looked into that option had we known this was a thing.
Q: How much weight did PlastiDip add to the van build?
A: To be perfectly honest, we don’t have a solid answer as we did not weigh before and after dipping. However, a gallon of water weighs approximately 8lbs and we applied 10 gallons. Accounting for evaporation of the thinner, the most it could’ve added is around 80 pounds, but we feel it was negligible.
Q: Does it add any kind of insulation value?
A: Likely not.
Q: Doesn’t changing it from white to any other color make it less stealthy in the city?
A: Probably, but take a good look at our van. There is nothing stealthy about Backpack 2.0! We’re totally fine with that.
Q: Is that your grey/green/white/brown van out there?
A: Yep! We’ve learned that our chosen color (camo tan) tends to blend in with its surroundings. So people often mistake the color for another color, which makes it fun to guess which color our van will be each day!

5 Responses
Nice article, very informative; thank you! I’m curious as to how your van’s Plasti-dip is holding up after another 20 months? I’m thinking of using it on my truck.
So far so good! Still impressed by it.
@Nate Yarbrough, how about now? (1 year later)
It’s starting to peel a bit at the edges now after four years.
4.5