Walls are fun, right?! Rather than installing wood paneling in our campervan, we decided to use a gloss white wall panel that is basically dry erase. It’s a clean, white look and makes the van feel much larger!
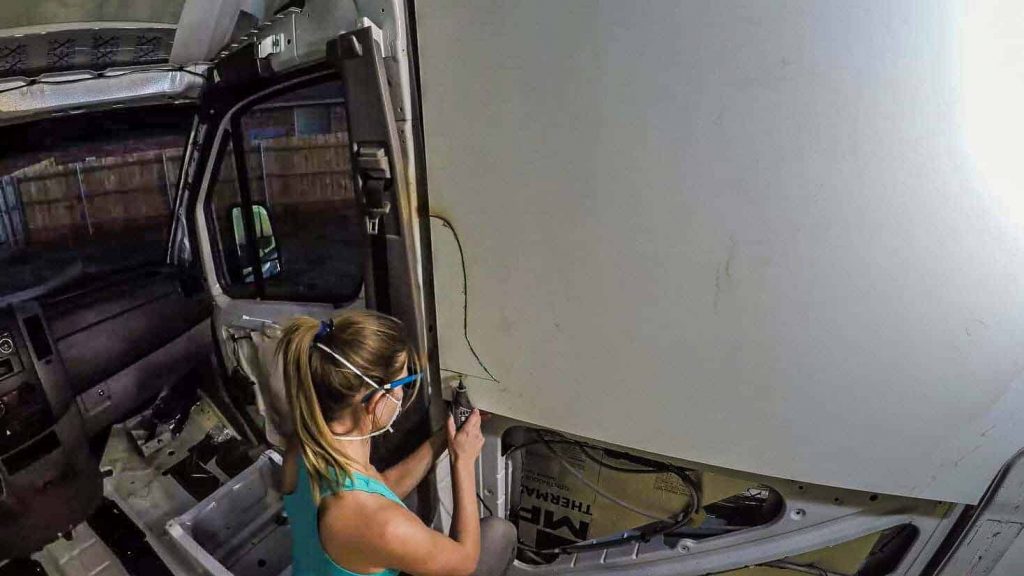
HOW DO YOU ATTACH WALLS TO A SPRINTER VAN?
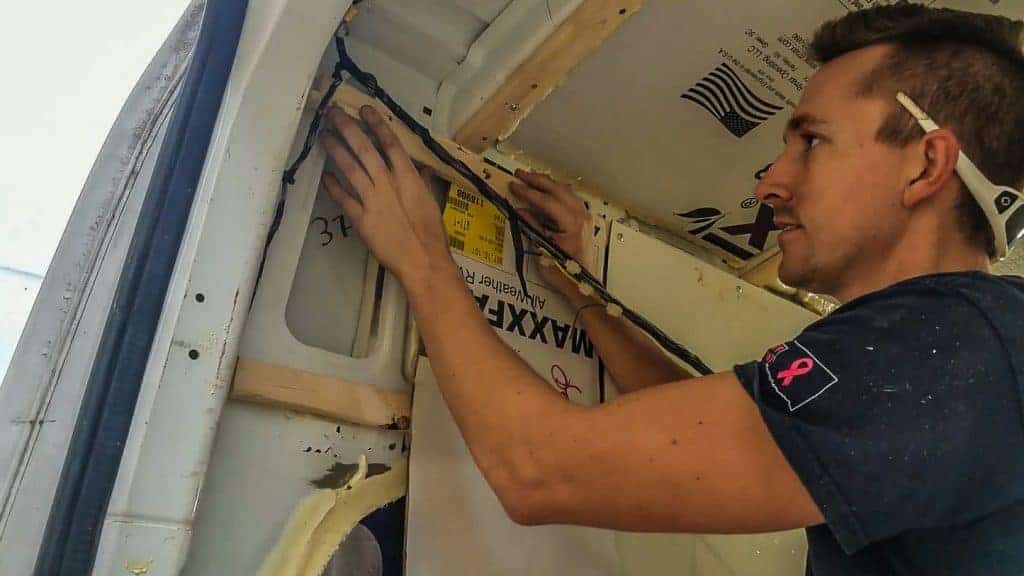
Rather than putting a ton of screws directly into the Sprinter walls, we attached furring strips down the length of the van. We then used those to secure the walls to minimize the number of screws going directly into the metal.
Total Project Cost: $347.39
Tools/Items You Will Need
- 9 4’x8′ Sheets Wall Paneling
- 10 1″x2″ Furring Strips
- 3/4″ and 1 1/4″ Lath Screws (self tapping)
- Dremel with Wood Cutting Wheel
- Drill
- Skill Saw (aka circular saw) or table saw
- Jigsaw
- Scribing Tools (see below)
- Cardboard for templates
- Measuring Tape
- Dust mask or Respirator
- Eye Protection
- A little Coffee
BUILDING WALLS IN OUR CAMPERVAN:
Installing walls on our Sprinter van actually didn’t take us very long and was a relatively easy process. Here are the steps we took:
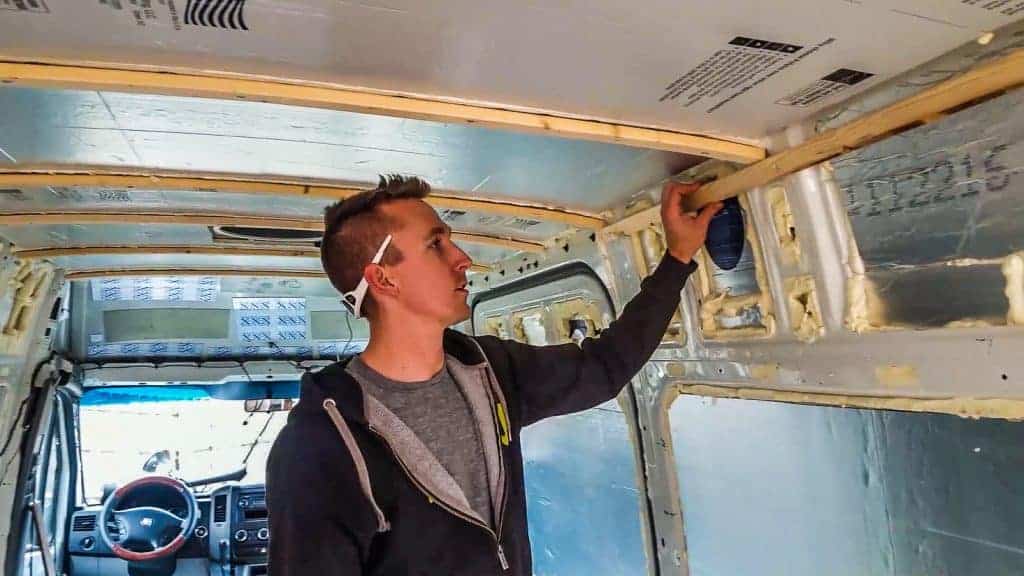
Attach Furring Strips: As I mentioned before, we used furring strips to attache the walls to the van to minimize the number of screws going directly into the metal of the van. Placing them lengthwise down the van, we secured the furring strips to the top, middle, and bottom with 1 1/4″ Lath Screws. This length of screw allowed us to go through the 1″x2″ furring strip and into the van 1/2″ on the ribs, which prevented the screw from going through the van and coming out the other side.
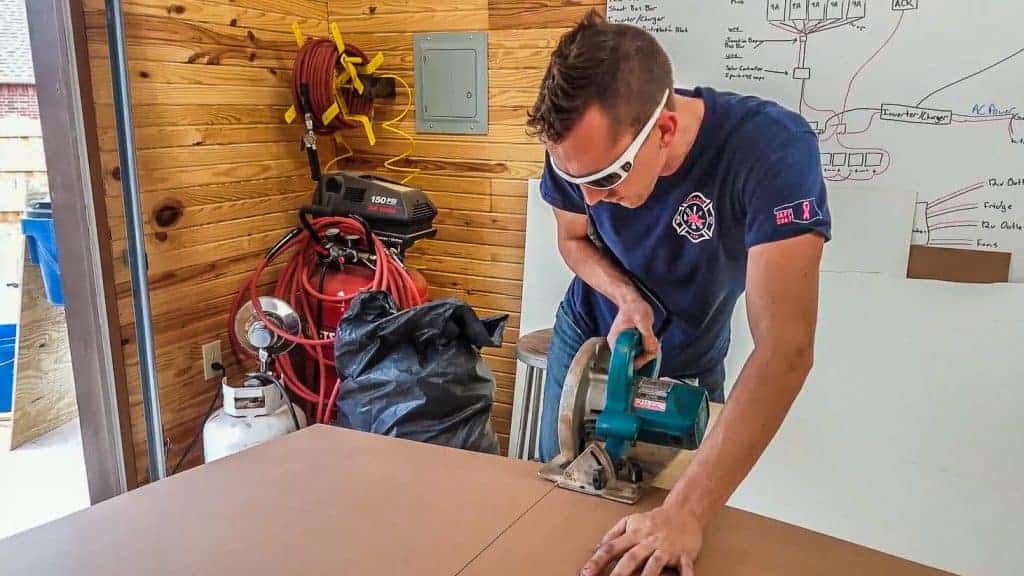
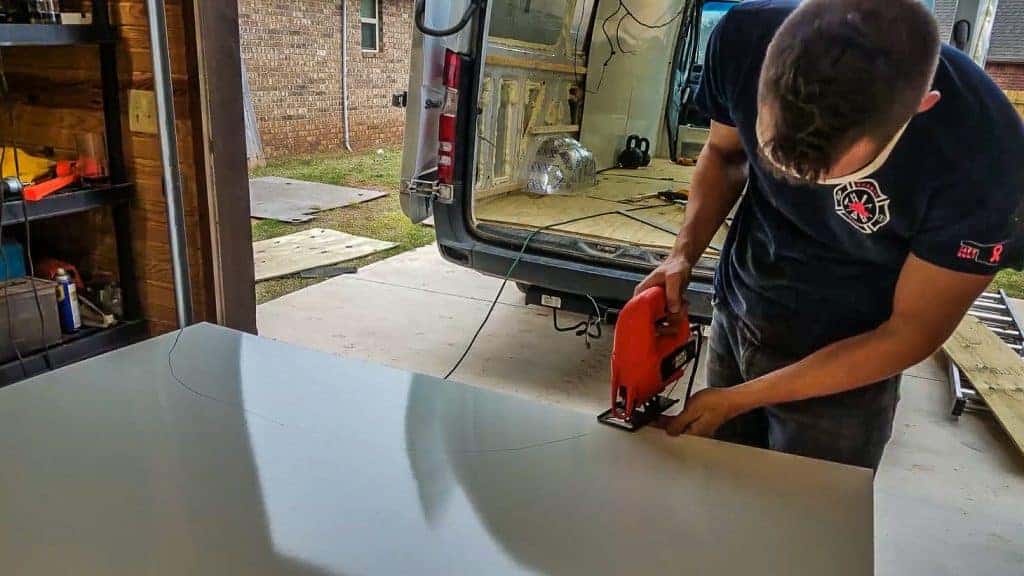
Cut Panels: We ended up using 9 sheets of wall paneling to cover the sides, sliding door, and back doors of the van. Working in four-foot sections, we turned each panel so that our cuts would be at the bottom of the panel rather than on the sides so that we minimized seams. Most panels were cut with a Skil Saw (circular saw), but we did need to do some scribing with the jigsaw and some detail work with the dremel as well. Since the panels are very thin, we did need to strengthen them while cutting with 1x4s on each side of the saw. See the video above for a better visual of this.
Secure Wall Panels to the Van: Starting from the “most square” portion of the van, which was the partition right behind the driver’s seat, we worked our way back in four-foot sections, securing the panels to the furring strips with 3/4″ lath screws. We secured the wall panels to the van with the lath screws in 1-foot sections at the top, middle, and bottom of the panel, where we had previously installed the furring strips. Since the walls are particleboard, they were very sturdy once secured. After a test trip through the back mountain roads in Colorado, the walls held up very well.
Scribing and Detail Work: Since the walls of a Sprinter van (or any van for that matter) are not exactly square, there will be some scribing and detailed cutting necessary. We did this two ways. The first way was with a dremel and cut the panels in place to exactly the shape needed. This worked well for places like the sliding door, where there were a lot of very meticulous curves.
The second method is scribing. While we did show a method of using a straight edge and level in the video, this is actually not the best method to get perfect cuts. We learned that the hard way, but the cuts did work for our purposes on the walls. Once we moved on to cabinets, however, we needed a method that got much more detailed. We will be creating a tutorial video on the new method very soon, so be sure to subscribe to our YouTube channel.
Trimming the Wall Panels: Because you will have seams in between the wall panels, you may want to trim it out somehow. We chose to hold off on trim until we completed the rest of the build to see where cabinets would go and where we may not need trim. The last picture in the gallery below shows what we will do to cover the seams (and a sneak peek at the bed).
Get Creative! The funnest part of these walls is the fact that they are dry erase. So, we are enjoying being able to write measurements and notes directly on the walls while we work! It also cleans up very easily, so if you get dirt or grease on it, it wipes off very well.

14 Responses
I don’t see you mention weight as a factor on these wall panels. Is this something you thought to consider? The panels would look great for my van ceiling but my only concern is utilizing almost 3 panels at around 18 lbs each ~55lbs total to cover up walls.
thanks for your awesome articles!
Not really. What’s your lighter alternative?
55 lbs isn’t much to concern yourself with
I start my Vanbuild this weekend. I have a question regarding the Vapor barrier.
After the install of insulation and foam on the walls. If i use reflectix as a vapor barrier, how do i put the wall ferring strips on without piercing the vapor barrier? Can i counteract the screws through the vapor barrier with another type of sealant?
I’m not sure. I, personally, don’t think a true vapor barrier can be achieved in a van, which is why we didn’t do that.
5
Hi,
Unrelated question: Did you cover your maxair fans with solar panels? Do they open all the way and how much higher did you have to put the solar panels?
Thanks for all the great blogs!
Tom
Hi Tom! We did cover the MaxxAir fans with our solar panels, but they do still open all the way. I don’t remember exactly how high the panels are mounted, but they sit just on top of the roof racks.
Did you attach all of your cabinetry to those furring strips and sheet metal behind it?
Hey Mike! Yes, all of the cabinets are bolted into the metal on the wall as well as on the floor.
Hi guys!
Did you drill pilot holes into the van ribs before attaching the furring strips, or were the self tapping screws good on their own?
I don’t remember specifically one way or the other. I don’t see why I, personally, would have drilled pilot holes for self tapping screws though… so… perhaps that’s your answer? 😀