We really wish we could say there was an easy Sprinter Van Insulation Kit that made everything streamlined and simple. But there’s not…
WHAT IS THE BEST WAY TO INSULATE A CAMPER VAN?
That’s a great question; I’m glad you asked! If you’ve done any research at all on how to insulate a campervan, you know that there are approximately 1.73 million ways to do it. And no one actually thinks their way is the best way. So, we’ve decided that the best way to insulate a van is to pick one direction and stick to it! You can go crazy researching for hours, days, weeks and still not be sure you’re doing it “right.” The best insulation is insulation that is installed.
TOOLS/ITEMS YOU WILL NEED
- RMax Rigid Foam (Polyisocyanurate) We used:
- 9 Sheets 1/2 Inch
- 7 Sheets 1 inch
- Box Knife
- Spray Adhesive (3M 77) (2-3 cans)
- Great Stuff (You can’t get away with good stuff)
- We used 21 cans total
- Support Braces (1x2s or scrap wood will work)
- Razor Blades
Total Project Cost: $410.63
BLOCK OUT YOUR NEXT 2 WEEKS…
This process is a long process; it took us over a week working on it every single day and at least one 12-14 hour day. It seems like to took forever, but it’s done, finally! So don’t get in a hurry and just take your time. Here’s the step by step:
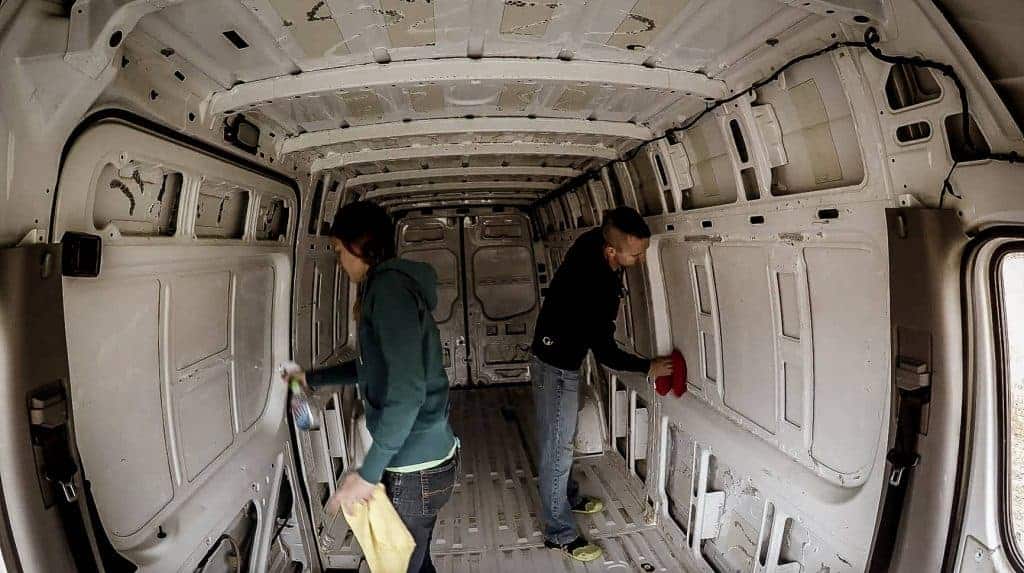
Clean the surfaces: Since we are using spray adhesive, we need the surface to be free of dust so that the 3M Super 77 adhesive has something clean to stick to. We just used a vinegar solution for this and made sure it was dry before moving on.
Measure Twice, Cut Once: Okay, in this situation that isn’t really all that necessary. Just measure enough to get close because your pieces are going to need to be trimmed in place anyway. We used 1-inch RMax Rigid Foam on the ceiling and walls as the first layer and 1/2-inch RMax for the second layer, giving us 1 1/2 inches of insulation around the ceiling and walls. We chose this because that is the depth of the cavities in both the ceiling and walls, so we wanted to maximize our insulation space. For the floor, we used only 1/2-inch foam so we wouldn’t lose too much height in the van.
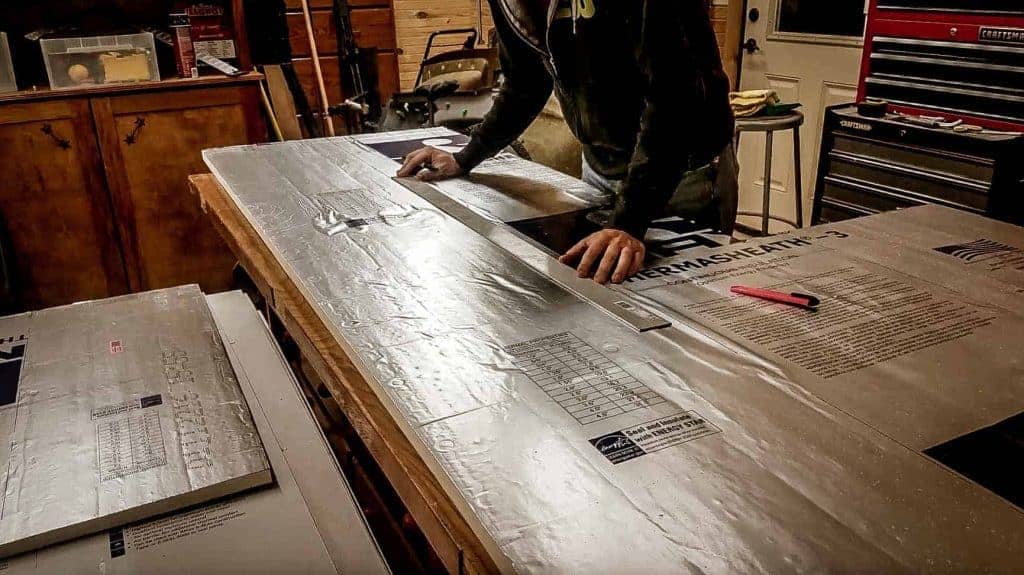
The larger parts of the van were pretty simple to measure and cut, but the smaller nooks were much more difficult. We found that cutting a ton of 5″ x 5″ squares and using them as little tetris pieces was much easier than trying to perfectly fit each piece. That saved us a ton of time trying to get perfect fits into small, awkward places.
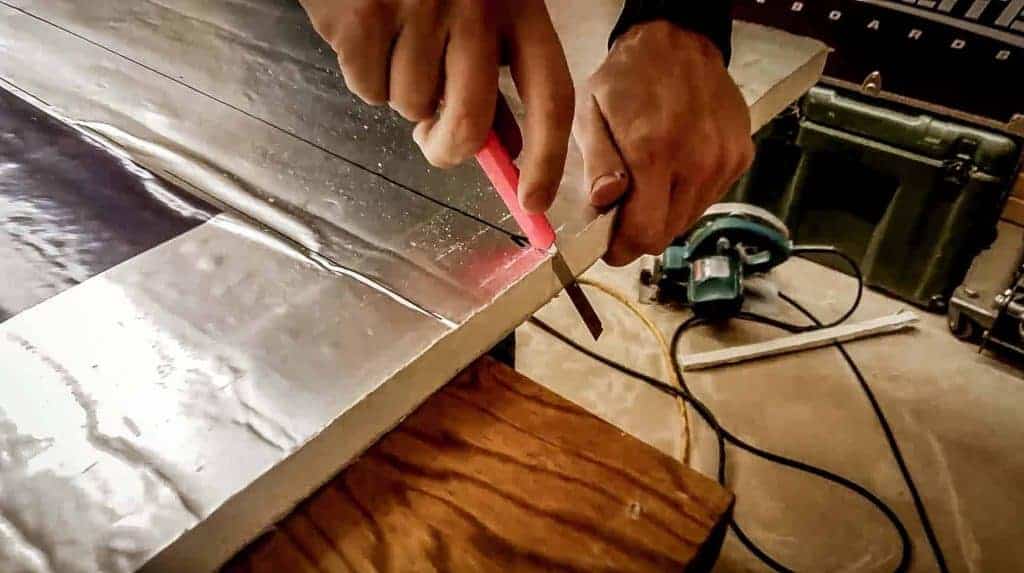
We ended up using 9 sheets of the 1/2-inch RMax and 7 sheets of the 1-inch rigid foam, with plenty of scraps left over.
Glue the Insulation: Using the 3M Super 77, we started with the ceilings and sprayed generously on the metal and on the back of the insulation.
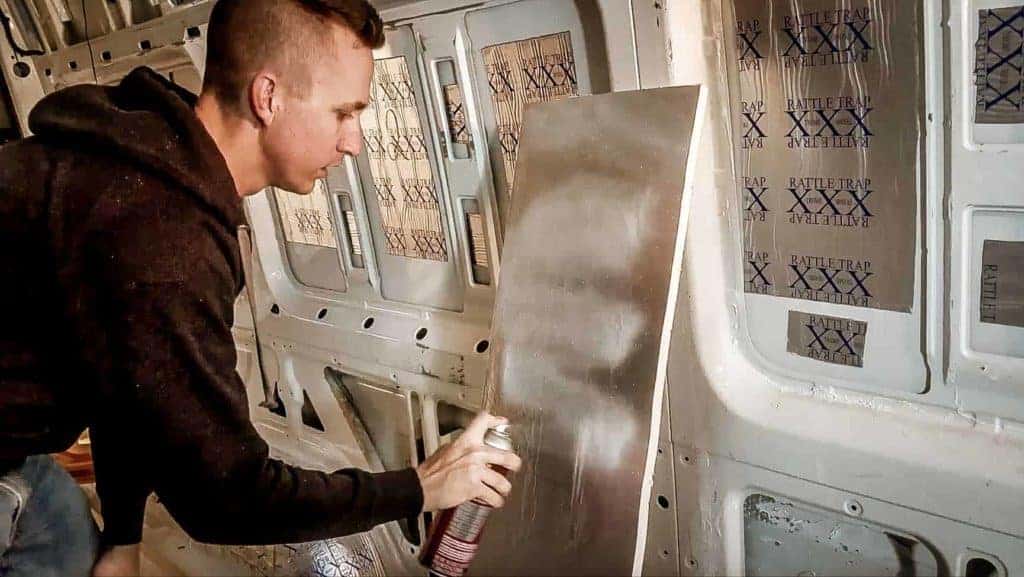
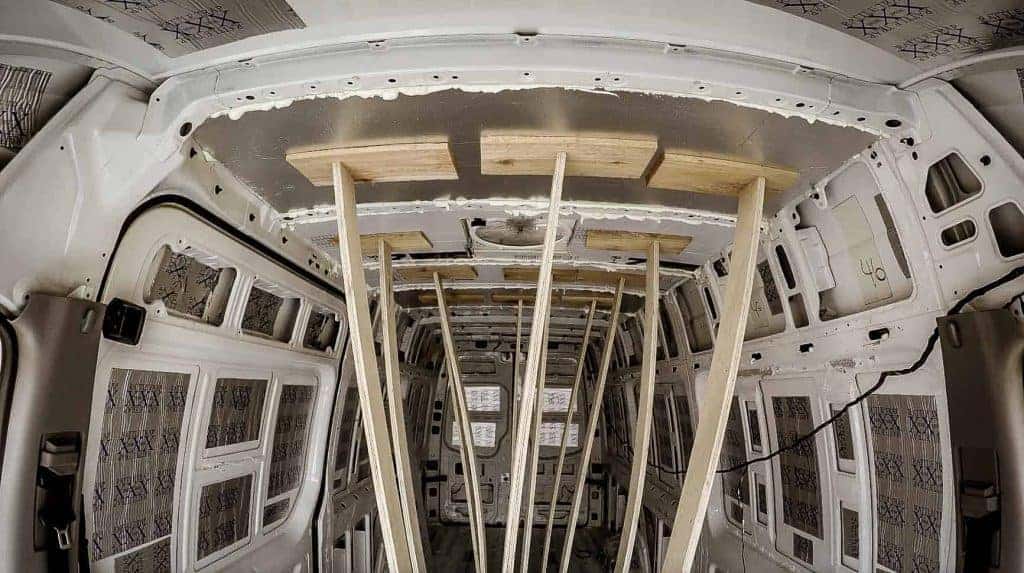
Brace the Insulation: Once the insulation was stuck in place, we used some scrap wood to brace it up while the glue cured. It was necessary to do this for the ceiling and for the large parts of the walls, but the smaller parts of the walls stayed in just fine without the bracing.
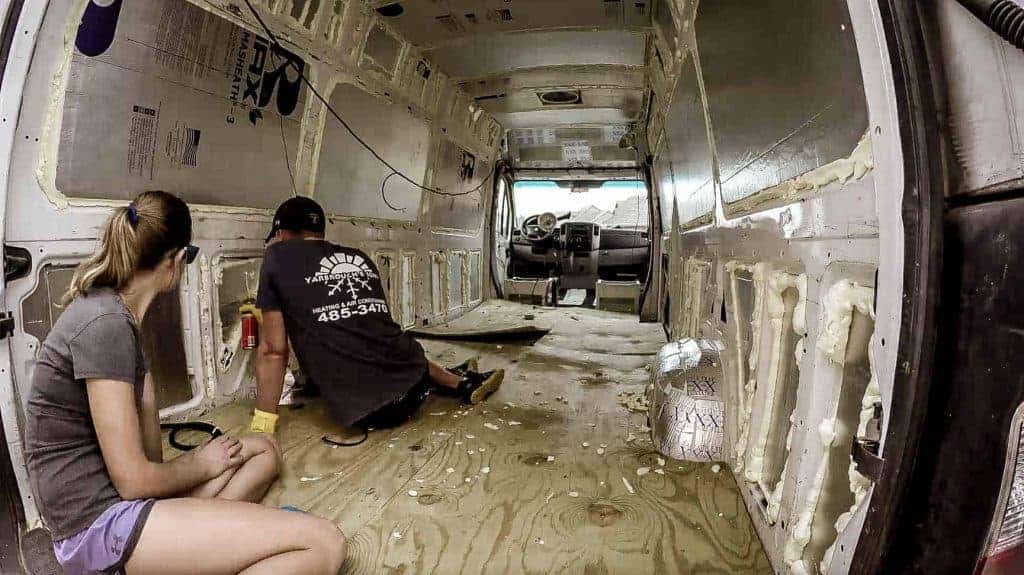
Fill the Cracks: Using Great Stuff spray insulation, fill in the cracks and other spots that were missed by the rigid foam. Another great reason we used spray insulation was for extra support for the rigid foam. After spraying the edges of the RMax with Great Stuff, it sealed nicely and isn’t going anywhere. Remember that the Great Stuff expands quite a bit, so be sure to test a spot somewhere and see how much it expands before spraying all of the crevasses. Pro Tip: If you get the Great Stuff on you or if it drips somewhere, DO NOT try to wipe it up. Just let it dry where it dripped and then you can peel it off easily, even on your skin. Wiping it up will just make a big mess and it will never fully come off.
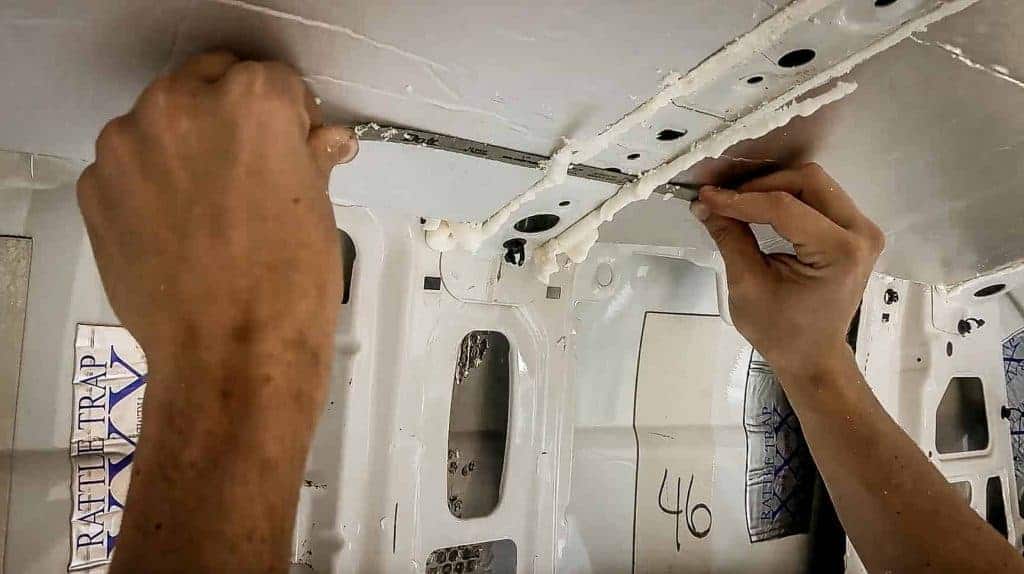
Trim the Edges: Using just a box knife or a hacksaw blade, we trimmed off any excess expanding foam insulation and made sure the walls would fit flush when we installed them.
When it was all said and done with, we still aren’t sure if our way was the best way to insulate a campervan, but it’s done and that’s all that matters!

15 Responses
Any worries about mold, since there are some airpockets behind the polyiso foam boards afterall? Especially in the big panels where the windows in a passenger version go there are thin trusses of metal in the middle. Does it matter as long as you’ve sealed around the foam boards with Great Stuff?
I’m not too concerned about it.
Greetings. You guys are providing a great resource, thanks especially for the eberspächer review. I picked up a tip from Greg Virgoe; use “Self Adhesive Insulation Stick Pins” for any rigid foam boards on (in?) ceiling.
For those that want a wood stove installed (me, when I get the money for a build), PIR is probably not a good idea because of cyanide poisoning if we burn our van down.
If you burn your van down, I recommend not staying inside the van long enough to get cyanide poisoning.
Hya Explorist.Life,
Were’nt you ever worried (obviously not – so WHY were you not worried) about fumes exuding from foam sealant (Great Stuff)?
Tight seals via panels / lining?
Many thanks and builder’s greetings,
Sandro
What fumes, specifically, are you worried about?
Hi Nate and Steph, Thank you for the amazing videos. I am in a process of first step of my project campervan to build out plan (material/costs and execution phases) before jumping into purchasing. I am taking this project on a single mom budget but want to build something that my 4 year old and I can use for our adventures years to come. I want to insulate this very well from get go because I want to ensure it works if we decide to do some winter adventure in future.
I am an engineer by profession and have some experience with wood-working which gave me the confidence to take this on.
Questions for you:
– How did you go about picking your insulation material?
– Did you guys do the R-value for different type of terrain before picking the thermasheath? Which particular type did you end up using?
– Is this process doable by one person in your opinion?
For picking insulation material we just picked the one we felt would work the best and went with it.
We did not worry about R-Value. We just insulated as much as we could, where we could.
The process is doable by one person for sure.
Though, if we were doing this again; we would entertain the idea of having it spray foamed and call it good.
Hello Nate, just finished reading how to insulate a campervan lots of good information, however I am lost as to where to put all the electrical wires, should the wire be against the van and then the rigid foam or vice versa, my first attempt at diy. Maybe a photo or two or direct to a video, I need all the help. Can I get an answer in my email soon. The wife is on my back.
Thank you
Steve
We did not put our wires inside the walls. Instead, we installed the walls and cabinets, then ran the wires in wire split loom through the cabinets and hid it all nice and tidy.
After living in some colder temperatures, how did you find the 1/2” insulation in the floor? Would you consider 1” next time?
Did the 1/2” floor insulation provide enough sound absorption?
I, personally would not consider 1″ insulation because I’m 6′ 2″ and need the headroom. We felt like 1/2″ was adequate. Your time will be better spent finding air leaks and being meticulous about covering EVERY surface rather than internally debating a half inch of insulation.
0.5
4
5