In this blog post, I’m going to show you how we built and installed a DIY headliner shelf in our sprinter camper van and teach you how you can do it too. Let’s get started, here’s the video for this project:

Materials Needed
Here are the materials we used in this project.
- Vancillary Headliner Shelf Template & Hardware Kit
- 1 sheet 1/2″ Sandee Plywood from Home Depot
- 2′ x 5′ piece (Shelf)
- 5′ x 2″ strip (Front Ledge)
- Titebond II Wood Glue

We had Home Depot cut a full 4′ x 8′ sheet of plywood down to 5′ x 4′. From there we used our Rigid table saw to cut that 5′ x 4′ section into a 2′ x 5′ piece for the shelf and a 5′ x 2″ strip for the front ledge. We then used our Rigid Miter Saw to cut the strip down to it’s final length.
We are going to be finishing the shelf in an upholstery fabric covering. Here are the materials we used for that:
- Upholstery Fabric
- 2 Yards @ at least 48″ Wide
- Fabric Spray Adhesive
- We used one can, but it’d be a good idea to have a 2nd one on hand
- Spring Clamps
- Scissors
This shelf also would look good painted to match your cabinets; which in that case, we would have just painted it with the same paint and in the same manner we painted our cabinets. You have some creative freedom with this part of the project.
Tools Needed
Here are the tools we used in this project
- Jigsaw
- Flat Head Screwdriver
- Phillips Head Screwdriver
- Torx-27 Driver
- 1/4″ Ratchet & Extension
- Torx-30 Driver
- 3/8″ Rachet & Extension
- 3/8″ Wrench
- Dewalt Cordless Drill
- 7/32″ Drill Bit
- 2′ Wood Clamps (at least 4)
- Pen
- Clear Packing Tape
- Silicone Glue Brush
- Glubot (optional)
- Scissors
- Lighter
- Rigid Table Saw
- Rigid Miter Saw
- Hearing Protection
- Safety Glasses
- Respiratory Protection
How to build a Sprinter Headliner Shelf
Trim the Headliner Shelf Template
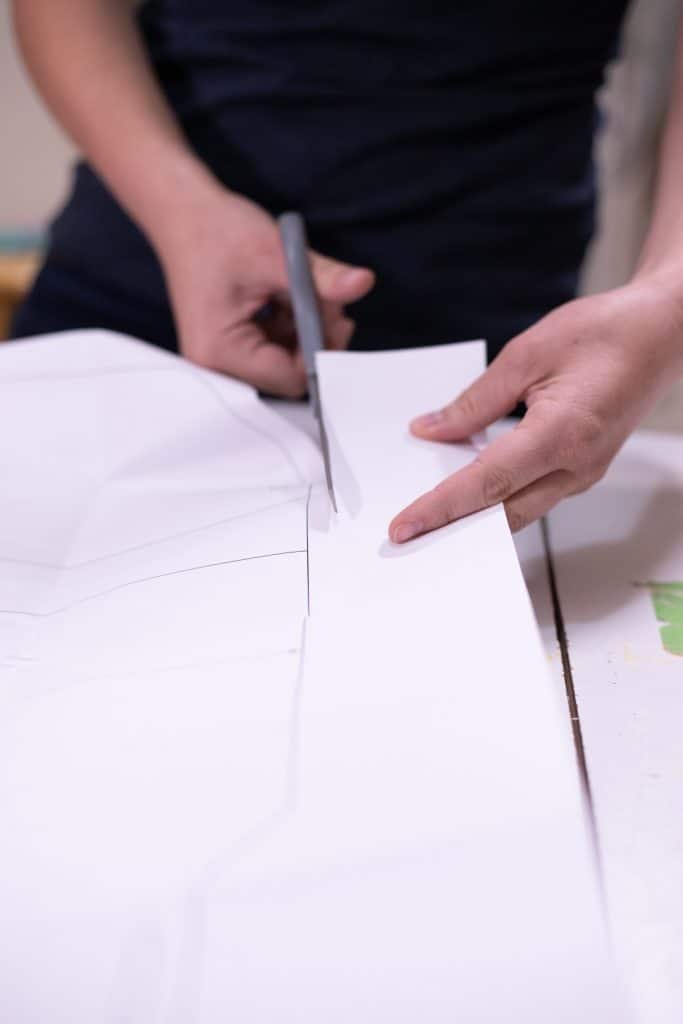
We spread out the Vancillary headliner shelf template and used our scissors to trim around the outside edge of the template. We stayed about a half-inch to the OUTSIDE of the line with our cut.
Tape the Headliner Shelf Template Down
Using clear packing tape, we taped the headliner shelf template to the 2′ x 5′ 1/2″ plywood.
Hindsight being 20/20: We should have aligned the flat side of the template with one of the long flat sides of the plywood so we didn’t have to cut the wood on that side with the jigsaw.
Cut out the Headliner Shelf
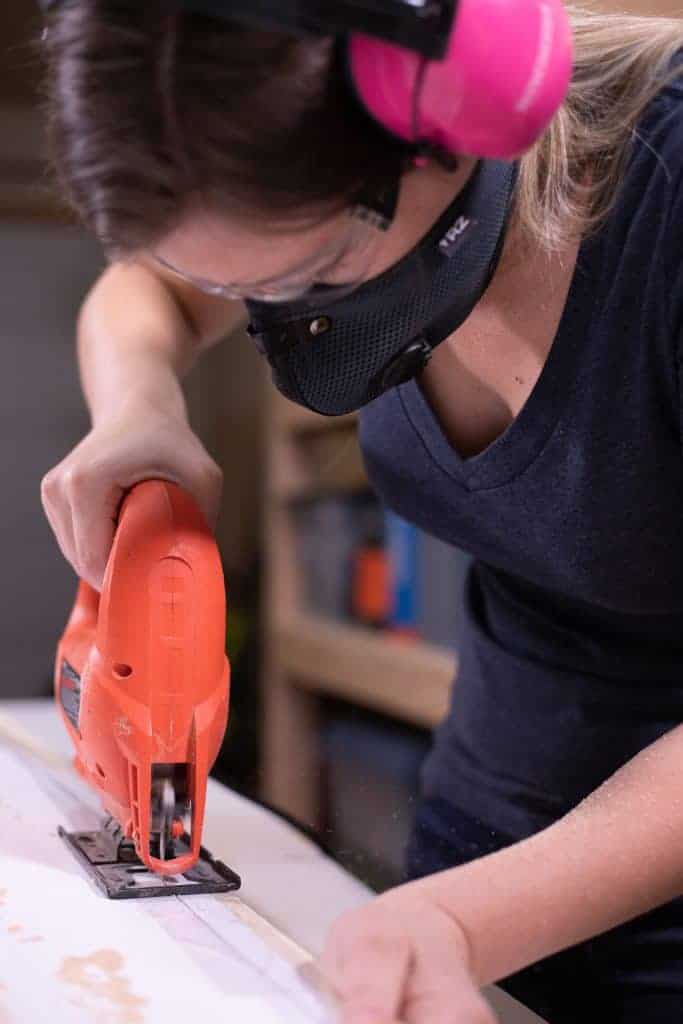
We used our jigsaw to cut along the outside edge of the headliner shelf template.
Install the Headliner Shelf Mounting Hardware
In the next steps, we are going to show how we installed the Vancillary headliner shelf brackets & hardware.
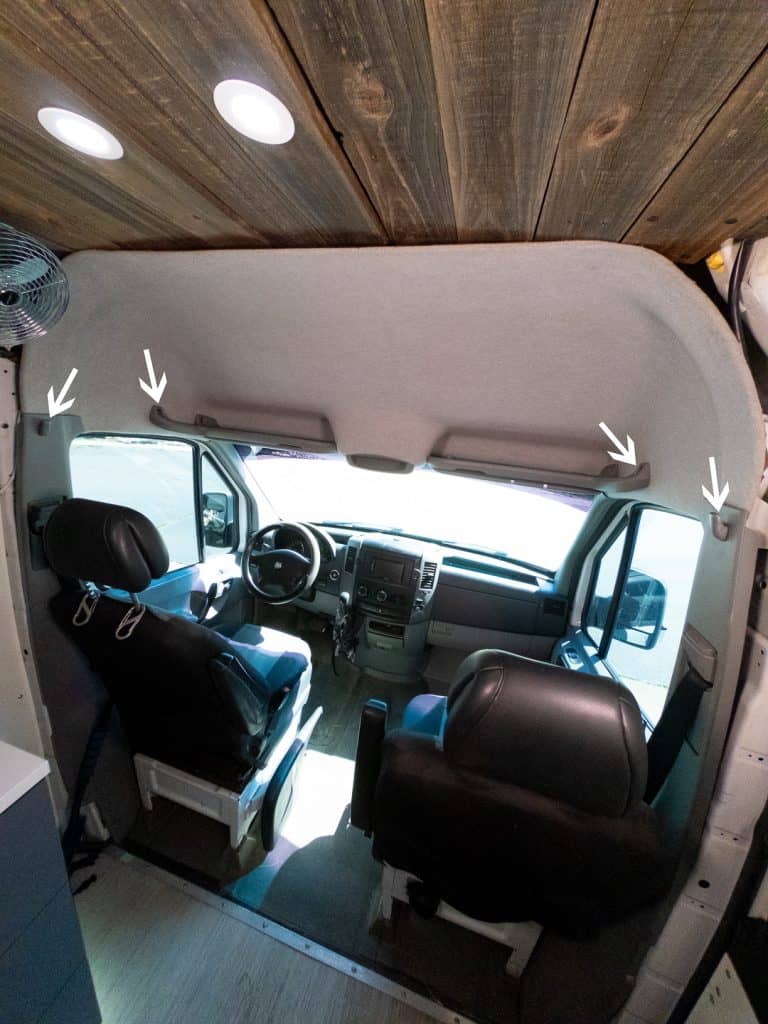
There are 4 screws in our headliner we needed to remove, and they are located here:
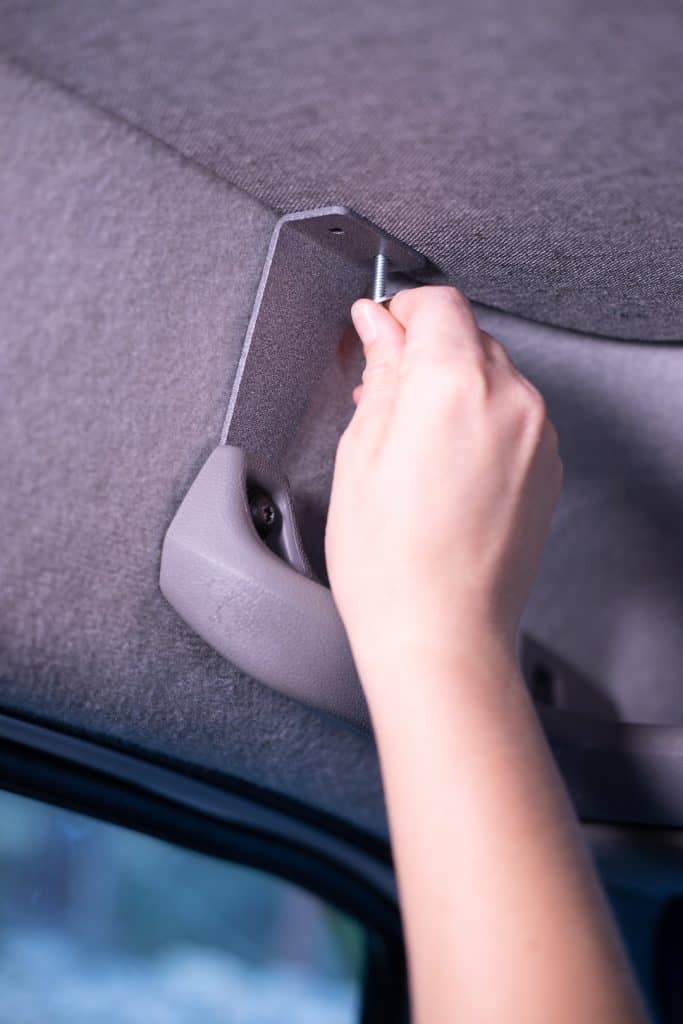
The front two are T-30 Torx screws. We used a 3/8″ ratchet and 6″ extension with a T-30 bit to remove these.
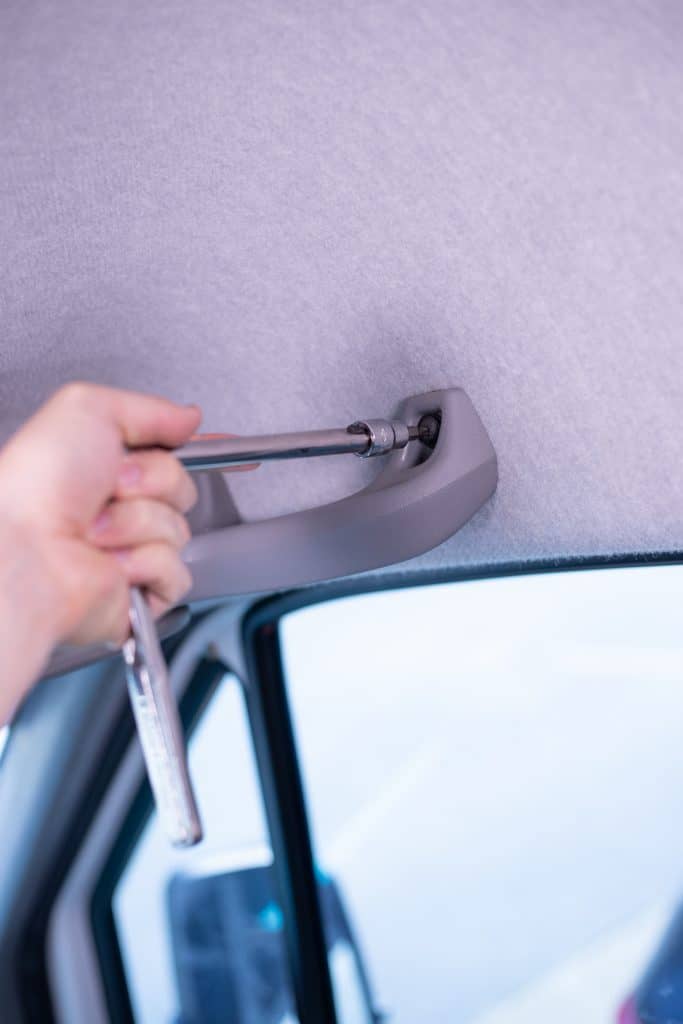
Once we removed these bolts, we slid the short Vancillary mounting brackets between the headliner and grab handle and aligned the holes.

We reinstalled the T-30 Torx bolt but didn’t tighten it all the way yet as the brackets need to move a bit to install the shelf.
We then repeated this process on the other side.
The two rear screws were hidden under the coat hooks on the B-Pillar behind the seat. We simply pried those off with a flat head screwdriver.
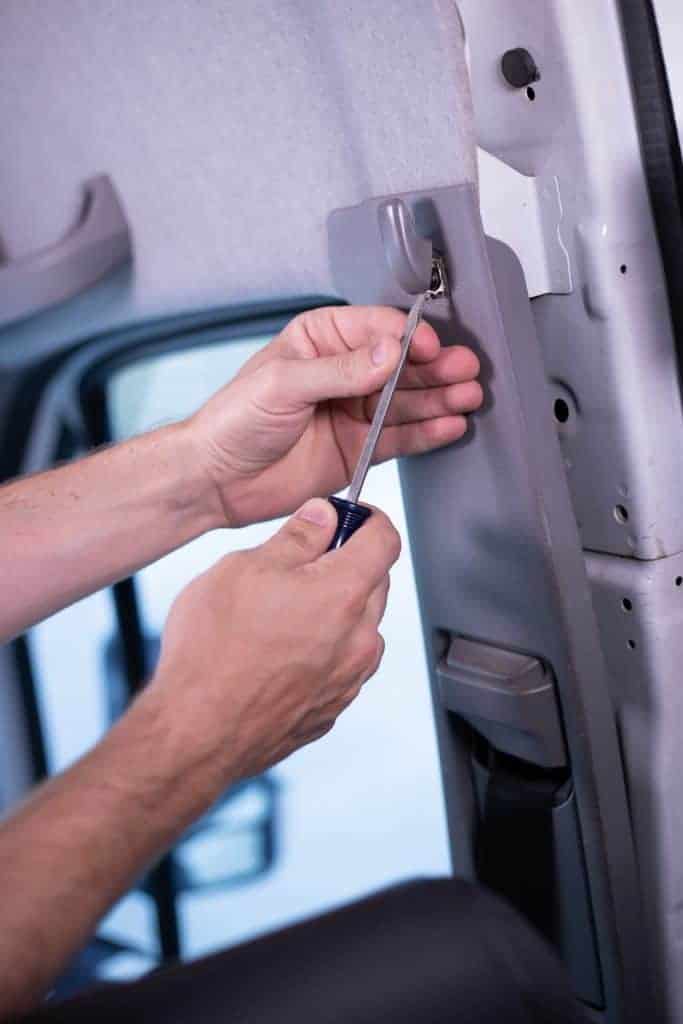
Under the coat hook, we removed the T-27 Torx bolt. We used a T-27 Torx Bit mounted on a 1/4″ Ratchet with a 6″ extension.
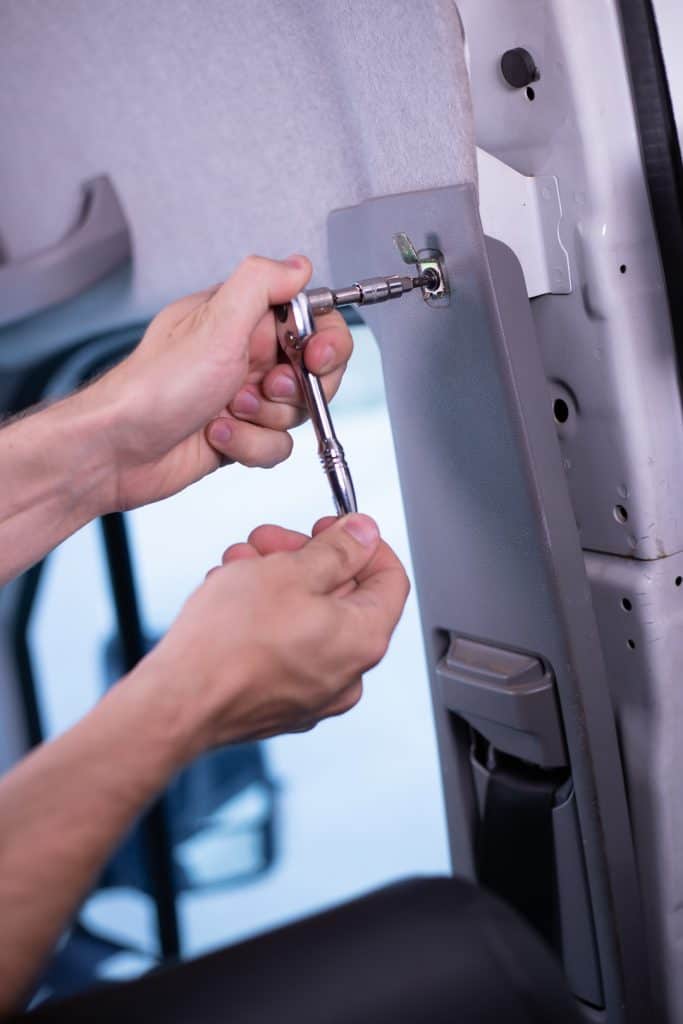
Next, we slid the tall Vancilary mounting bracket behind the B-pillar trim piece.
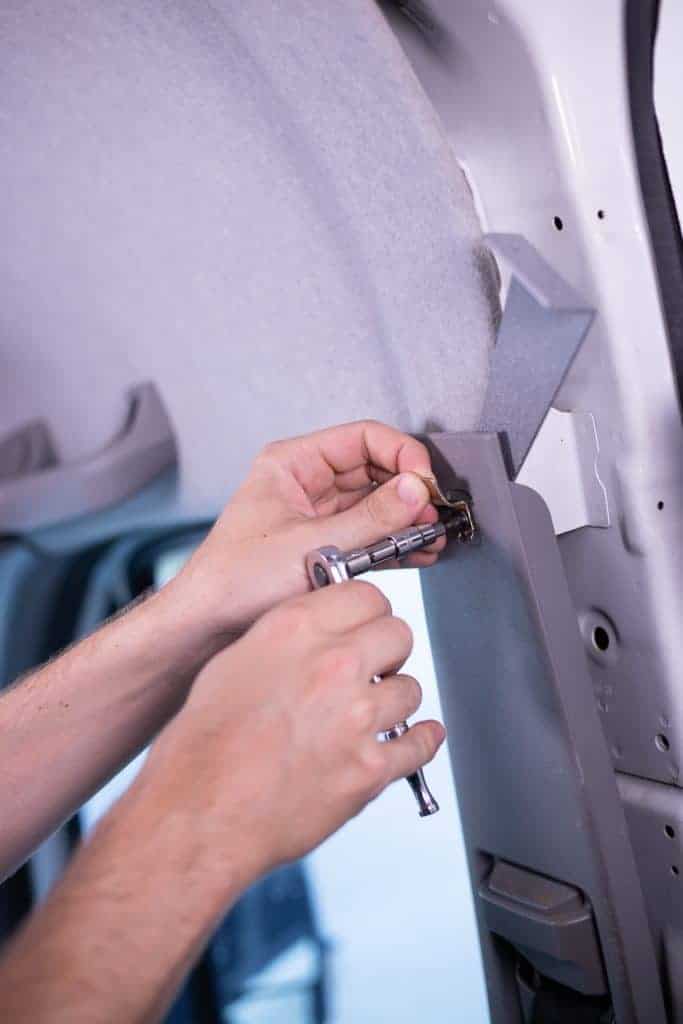
We then reinstalled the T-27 Torx bolt but didn’t tighten it all the way yet as the brackets need to pivot out of the way to install the shelf.
Test Fit the Headliner Shelf
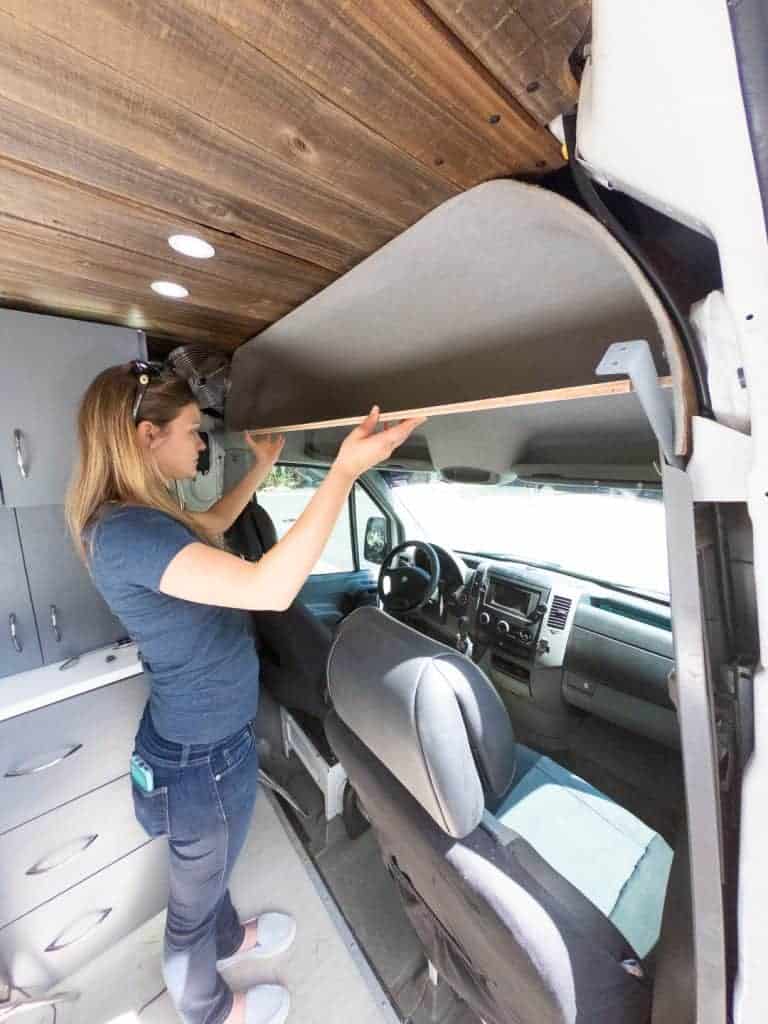
Next, we grabbed our headliner shelf and test fit it onto the brackets to make sure it fits. If it didn’t, we would cut to make the necessary adjustments but it fit great the first time; so that wasn’t necessary.
Mark the Machine Screw Holes
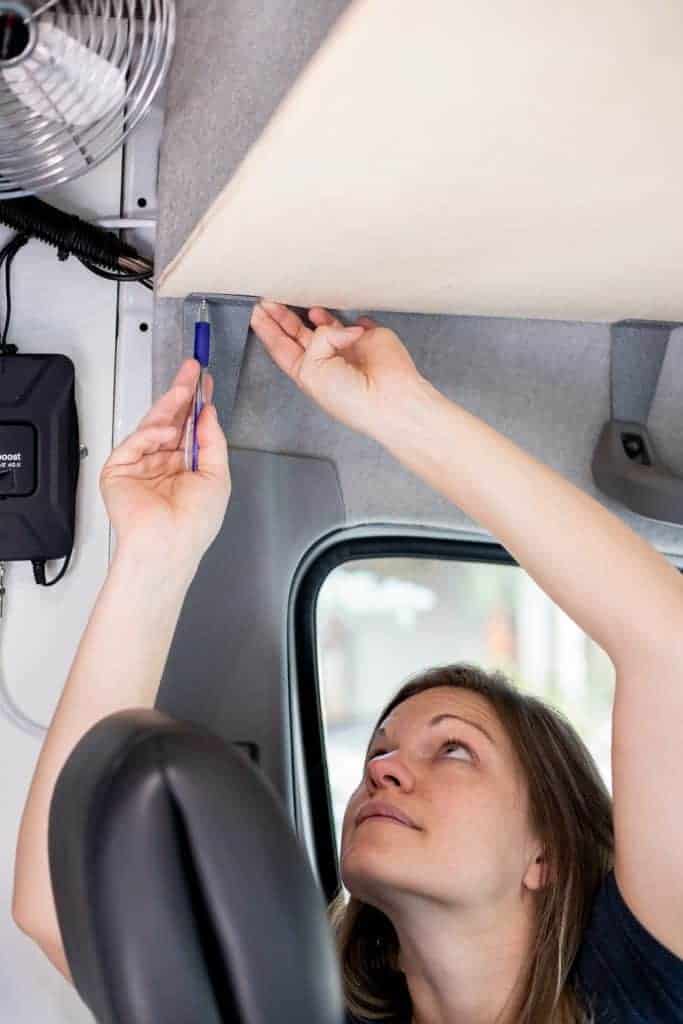
We aligned the shelf and made sure it was sitting flush against the top of the brackets. We used a pen to mark where the Vancillary bracket mounting holes are located. There are eight total holes to mark.
Drill the Holes in the Headliner Shelf

We used our 7/32″ drill bit to drill holes at each of our 8 marks. A block of scrap wood under the holes make for a cleaner drill hole with less tear-out.
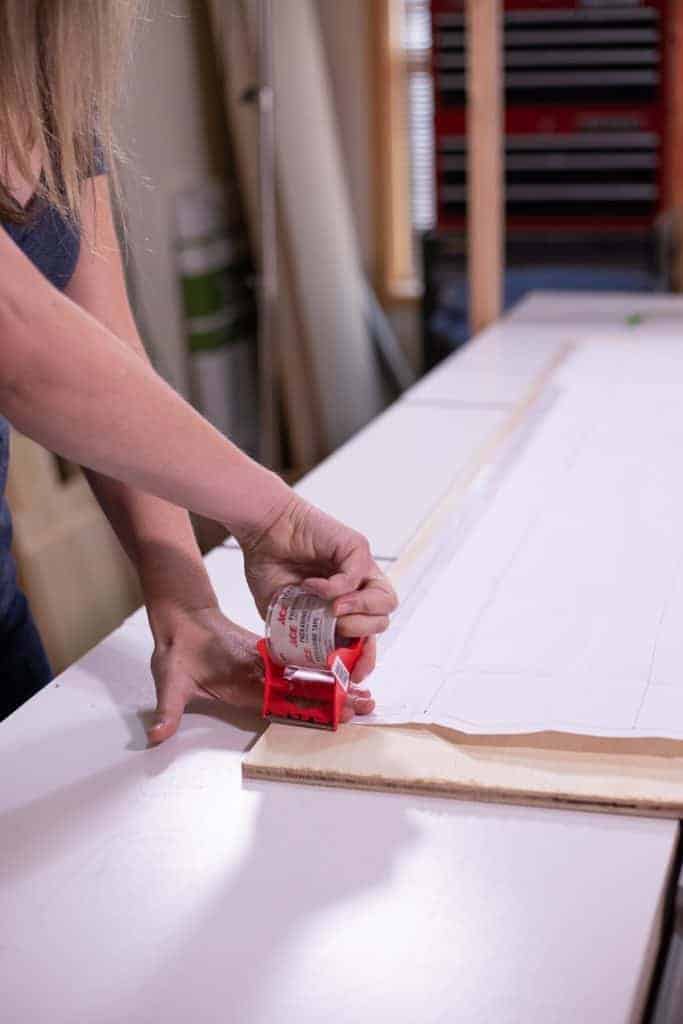
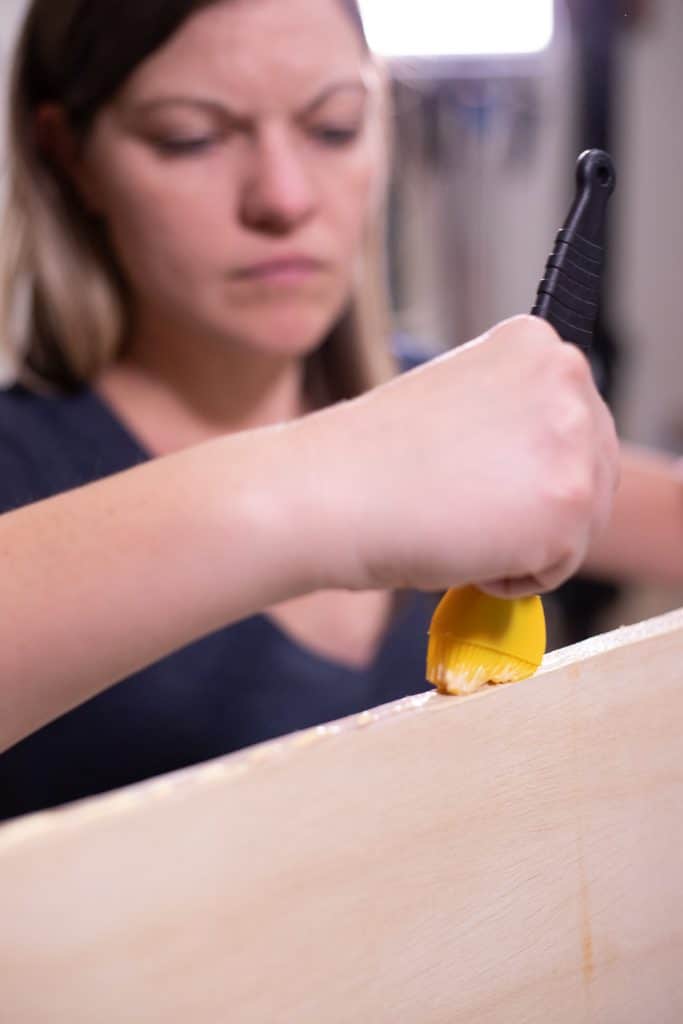
Install the Front Ledge on the Headliner Shelf
The 5′ x 2″ strip of 1/2″ Sandee plywood will be the front ledge of the headliner. We cut the length of this strip to match the flat side of the headliner where the ledge will sit.
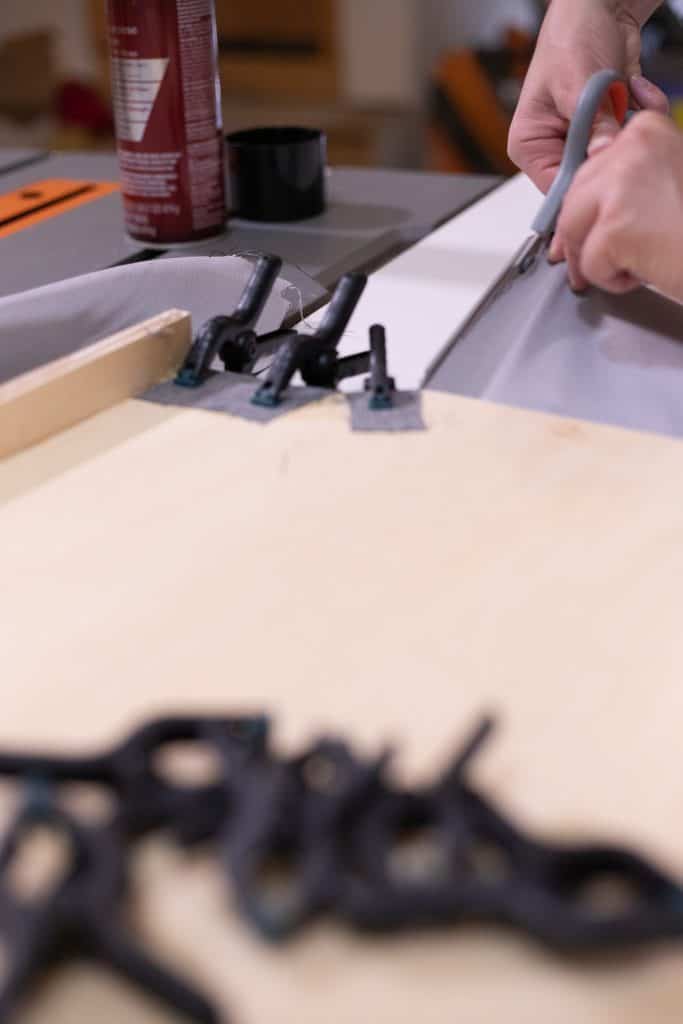
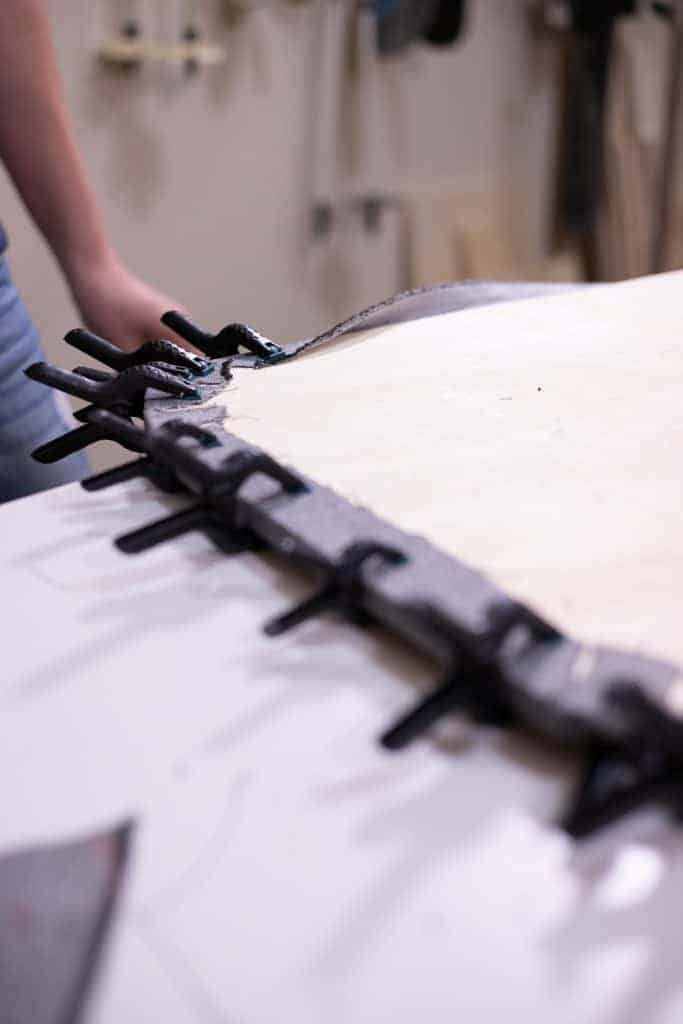
We laid a bead of Titebond-II Wood Glue on the flat edge of our headliner shelf and spread it around with our silicone wood glue brush.
We aligned the front ledge strip on the flat side of the headliner shelf and usee wood clamps to fasten it in place.
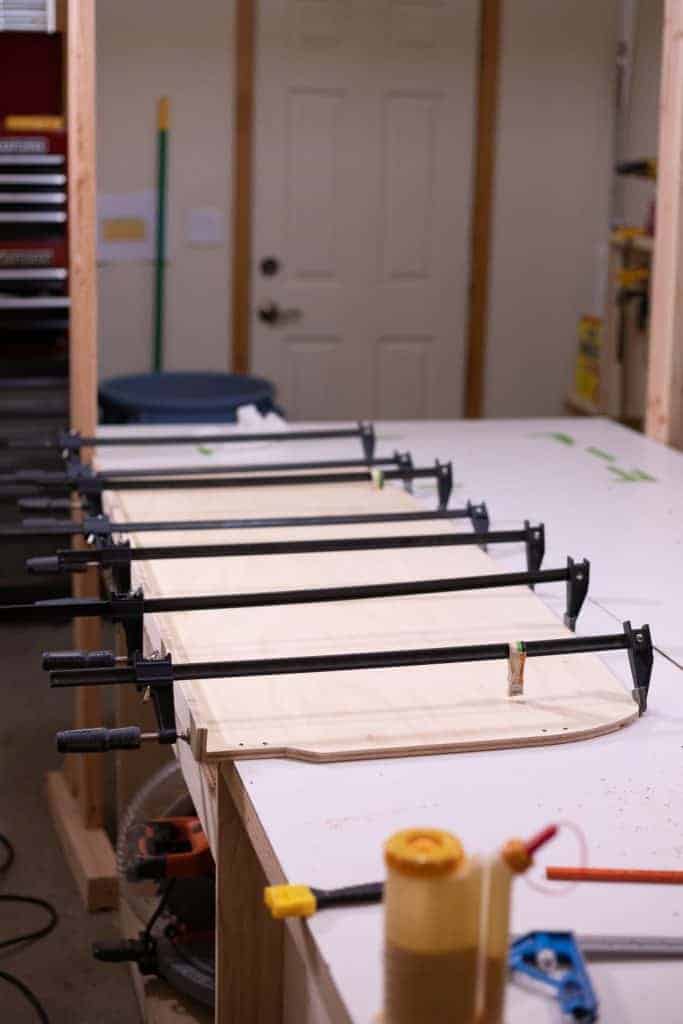
The glue sets up within an hour, but the joint shouldn’t be stressed for 24 hours, so we let this cure overnight.
Finish the Headliner Shelf
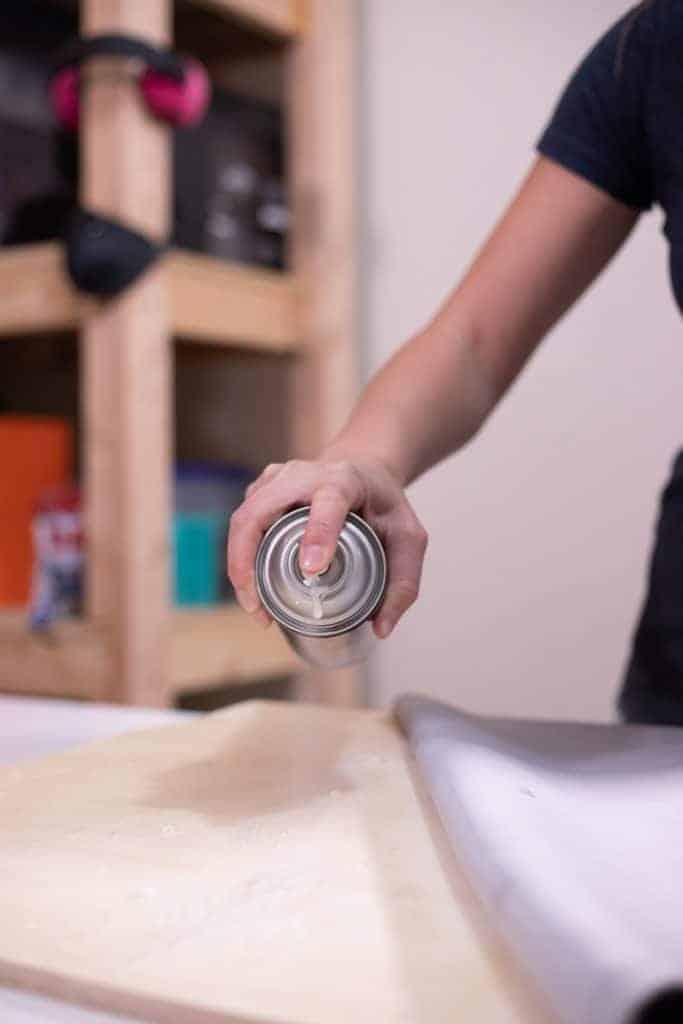
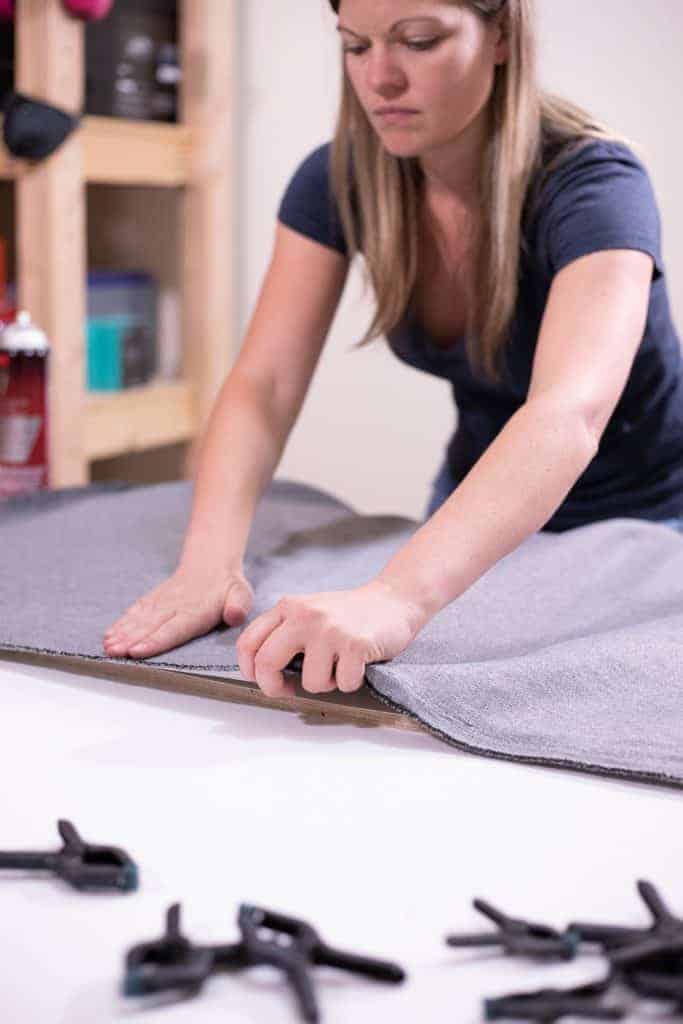
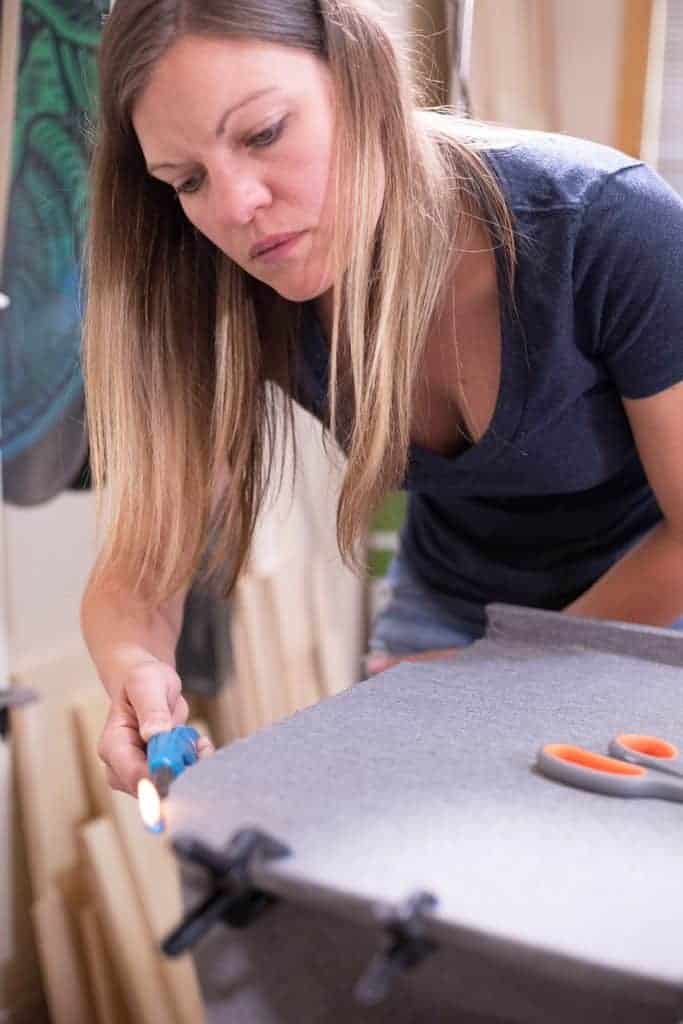
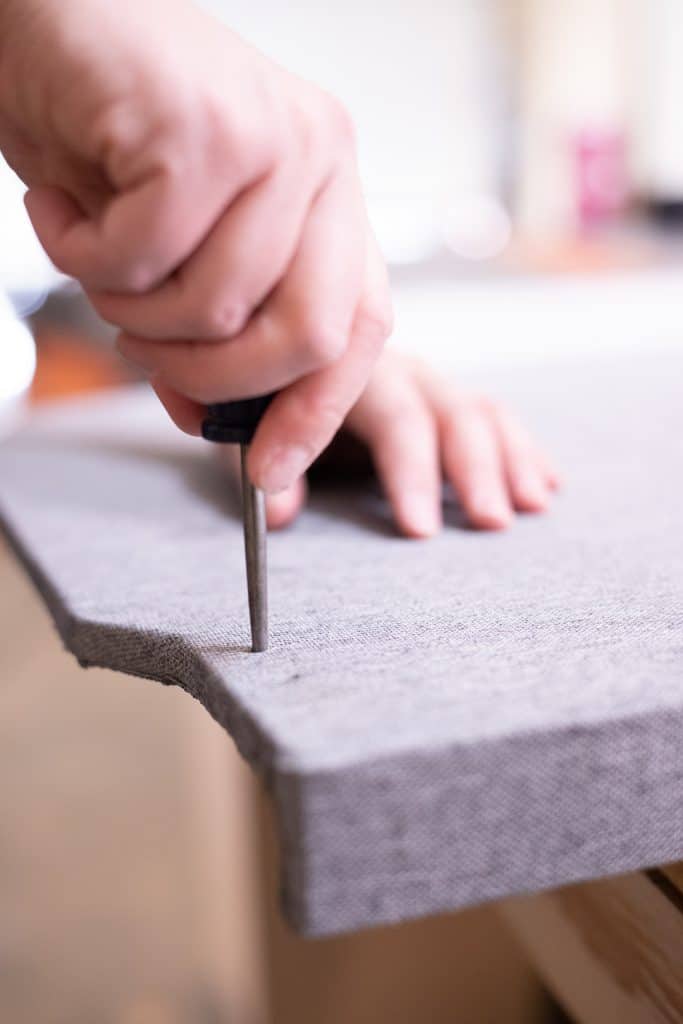
This is hardly a lesson in upholstery so the description here will be brief. We stretched and attached the fabric to the shelf with 3M Spray Adhesive. Then we wrapped the edges using plenty of relief cuts. When we trimmed the edges, we used the lighter to tighten up the frayed ends. Here are some pictures of that process:
Once the headliner shelf is wrapped with fabric, we poked holes with an awl where we drilled our mounting bolt holes to puncture the fabric so we could install the machine screws to fasten it to the brackets.
Install the Headliner Shelf
We placed the headliner shelf on top of the Vancillary Mounting Brackets and installed the supplied machine screws through each of the 8 holes we drilled in the headliner shelf.
The machine screws install from the bottom-up and need a washer on both sides of the shelf with the nut on top. We used a 3/8″ wrench and drill with a Phillips Bit to tighten these bolts.
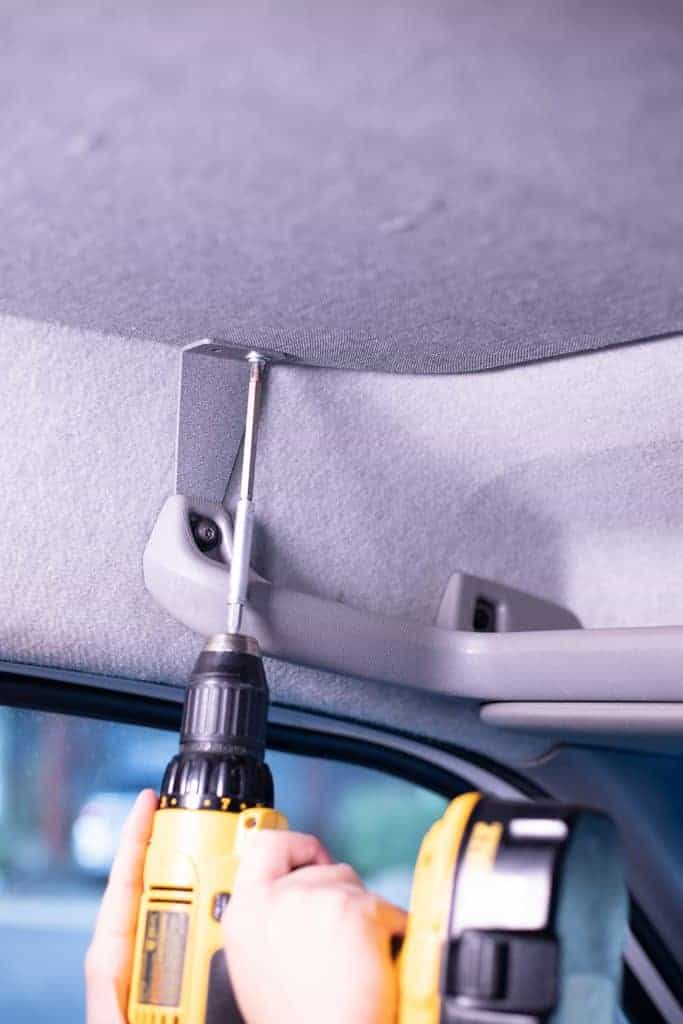
Using our T-27 and T-30 Bits, Ratchets and extensions from earlier, we tightened the bolts that hold the Vancillary mounting brackets to the wall.
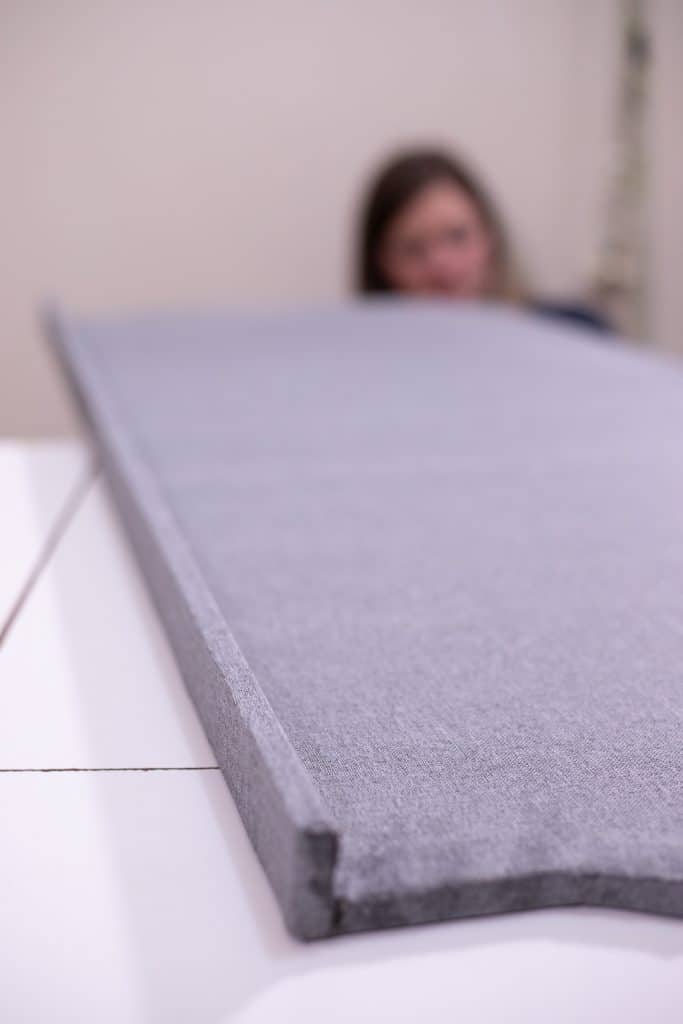
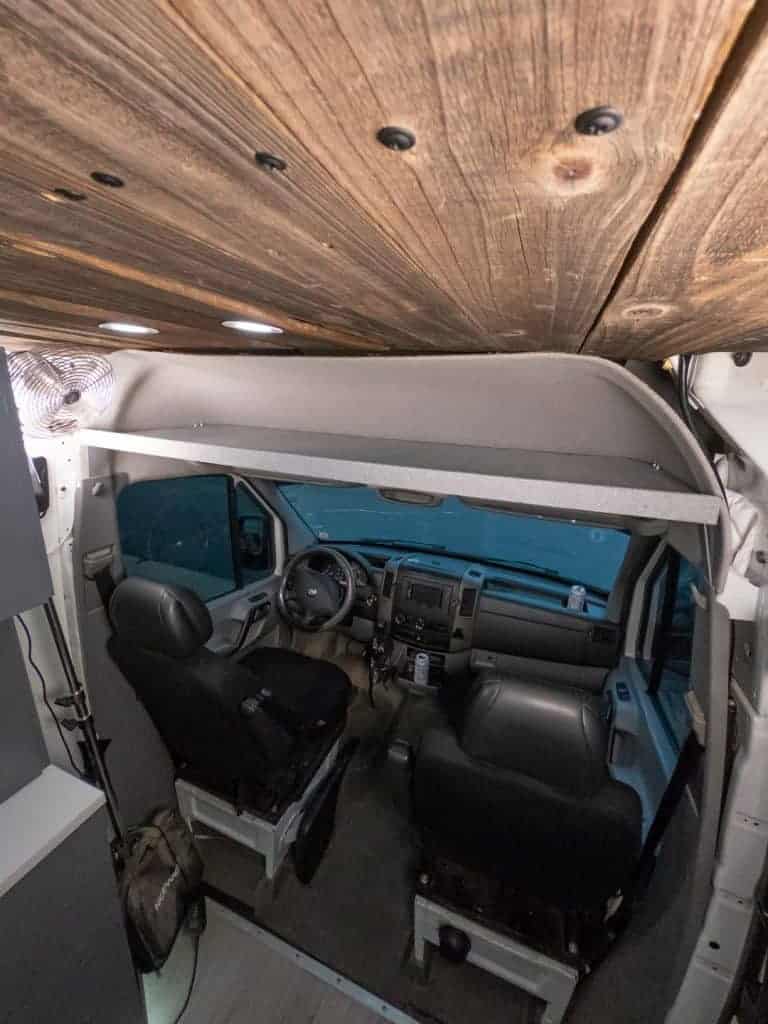
Admire your DIY Headliner Shelf
And that’s all there is to it! We are pretty happy with how this one turned out. We weren’t sure how sturdy 1/2″ plywood would be for this project, but we are very happy with it. Only having about 8″ of clearance above the shelf also means we can’t load it up with heavy items anyway.
We want to give a special shoutout to Vancillary for sponsoring this post and for coming up with a nice and neat solution for a Sprinter headliner shelf that can be easily customized to exactly how we wanted it to look as well as coming in at a sub $200 project total.
If you have any questions about this project, be sure to leave them in the comments below and we’d love it if you’d share this post with a friend who could benefit from it.

7 Responses
Is there a digital print available for download to use as template for 2019 Sprinter?
There is a paper template included when you purchase the kit with the hardware.
Do you know if there are similar kits which allow for a taller shelf to be installed. Im looking to make a shelf tall enough for my 4 yr old daughter to sleep on. Potentially lowering the shelf as low as it can go before obstructing the wind shield.
I don’t know of any kits; but using the ideas from this one may get you headed in the right direction for a custom job.
Did you manage to make it possible for your daughter to sleep on the shelf?
We do not have a daughter.
Very nice and informative. Miss your life on the road but thanks much for vids like this. John and Dawn