As we head into the winter months, the most important new modification to our van is the Espar D2 Diesel Heater installation to ensure we stay nice and toasty on our snowsports adventures.

PARTS LIST FOR ESPAR D2 WITH HIGH ALTITUDE KIT:
This is the parts list to set up our heater exactly as we have it:
- Espar D2 Diesel Heater: https://amzn.to/2qg5ez3
- Espar d2 High Altitude Kit: https://amzn.to/2B3uQlh
- Easystart Select Controller: https://amzn.to/2zaWRWx
- Muffler: https://amzn.to/2RM6rW
- Exhaust Pipe: https://amzn.to/2K4J34g
- High Temp Hose Clamps (for Muffler): https://amzn.to/2RM6rWO
- Heat Resistent Loom: https://amzn.to/2B4cqk0
- Fuel Line Adapter: https://amzn.to/2OHoEmj
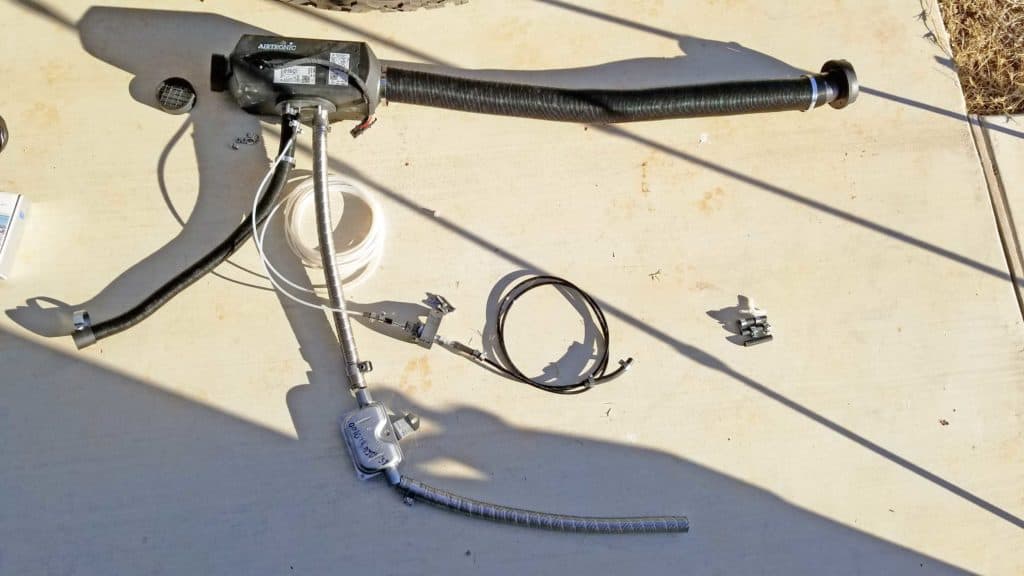
HEATING A CAMPERVAN IN WINTER
Since we will be spending a lot of time this winter in the mountains for ski season, we needed a safe, effective way to heat our van in the winter. We had previously installed insulation in our campervan when we originally built it, but there was no heat source for the living space of the van. We chose the Espar D2 Diesel heater, which runs off of the on-board diesel tank that the van’s engine runs off of. Our 2007 Dodge Sprinter has an auxiliary fuel line, which makes running the fuel for this heater a breeze.
INSTALLING THE ESPAR D2 HEATER
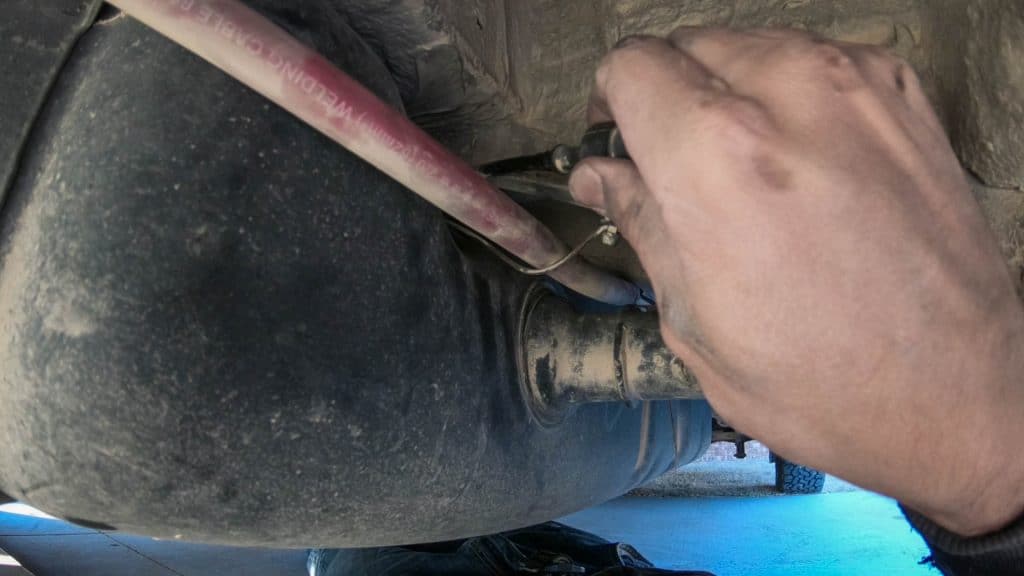
We chose to install the Espar D2 Heater under the passenger seat of our campervan. This seemed the most logical place to install it, as it was out of the way and easy to access by removing the passenger seat. If you are unsure as to how to remove the seats, check out our video HERE. The rubber mount from the bottom of the heater made a great template for drilling the holes in the bottom of the van.
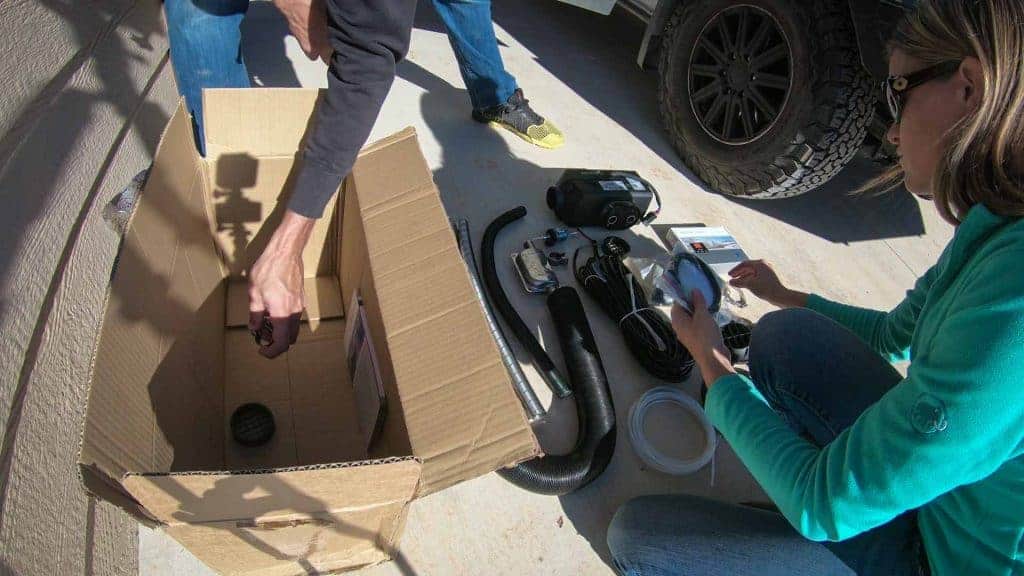
Before starting the Espar D2 Diesel heater installation, we laid everything from in the box out as if it were installed so that we could ensure we had all the right parts. This proved to be very helpful in moving things along quickly.
WIRING FOR THE ESPAR D2 DIESEL HEATER INSTALLATION
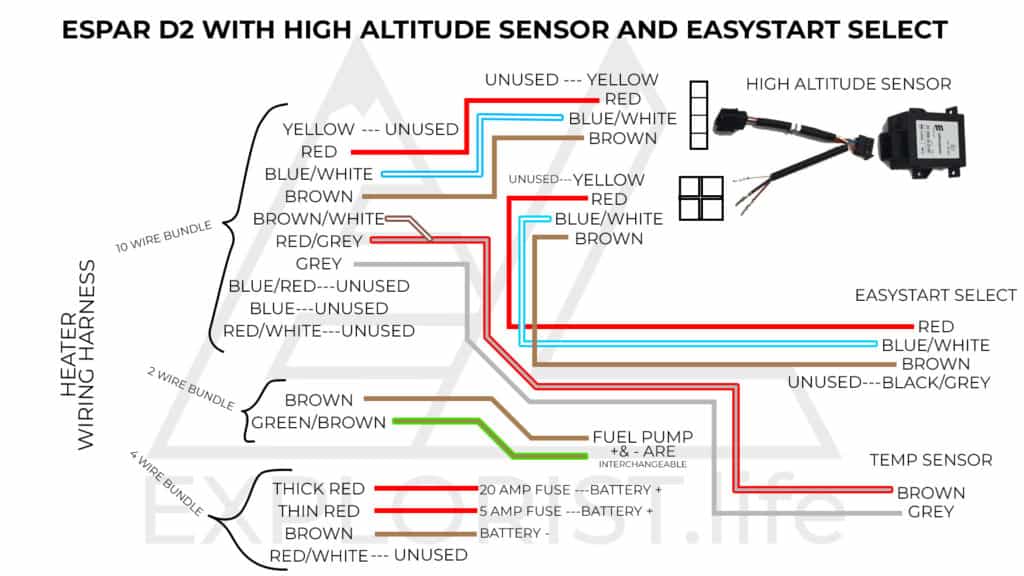
We found out the hard way that there is very minimal information available on the wiring of the Espar D2 heater, and much of that information is in German. Since we had to piece it together from multiple sources, we have included a custom made wiring diagram of exactly what we did which you can find at the top of this page.
PRIMING THE FUEL LINE
Once your Espar D2 Diesel heater is completely installed, you’ll need to allow the heater to cycle a few times to prime the line. When you first turn on the heater, it will click a few times and cycle through with the fan on, but no heat. If the thermostat reads an error, don’t be alarmed: this is normal. Just disconnect the power to the heater via the fuses, wait a few seconds, then reconnect the power. You may need to do this 4-5 times before the heater is fully primed and kicks on.
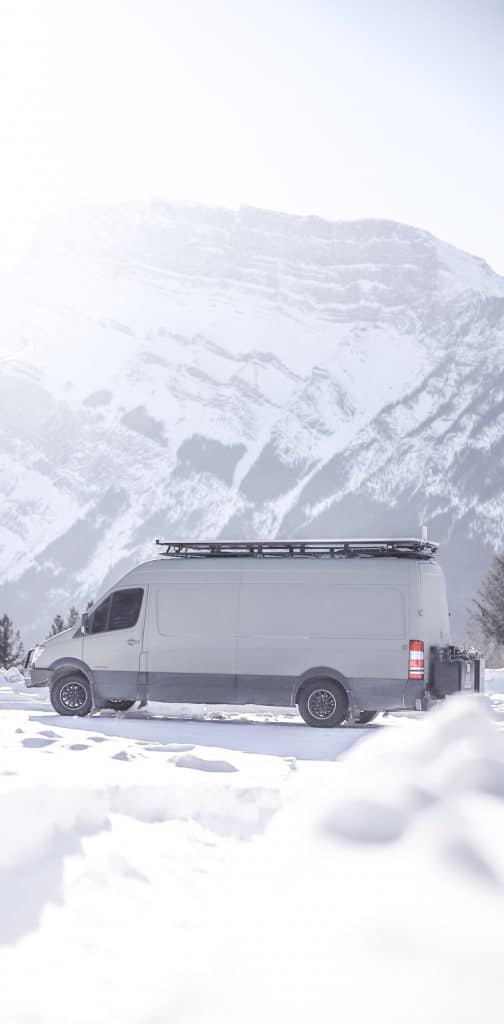
HEATING OUR CAMPERVAN IN THE WINTER
We’ve had this Espar D2 Diesel heater installed for a few days now and so far we are happy with the outcome. After a while of living in cold weather with this setup, we will do a full review of the heater. Let us know if you have any questions about our Espar D2 Diesel heater installation!

20 Responses
hi may name is Dolores and live in my van. can you install it in my van and for how much including parts and labor?
im living in my van with out a heater and it gets really cold. thank you
Hey Dolores! I teach people how to do this stuff themselves. I do not offer installation services. Sorry about that!
Does the Espar D2 heater have the capability of heating water too? I am buying a van that already has a D2 installed but want to have aux water to take showers out the back.
There are a few hacks around for heating water with it, but the D2 does not have water heating built into it.
Could you email the wiring diagram for the Espar D2 heater?
Thanks!
John
Hey John, the wiring diagram is located in the blog post above.
If you aren’t using the external temp sensor, do you still wire the EasyStart Select unit the same way as shown on your diagram?
I’m not sure on that one. The wiring diagrams from Espar are all over the place and without literally rewiring our heater, I cannot say for 100% certain what is the correct way without using the external temp sensor.
Do you know if you got the 2.2k or less common 5k, and has it been adequate?
Hey Karl! It’s the 2.2k version.
Hi – your video indicates all of the materials and wiring and other diagrams are located on your blog. Could you please make those available? Thank you.
Hey Christy! Sorry about the delay. The post has been updated to include the components and wiring diagrams WITH the high altitude kit.
Hi guys, thank you so much for sharing this video! I am starting the Espar heater today and I am feeling a lot more confident now:) This is a huge help!!! The wiring diagram link doesn’t seem to be working, any chance you would be willing to share that again? Thank you!
Perhaps it’s too late now, but I’ve updated the post to include the wiring diagram directly.
I was wondering if I could get the wiring diagram sent to my email please?? You guys rule! Thanks for the great tutorial.
Perhaps it’s too late now, but I’ve updated the post to include the wiring diagram directly.
5
4.5
3
5