
Using no-name brand components in your van or RV electrical system is a way to cut costs. Still, more often than not, the quality, warranty, and customer service down-sides to choosing this method outweigh the cost savings, so in this blog post, we will talk about more ‘strategic’ ways to decrease costs through system design while using the high-quality components you want to get the most bang for your buck.

Be Realistic in Your Power Audit
The first and most obvious way to save money on your camper electrical system is to have realistic expectations of what you will power. If you need to power your phone, lights, fans, air conditioner, and Tesla coil, you must build a very expensive electrical system.
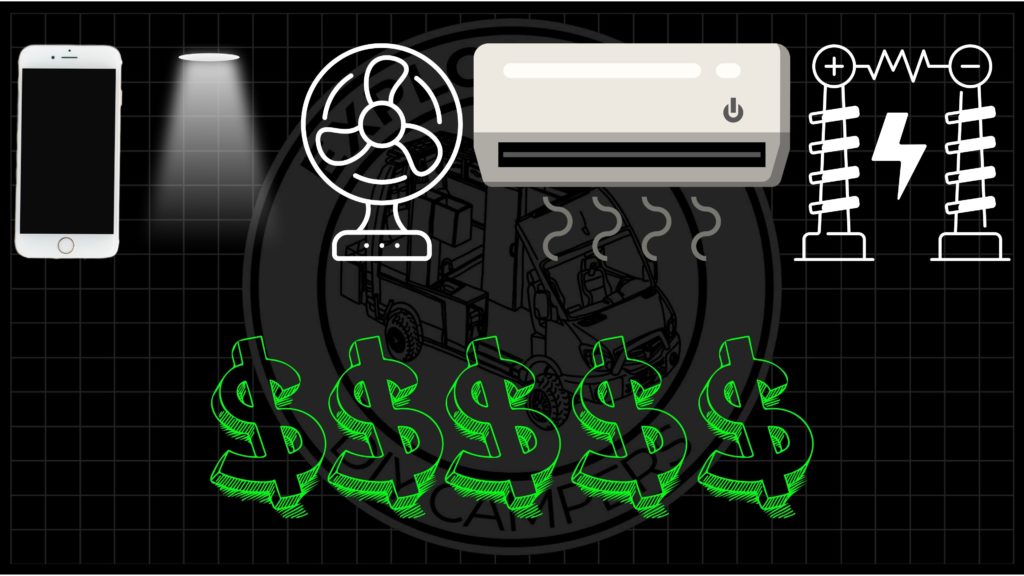
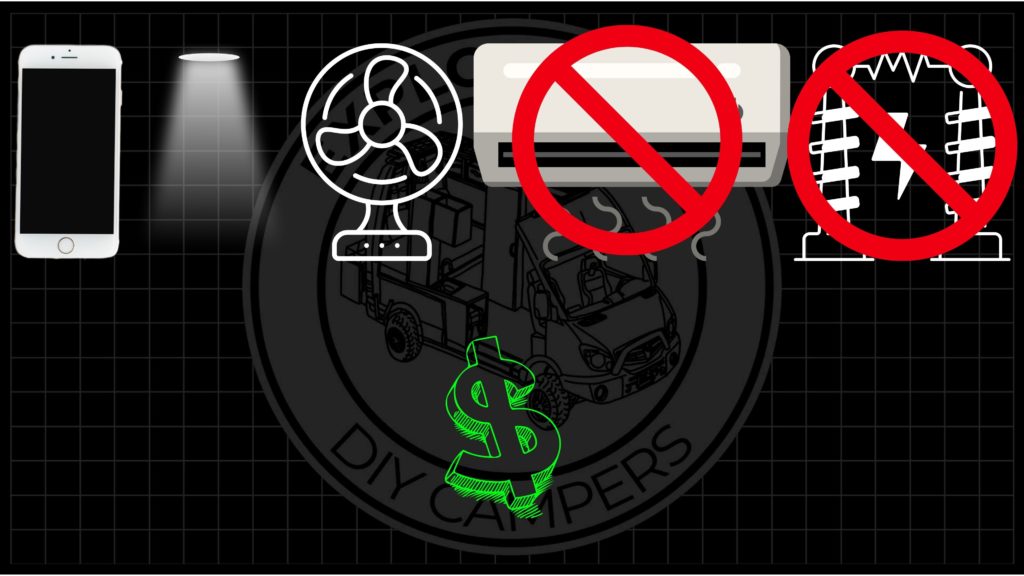
You can build a more budget-friendly system if you can leave the Tesla coil at home and travel to cooler environments that limit or eliminate air conditioner usage.
Advertisement:
Use Fewer Batteries
There are batteries of many different storage capacities on the market, and using larger batteries and fewer of them is a good way to save money on your electrical system without sacrificing capacity. Battle Born Batteries, for example, has a 100Ah battery and a 270Ah battery, and both of them are the same price per amp hour:
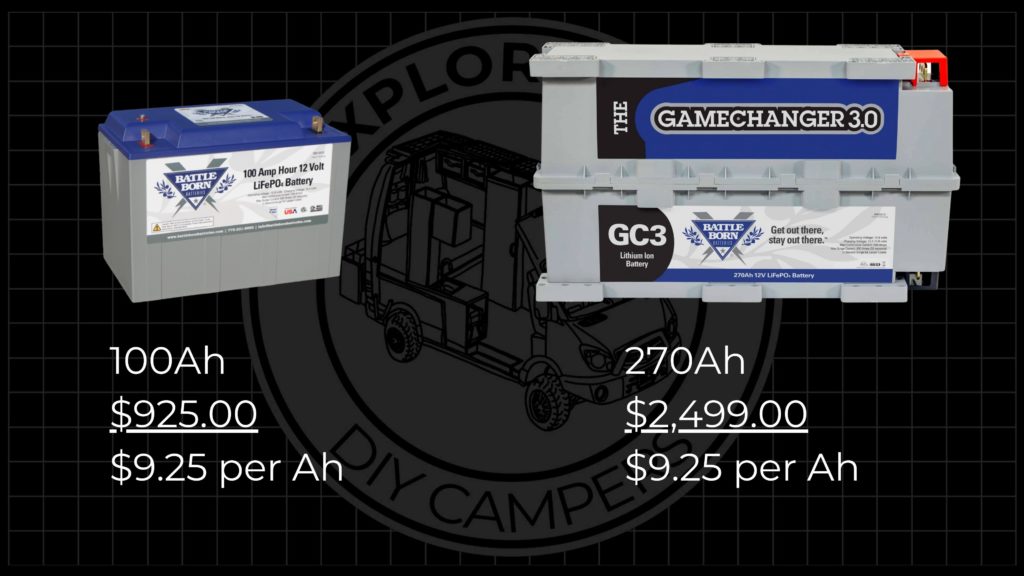
If you need 5-600Ah of battery bank capacity, the EXPLORIST.life battery bank wiring kit required to wire 6x batteries together is 3.5x more expensive than the 2x battery bank wiring kit and would save about $125 in wire and lugs. Copper is expensive. Plus, it takes 5x as long to wire six batteries together as it does for two batteries. Time is money.
Advertisement:
Use Bigger Solar Panels
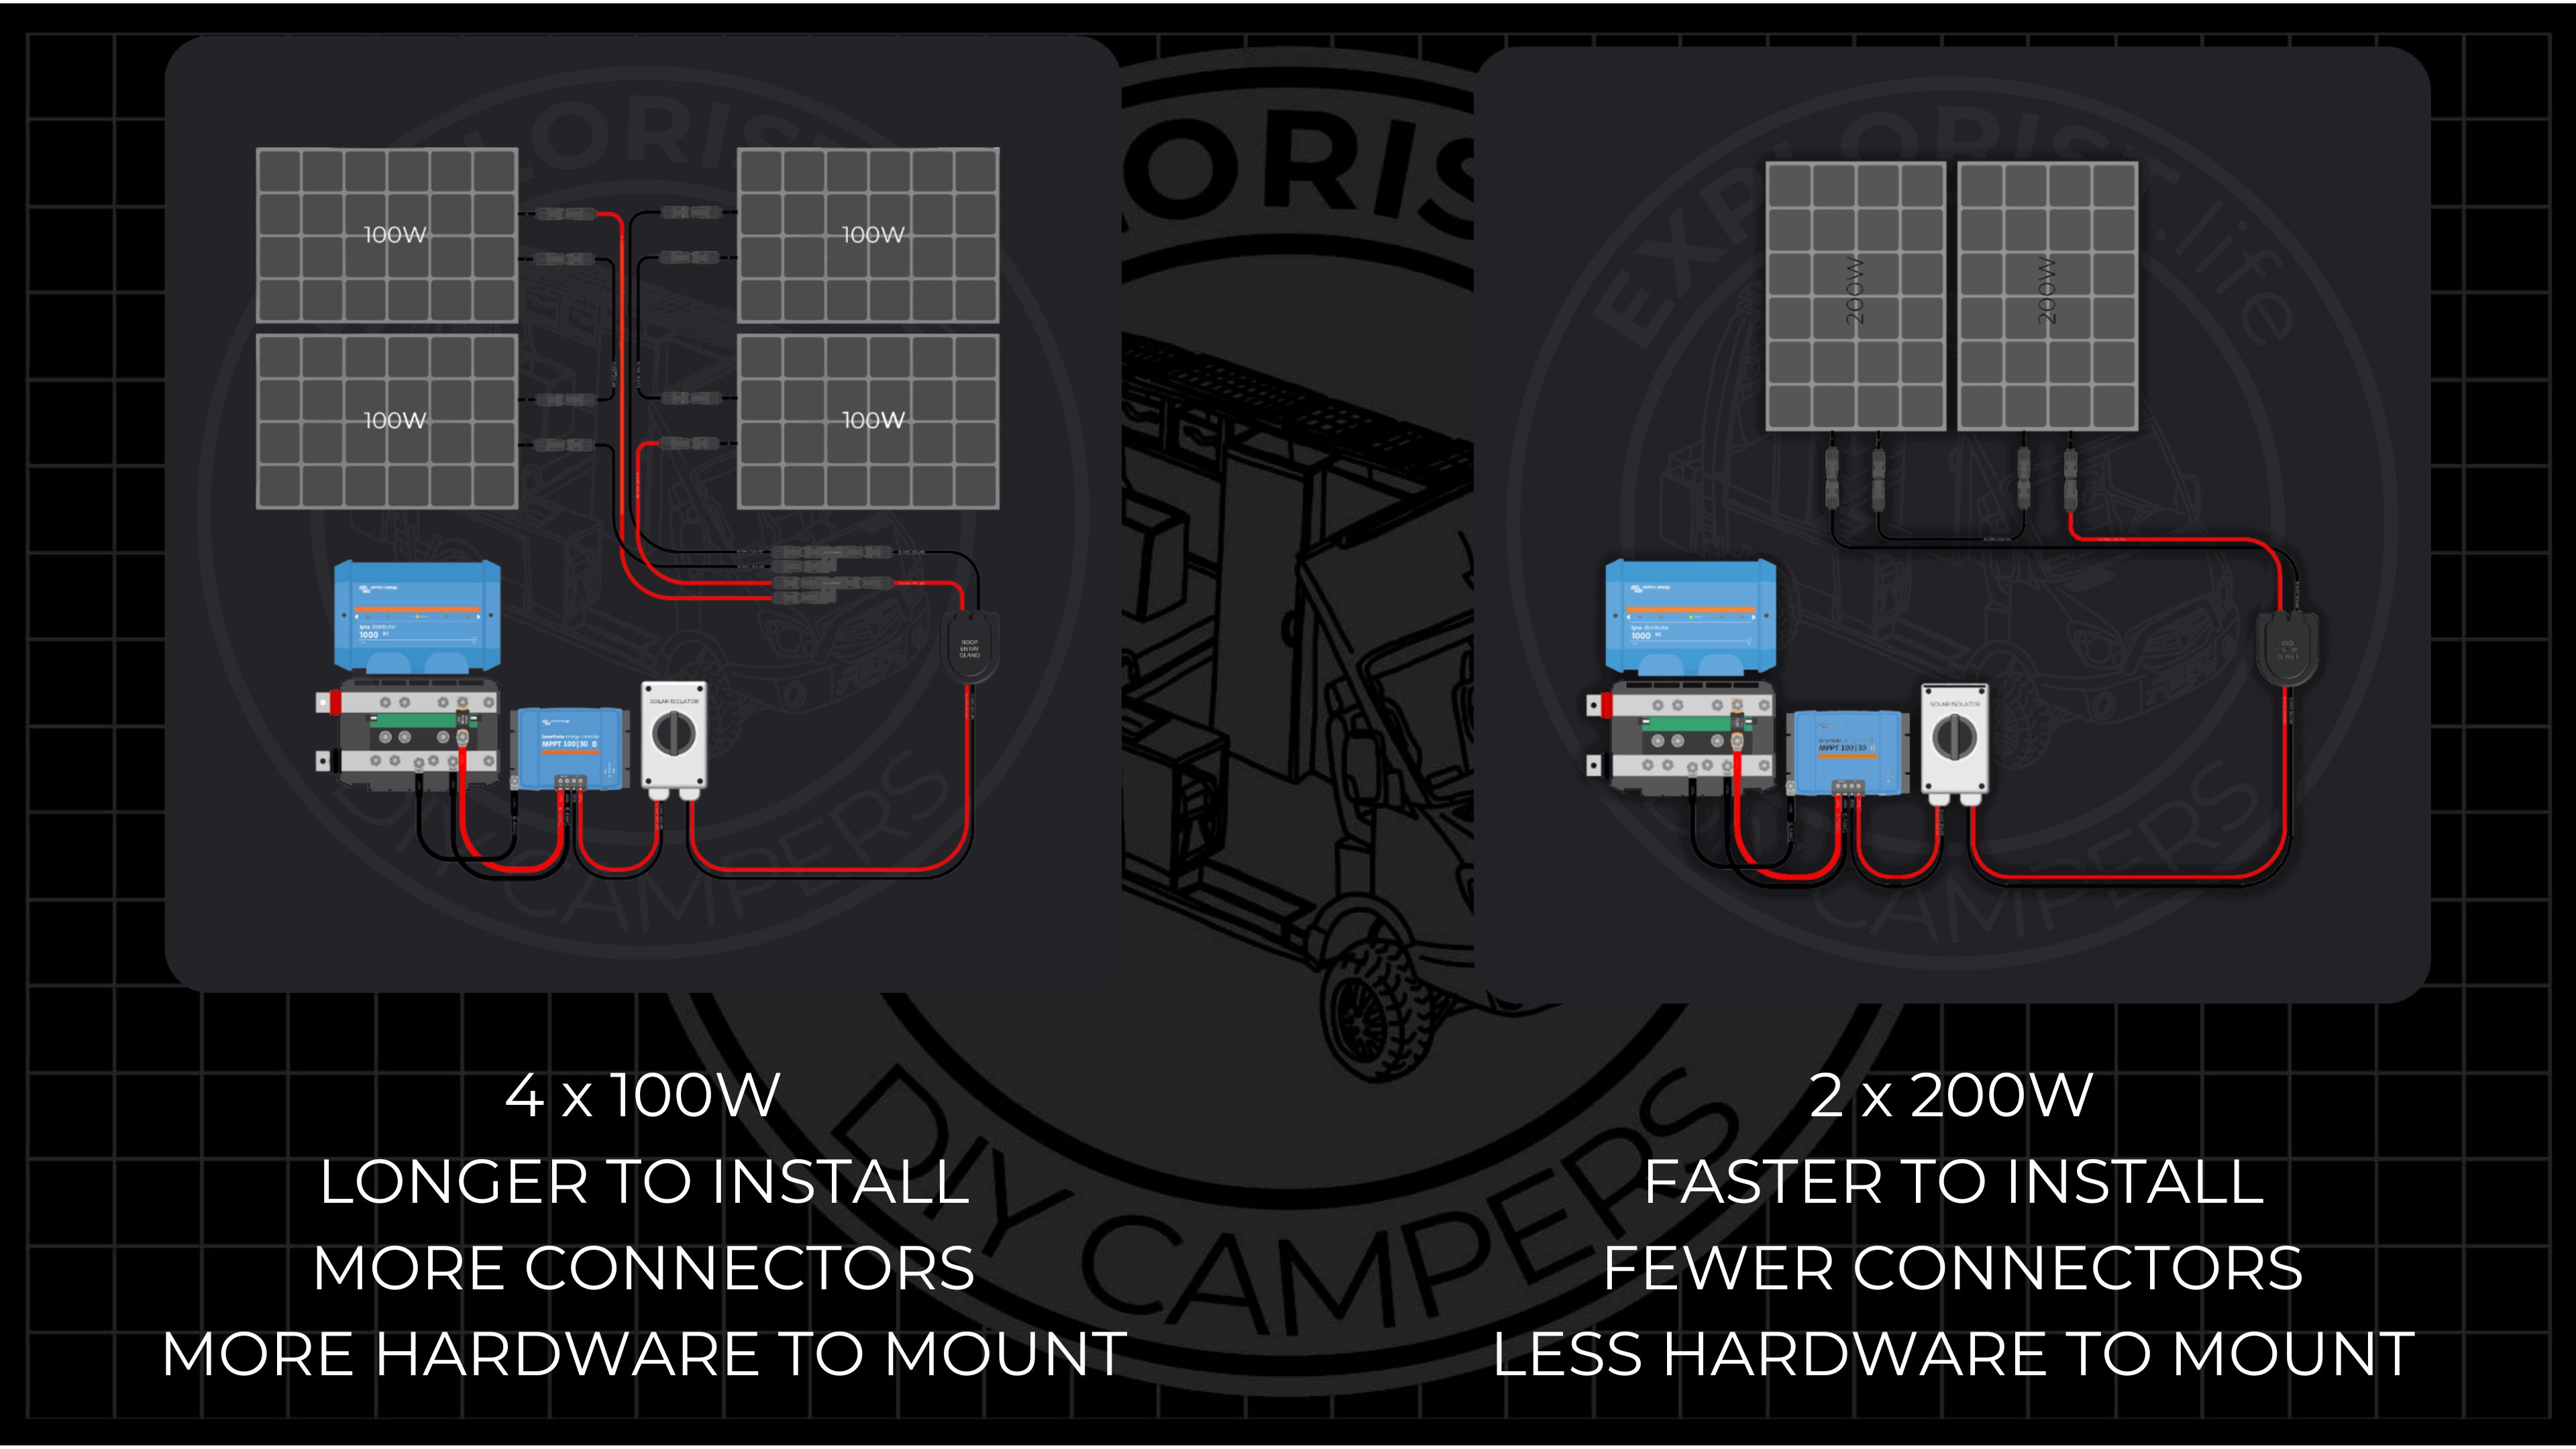
Similar to batteries, if you opt to use larger but fewer solar panels, it may save you some money. For example, A 200w solar panel from Rich Solar is twice as expensive as a 100w solar panel with shipping included, so dollar-per-watt, it doesn’t matter, but it takes twice as many mounting brackets and screws to mount the smaller panels, which adds up. Plus, if you put a dollar amount on your time, installing twice as many smaller panels will take you twice as long as installing fewer, larger panels for the same power output.
Advertisement:
Pre-Plan Your Solar Array
If you have a 300-400Ah battery bank, you should aim for about 6-800W of solar if you have the room. There is only one way to wire 7x 100w solar panels to deliver adequate voltage to the charge controller, and that one way will climb to over 150V, which requires a charge controller capable of handling such high voltages.
If you opt for more power at 800w, you can use 4x 200w panels, which will have slightly lower solar array voltage but still adequate for the MPPT charge controller, which will result in a lower voltage charge controller being able to be used, which saves money.
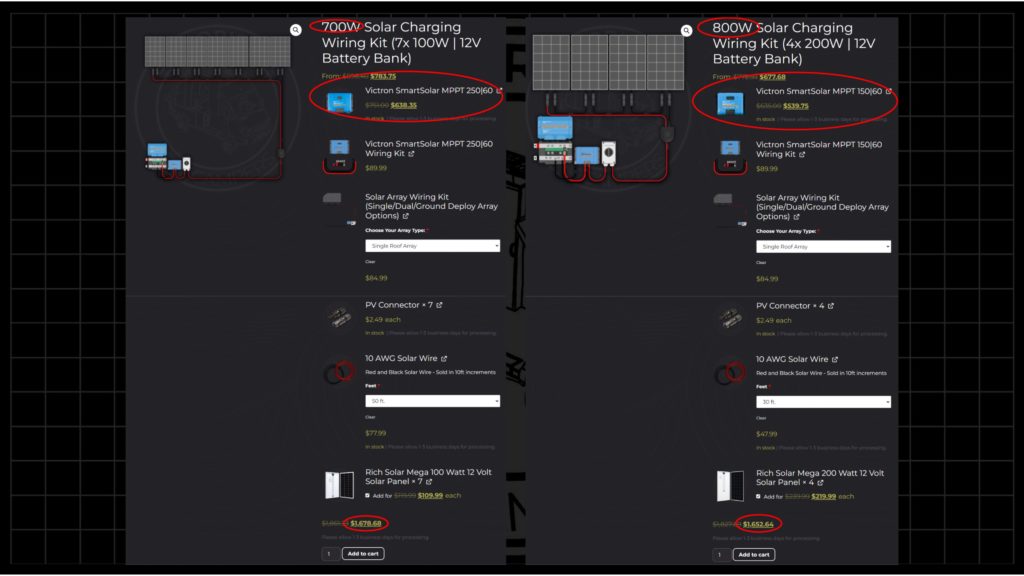
Opting for 800W over 700W in this scenario would save $25, AND you’d have more power coming from the array.
Advertisement:
Consider a Higher Voltage System
A higher voltage system lowers the amperage for components with the same wattage output. For example, the 12V 3kVA Victron Multiplus requires 4/0 wire, and the 24V 3kVA Multiplus requires 1/0 wire, which is nearly half the price.
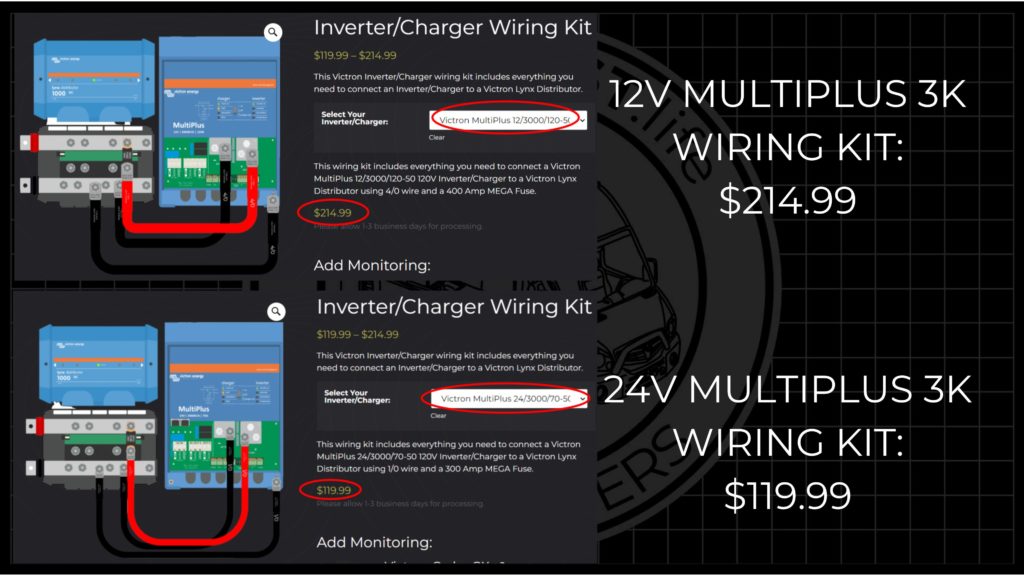
Alternatively, if you have an adequately sized battery bank, you can get more bang for your buck by going with a 24V system over a 12V system. For example:
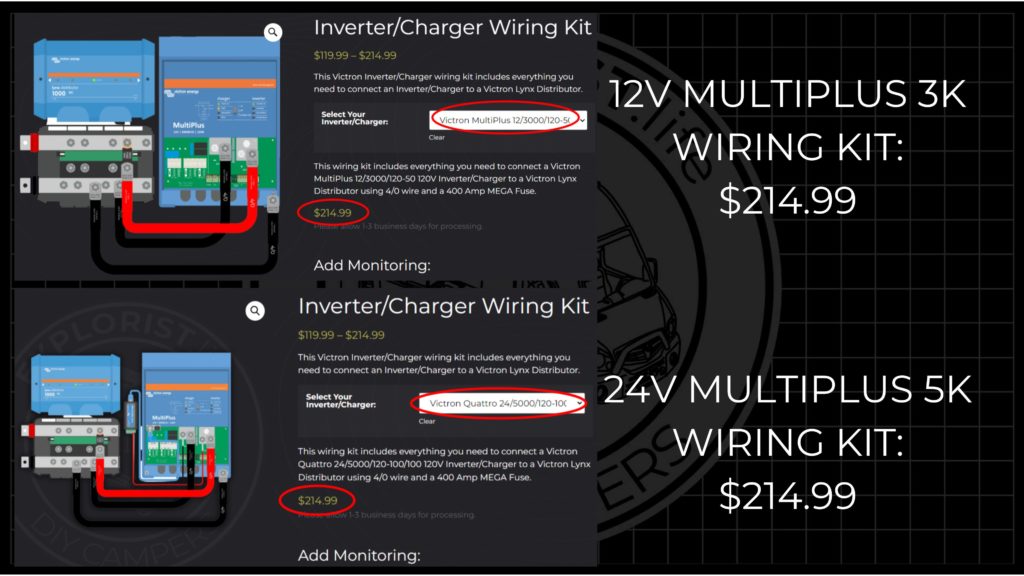
Both the 12V 3kVA Multiplus and the 24V 5kVA Quattro call for 4/0 wire in their user manual, so you are getting more inverter output capacity with the same wire size since the higher voltage of the 24V system lowers the amperage of the 5kVA output to near what the 12V 3kVA output would be. (Note: You need twice as much minimum battery bank capacity to power the Multiplus 5k over the 3k – 400Ah @ 12V for the 3k and 400Ah @ 24V (800Ah @ 12V Equivalent) for the 5k)
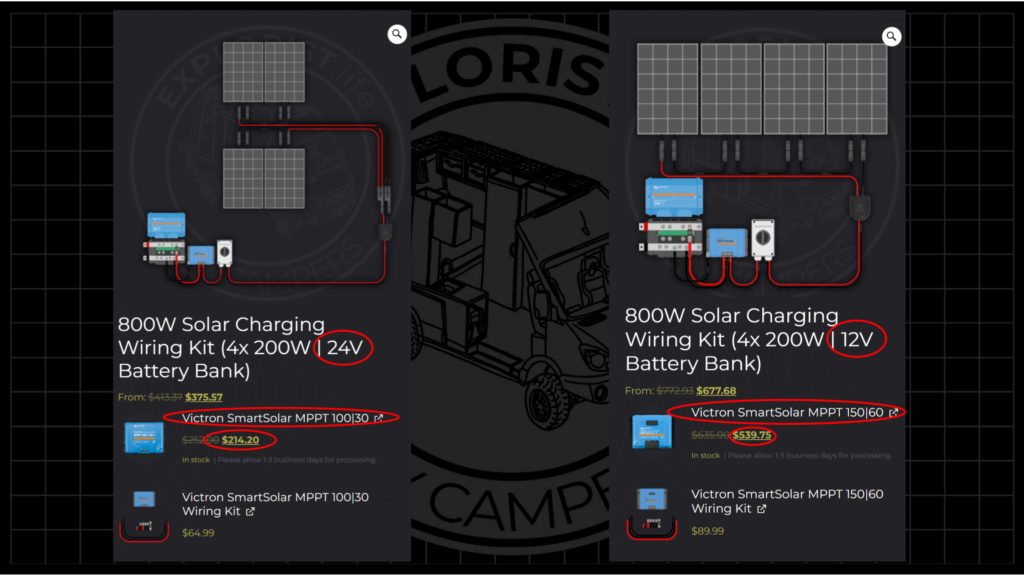
Similarly, with solar arrays, choosing a 24V system over a 12V system results in a smaller charge controller being able to be used for the same wattage output since the (Watts / Volts = Amps) amperage is lower as the voltage climbs for the same wattage:
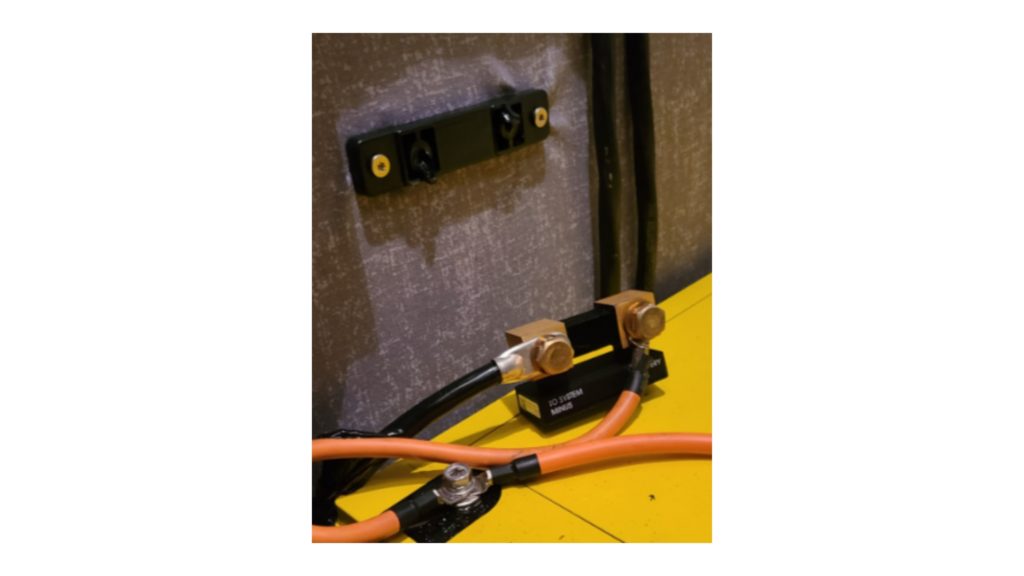
Now, 12V systems are the simplest to understand, so if it is the first off-grid electrical system you’ve ever built, I still strongly recommend 12V systems because the fastest way to blow the budget on your build is to make a mistake and wire something incorrectly, for example: This is the result of somebody running 12V components from wires sized for a 24V system, which got very expensive in a hurry:
Advertisement:
24V System VS 12V Camper Electrical System Price?
A 24V system, apples to apples, will be less expensive than a 12V system due to the smaller wires and smaller charge controller we can use; but it’s not going to be a life-changing amount. Likely a couple hundred dollars. For example, consider these two similarly equipped systems:
- 12V System:
- 24V System:
- EXPLORIST.life 1200W Solar Charging Wiring Kit for 24V Battery Bank – $1,918.99
- 6x Battle Born 12V 100Ah Batteries (Use code ‘explorist’ for $50 off per battery) – $5,250.00
- (These would be wired in series-parallel to form a 24V battery bank.)
- Total: $10,367.19
So, in this very popular system, the difference in it being 24V vs 12V is a difference of about $800, or 7% savings.
The price differences will get exponentially bigger for larger solar arrays where 2nd or additional charge controllers would be needed.
Advertisement:
What about 48V Systems?
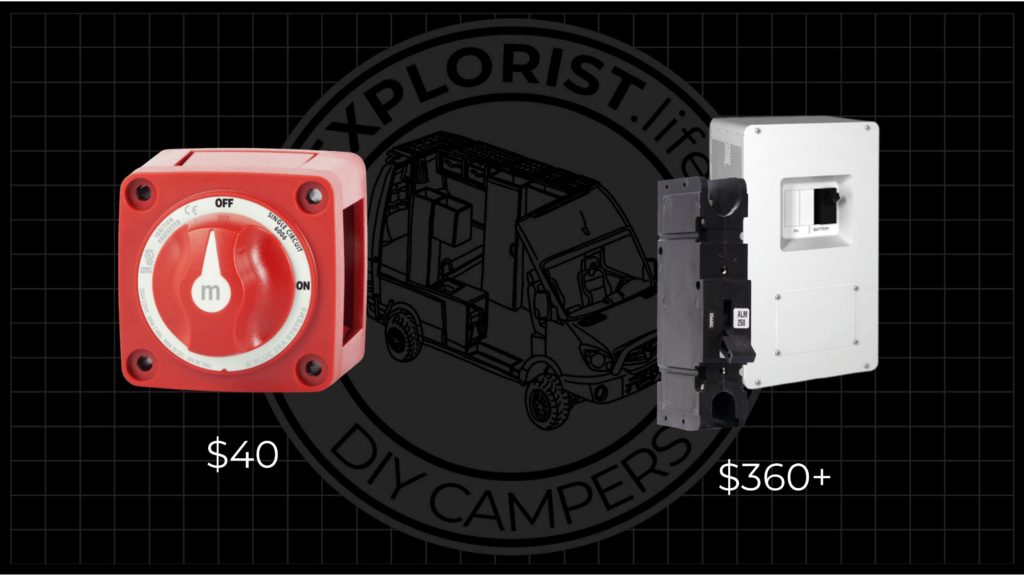
The same concepts are true, but as of today, 48V switches and fuses are more expensive and harder to come by. For example, the ever-popular $40 Blue Sea Master Battery Switch is not rated for the 58V it takes to charge a 48V battery bank. Instead, we have to use DC breakers and box, which cost in the ‘hundreds’ of dollars range depending on how many batteries are added.
Keep your eyes peeled on https://shop.explorist.life for 48V camper electrical systems in the future.
In summary, choosing no-name brand components to save costs in a camper electrical system often leads to quality and warranty issues. In this blog post, we’ve highlighted strategic ways to reduce expenses without compromising quality. By being realistic about power needs, using fewer batteries, opting for larger solar panels, pre-planning your solar array, and considering a higher voltage system, you can achieve cost savings while maintaining reliability. The choice between 12V and 24V systems may result in modest cost differences, so evaluate your specific needs. Ultimately, investing in a well-designed, high-quality system is a wise choice for reliable power during your adventures.
