

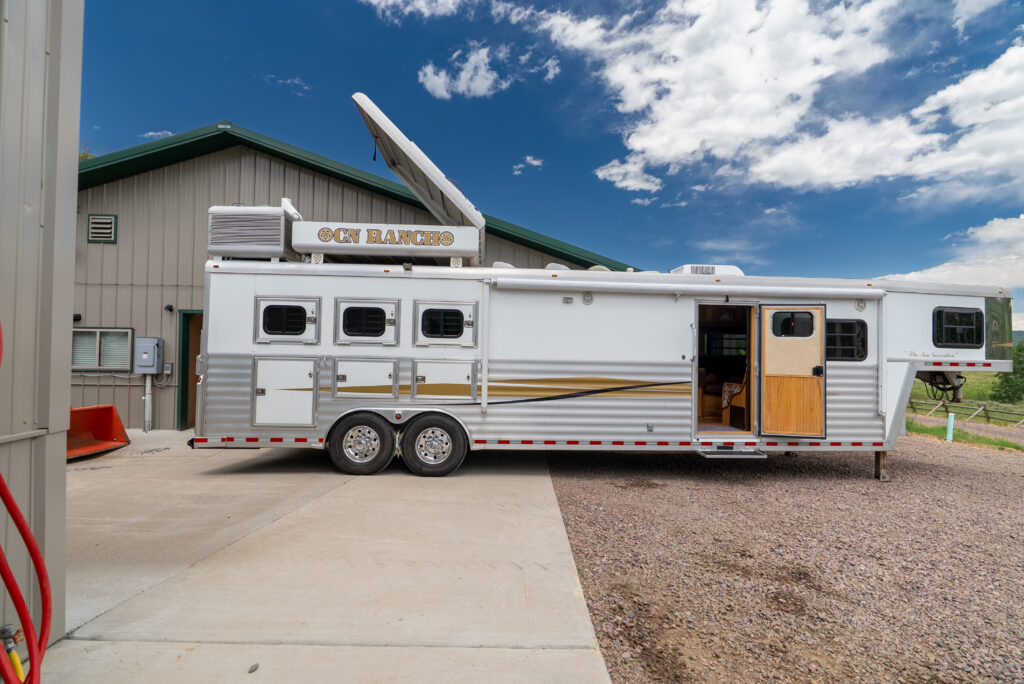
If you’ve ever spent time camping or traveling with a living-quarters horse trailer, you know how quickly traditional lead-acid batteries fall short. Lights dim, fans slow down, and the generator ends up doing most of the heavy lifting. Today, we are going to cover how we upgraded our neighbors’ living quarters horse trailer to a modern, reliable, lithium-powered system—complete with 400 watts of solar, a 314Ah SOK lithium battery, and generator/shore-power charging.
Upgrading a Living Quarters Horse Trailer With Lithium Power! (400W Solar + SOK Battery Install) – VIDEO

The Power Upgrade Plan
This trailer came equipped with two worn-out lead-acid batteries that could barely power lights, fans, or the fridge without constant generator use. The goal of the upgrade was straightforward:
- Replace the weak battery bank with a high-capacity 314Ah SOK lithium battery
- Add 400 watts of solar to maintain battery charge throughout the day
- Integrate generator & shore-power charging through a lithium-compatible charger
- Retain the trailer’s simplicity—air conditioning still runs off the generator, but all DC loads move to long-lasting lithium power
This system would provide essentially indefinite power for the trailer’s 12-volt lights, fans, water pump, and fridge components.
What We Installed
Here’s a quick overview of the components that went into the build:
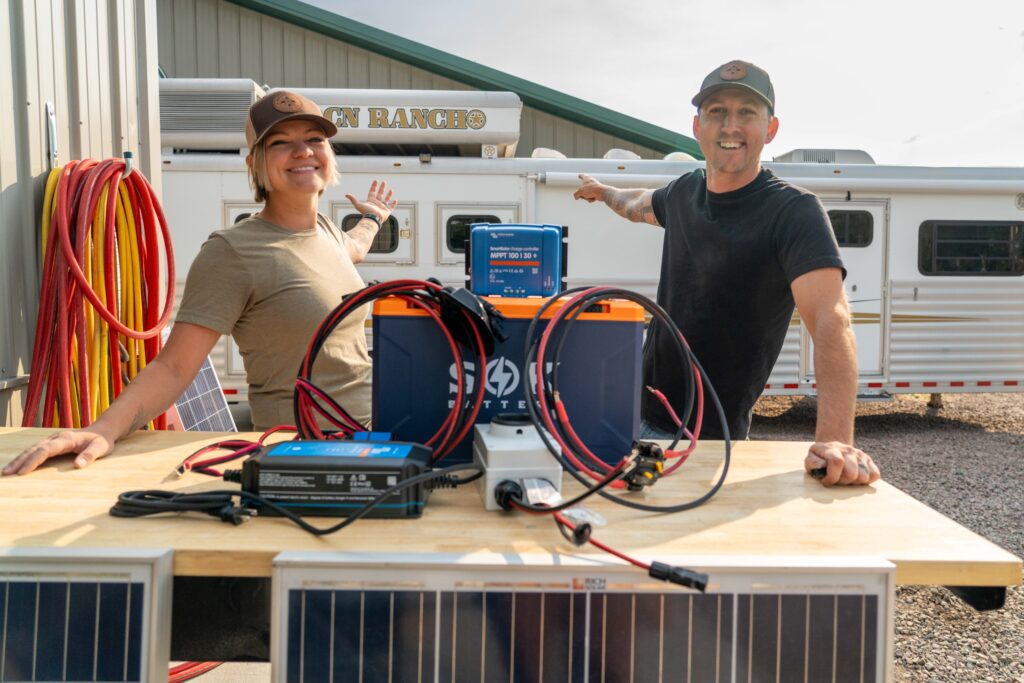
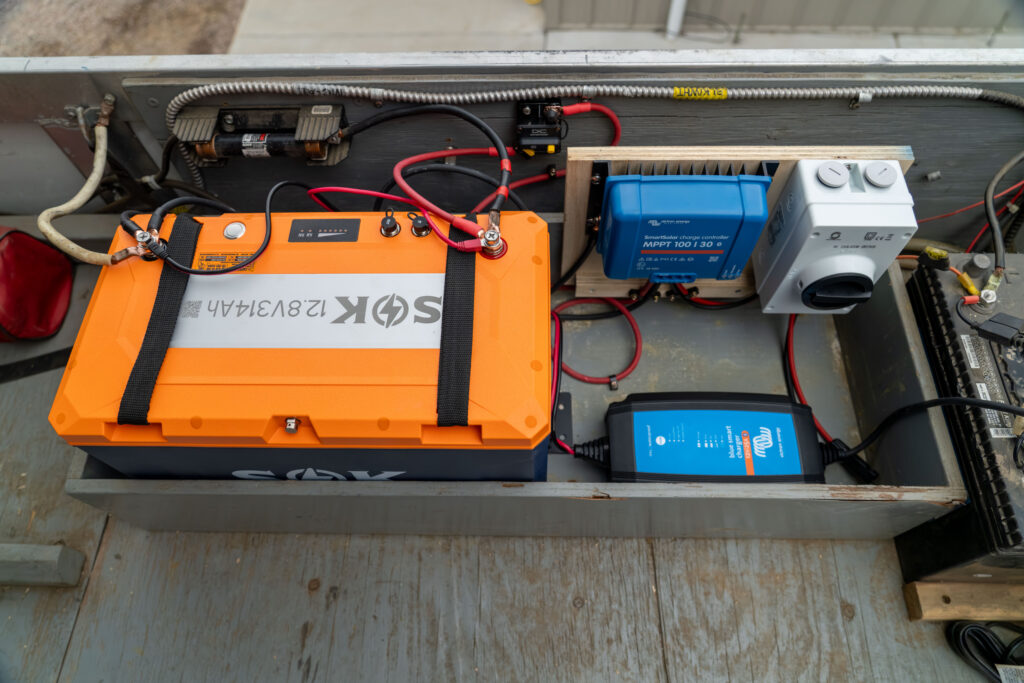
🔋 314Ah SOK Lithium Battery
A major capacity upgrade that replaced two aging lead-acid batteries. With nearly 100% usable capacity, this single SOK battery offers several times more runtime.
☀️ 400 Watts of Solar (4 × 100W Panels)
Mounted directly on top of the battery compartment using rivets and Loctite sealant for a clean, leak-proof installation.
⚡ Victron SmartSolar MPPT 100/30
This charge controller regulates solar input, converting roughly 60V coming from the series-parallel solar array down to the 14.4V needed to charge the lithium battery.
🔌 Victron Blue Smart Charger
A lithium-compatible shore/generator charger. Rather than replacing the factory converter inside the trailer, we kept things simple and mounted this charger directly beside the battery box—plugging into an existing 120V outlet.
🧰 Preassembled Solar & Battery Wiring Kits (from shop.EXPLORIST.life)
Pre-cut, pre-crimped wiring harnesses made the install faster, cleaner, and more reliable.
Understanding the Factory Trailer Wiring
Before installing anything new, we mapped out how the trailer was originally wired:
- Shore power and generator feed into a transfer switch
- That switch feeds a breaker panel inside the living quarters
- One of those circuits powers a 120V outlet near the battery box
- That outlet originally charged the generator’s small starting battery
Instead of replacing the converter inside the living quarters, we simply plugged the Victron Blue Smart Charger into this same outlet to charge the new lithium house battery. This made the entire system simple, clean, and efficient.
Installation Overview
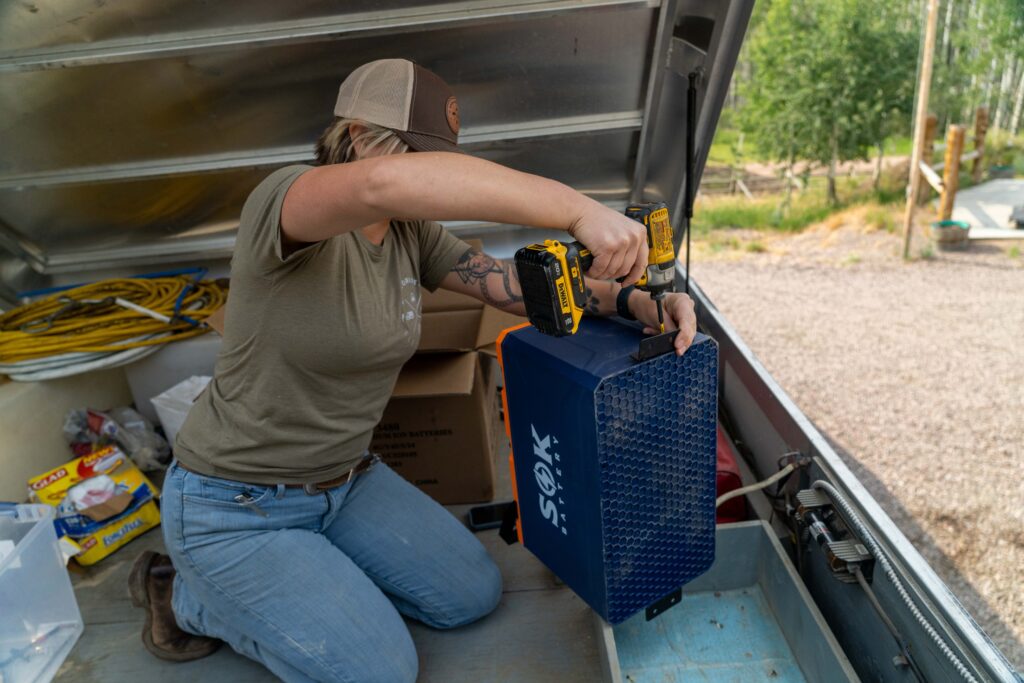
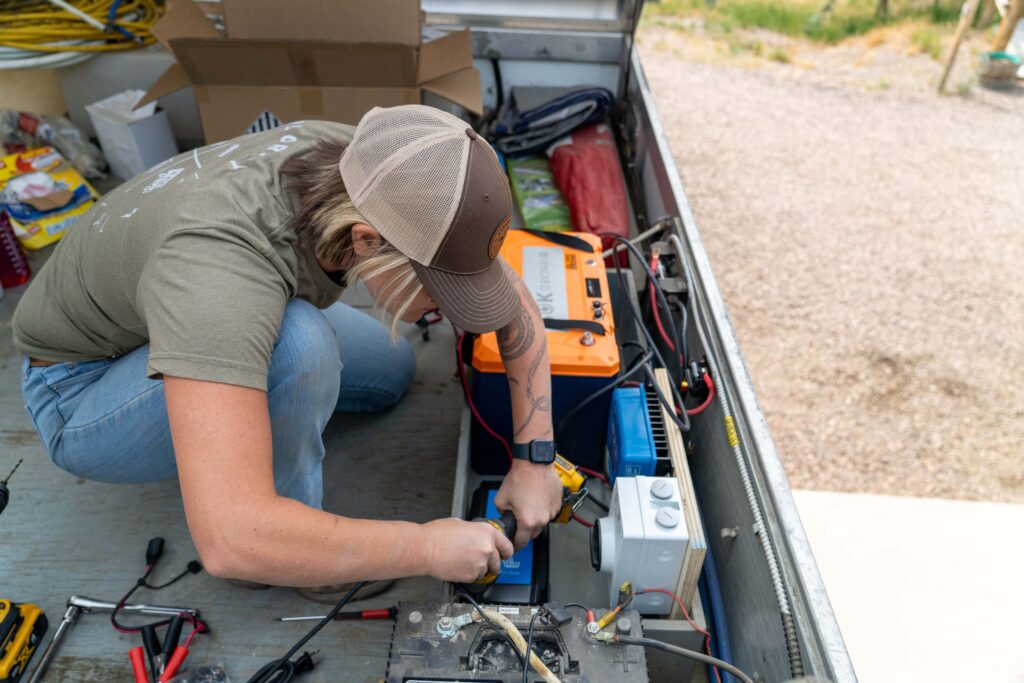
1. Removing Old Batteries & Prepping the Compartment
We removed the old battery bank, cleaned all grounding and positive lugs, and set the SOK battery into place using the included mounting brackets.
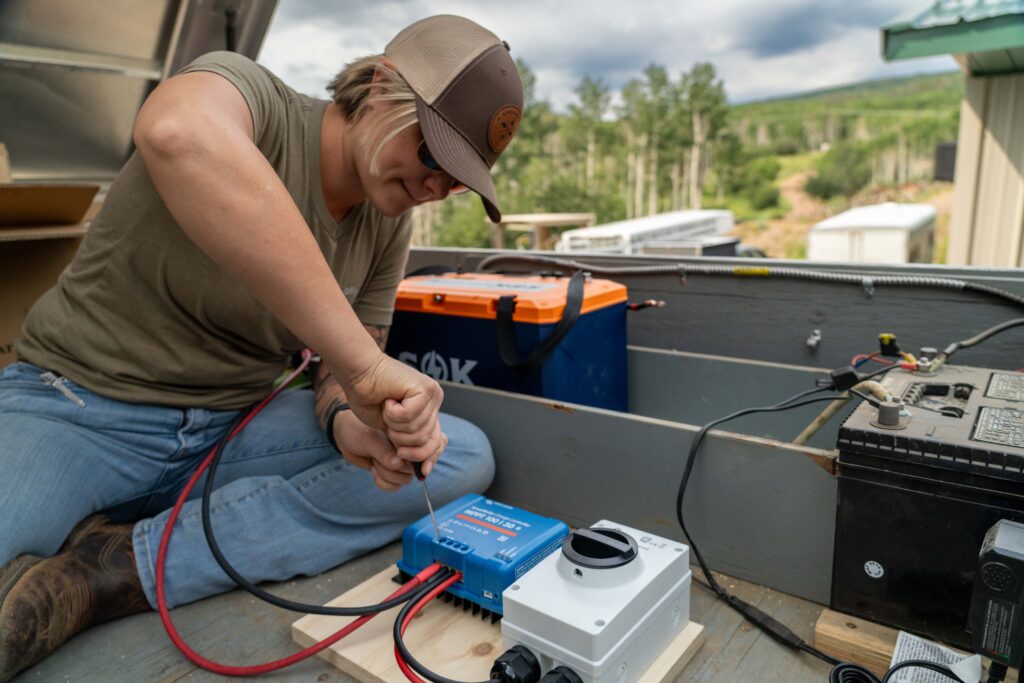
2. Building a Compact Charging Panel
A small plywood backer board holds:
- The Victron MPPT charge controller
- The solar isolator switch

This backer board was installed inside the battery compartment for easy access and tidy wiring.
3. Wiring the Solar Controller & Battery
Using the preassembled battery/solar wiring kits:
- Solar PV wires run into the charge controller
- Battery positive/negative connect to the controller
- Equipment ground ties into the battery negative
Everything remains color-coded, clean, and properly fused.
4. Installing the Blue Smart Charger
We mounted the charger next to the battery and plugged it into the existing outlet powered by generator or shore power. Its DC output connects straight to the battery terminals using the provided lugs.
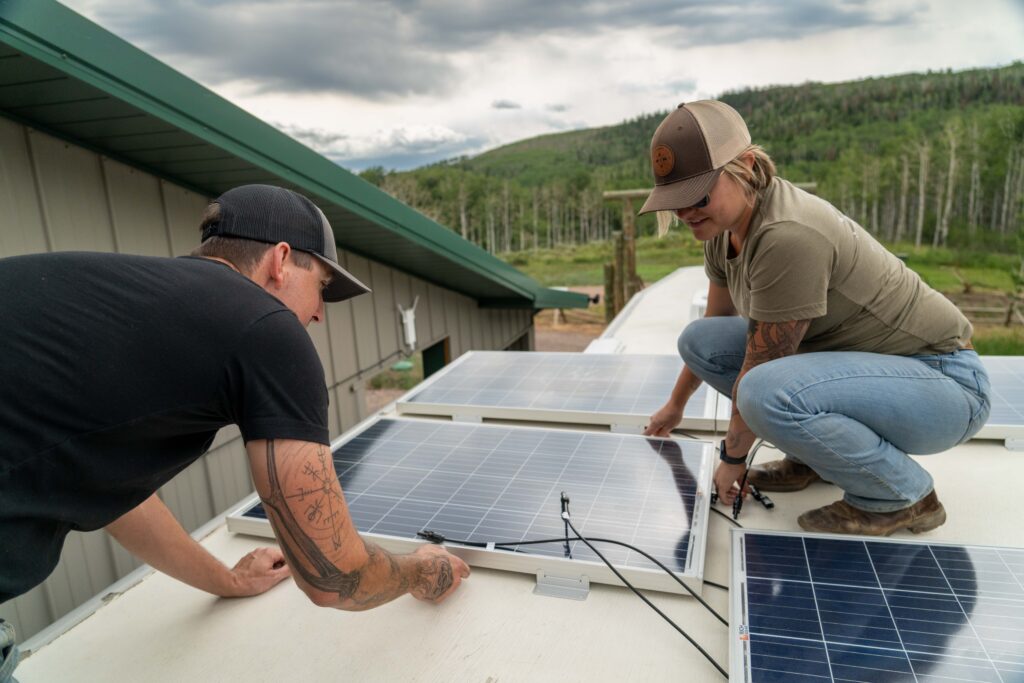
5. Mounting & Wiring the Solar Panels
We drilled the roof penetration, installed a weather-sealed entry gland, and mounted the solar panels using rivets to avoid sharp screw points underneath.
The array was wired in a series-parallel configuration to keep voltage under the MPPT’s 100V maximum while maximizing efficiency on long wire runs.
6. Programming the Charging Equipment
Both the MPPT and Blue Smart Charger were programmed via Bluetooth to match SOK’s recommended lithium charging parameters.
7. System Test & Inside Walkthrough
Once powered on:
- Solar began charging at ~75 watts during setup
- The Blue Smart Charger delivered ~25 amps from shore power
- The SOK battery app confirmed combined charging around 41 amps
Inside the trailer, all lights, fans, and DC loads worked flawlessly—with dramatically increased runtime.
Performance Expectations
With 314Ah of lithium and 400W of solar:
- Lights and fans can run essentially forever
- The fridge’s 12V components run reliably when boondocking
- The generator only needs to run for AC use or extended cloudy weather
- On the road, solar provides more charging than the trailer’s 7-pin tow connector would anyway
This is a huge quality-of-life upgrade for anyone using a living quarters horse trailer.
Final Thoughts
This install was designed to be a simple, reliable, efficient power upgrade—ideal for fairgrounds, rodeo circuits, and off-grid camping. With the new lithium battery and solar array, our neighbors can keep their trailer powered for days on end without firing up the generator unless they want air conditioning.
If you want to build this same setup, we now offer the full package—including all wiring harnesses—as the 400W Solar Charging Starter Kit at shop.EXPLORIST.life.
Let us know if you’d like a diagram, parts list, or installation guide—we’re here to help you power your adventures!