
Removing the headliner and shelf is an important step in a DIY Camper van conversion so you can access behind the headliner for insulation and sound dampening. Here’s how we did it.
Video – Removing the Headliner & Shelf in a 2021 Ford Transit
Tools Needed:
Remove Visors
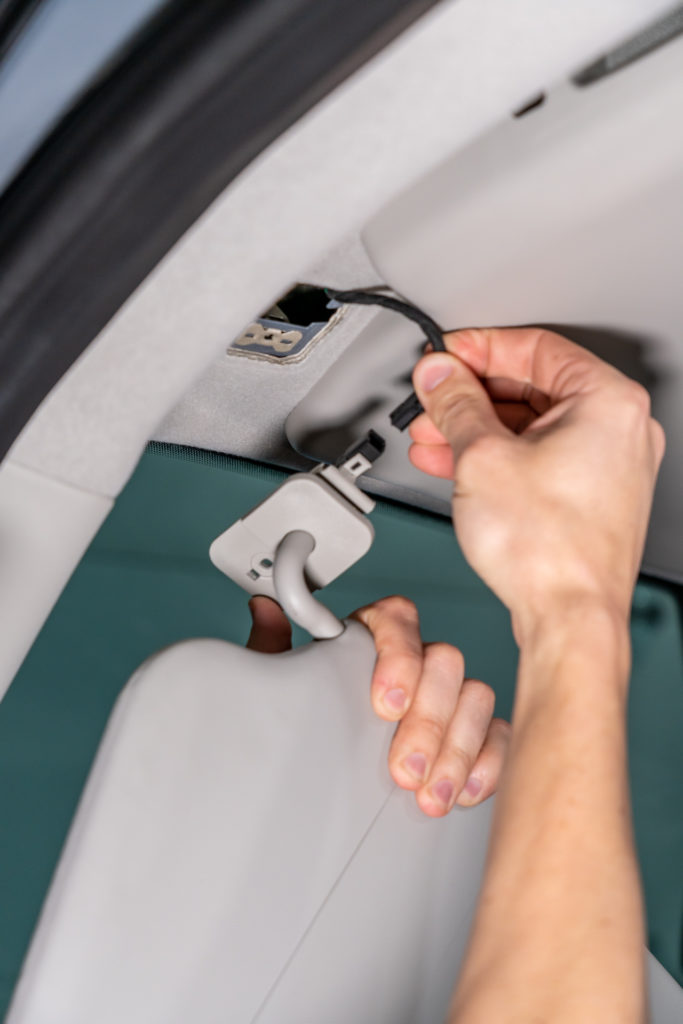
Remove both the driver side and passenger side visors by inserting a small pry tool into the slot on the front of the Visor pivot cover and remove the screw holding the visor to the headliner.
Unclip the wires connecting the visor to the headliner. These are powering the lights on the lighted visor mirrors.
Remove the Dome Light Console
Use a pry tool on either side of the Dome Light Console to pivot it down to expose the wiring inside and disconnect all electrical clips inside that have wires leading to inside the headliner. Remove the dome light console.
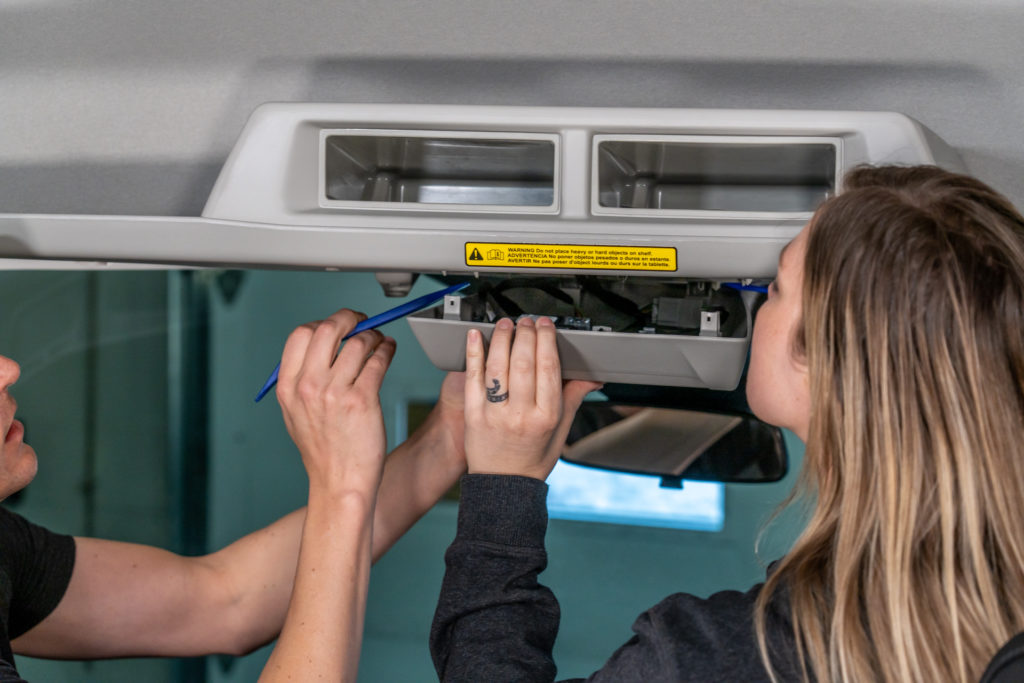
Remove Screw Under Dome Light Console
There is a screw in the hole exposed by removing the dome light console. Remove this screw using a 9/32″ Socket and Ratchet.
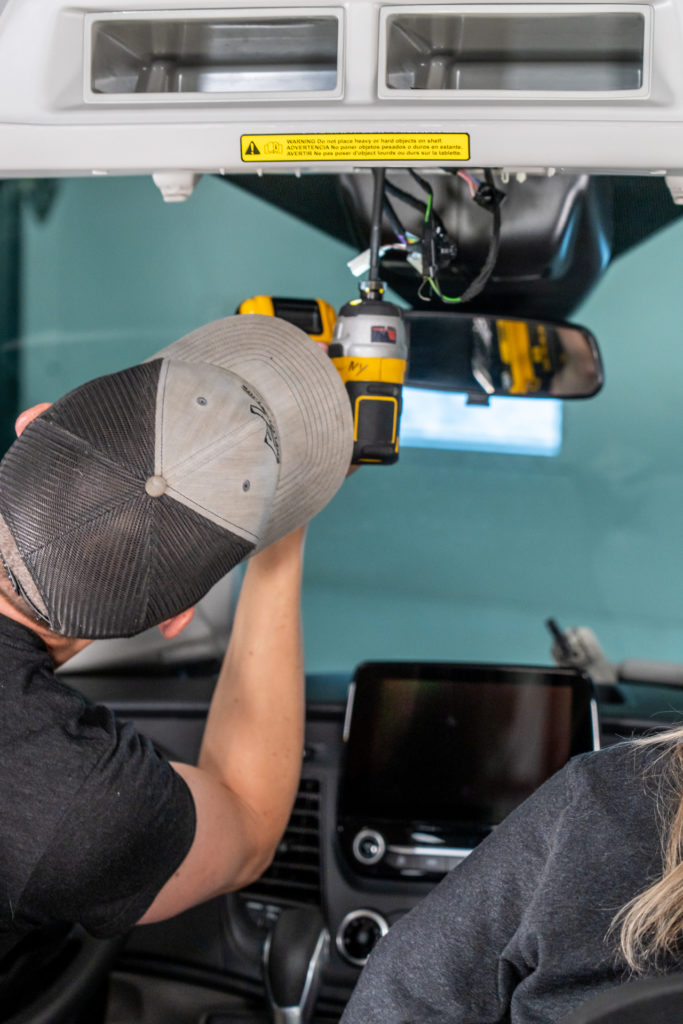
Remove Screws from Sides of Shelf
Remove the two pairs of screws from each side of the headliner shelf using a 9/32″ socket and ratchet on the smaller screw, and a 5/16″ socket and ratchet on the larger screw.
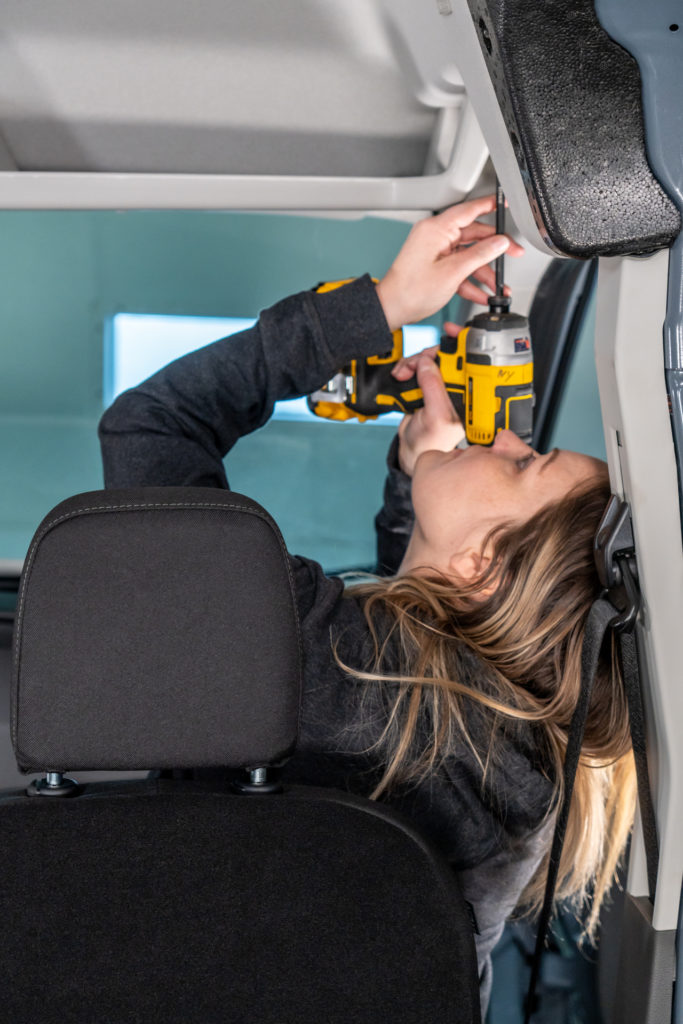
Remove the 4x Screws from the Front of the Shelf
Using a pry tool and a ton of persistence, remove the 4x round screw covers along the front of the headliner shelf and then remove the 4x screws with a 9/32″ socket and ratchet.
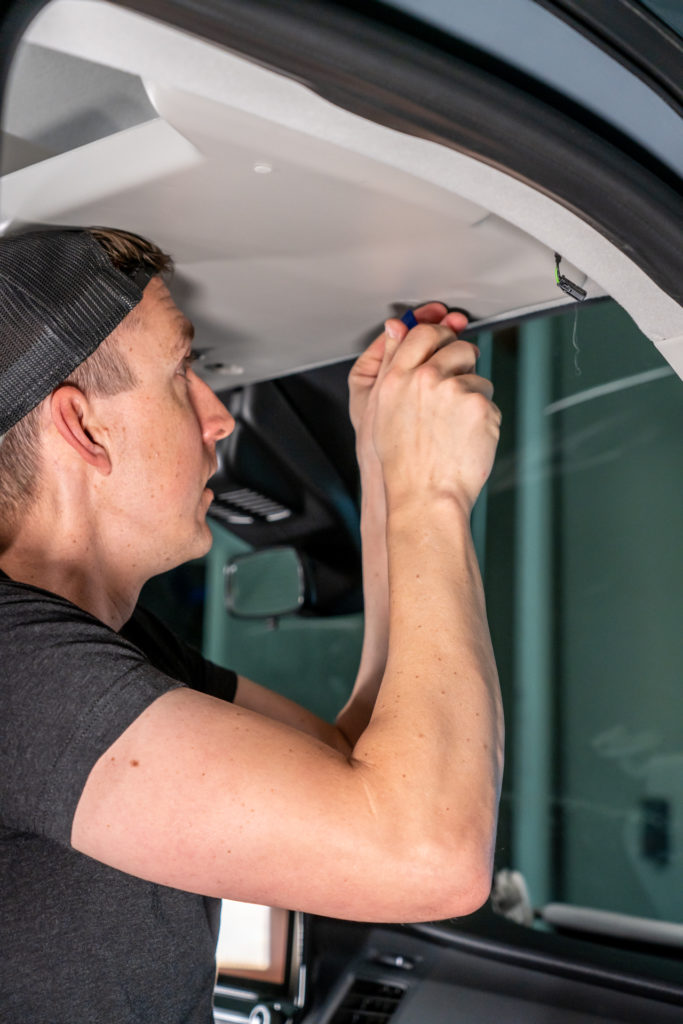
Remove the Headliner Shelf
The Headliner Shelf should be free at this point and able to easily remove.
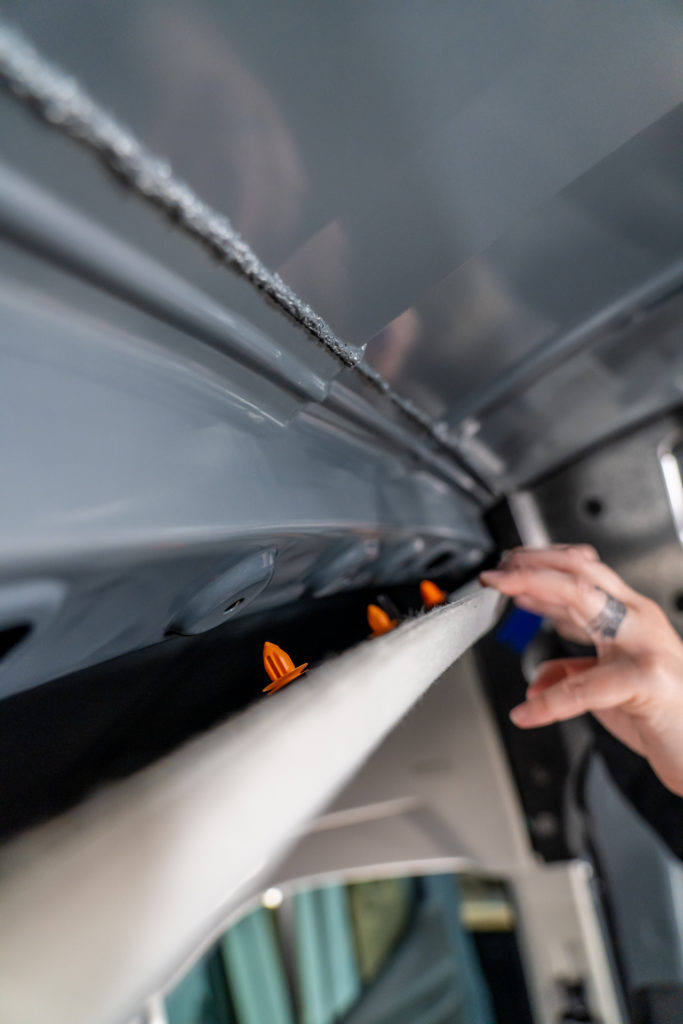
Remove the Four Headliner Trim Clips
Remove the three trim clips on the rear-top of the headliner and the front center (inside the dome light console hole) with a pry tool.
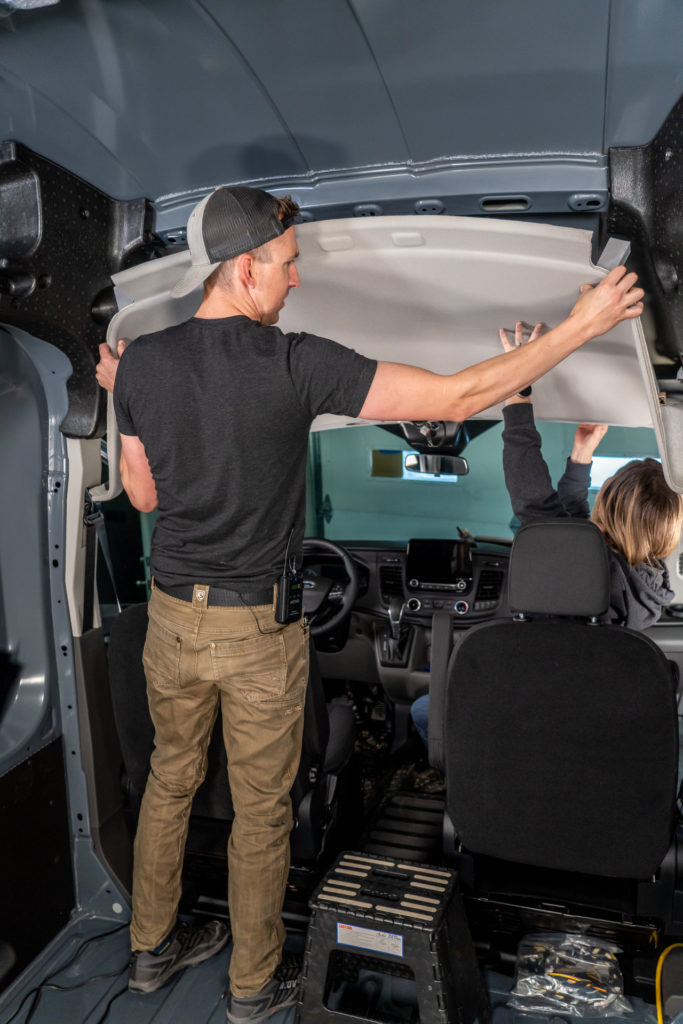
Remove the Headliner
Now that all wires and trim clips are free, simply remove the headliner taking care to not bend and crease it.

One Response
Hi Nate, I have a quick question. On you wire diagram page you have a link to older diagrams but the link does not work. About 2+ years ago I looked and downloaded a wiring diagram with 350W Solar, 3000 Inverter and 200 Litho Amp Batteries. Would u be so kind to see if you could reestablish the link? Thank you very much in advance.