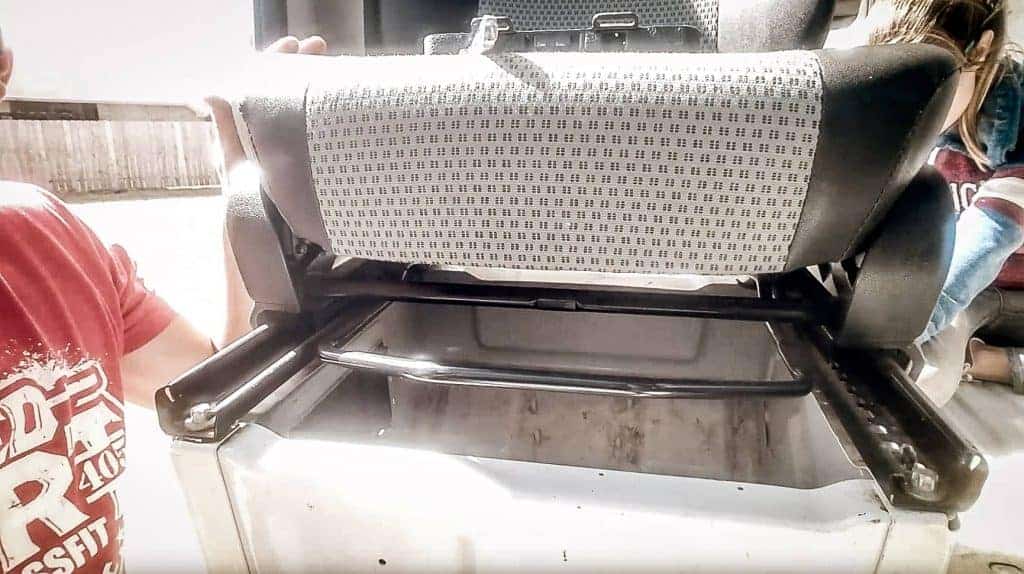
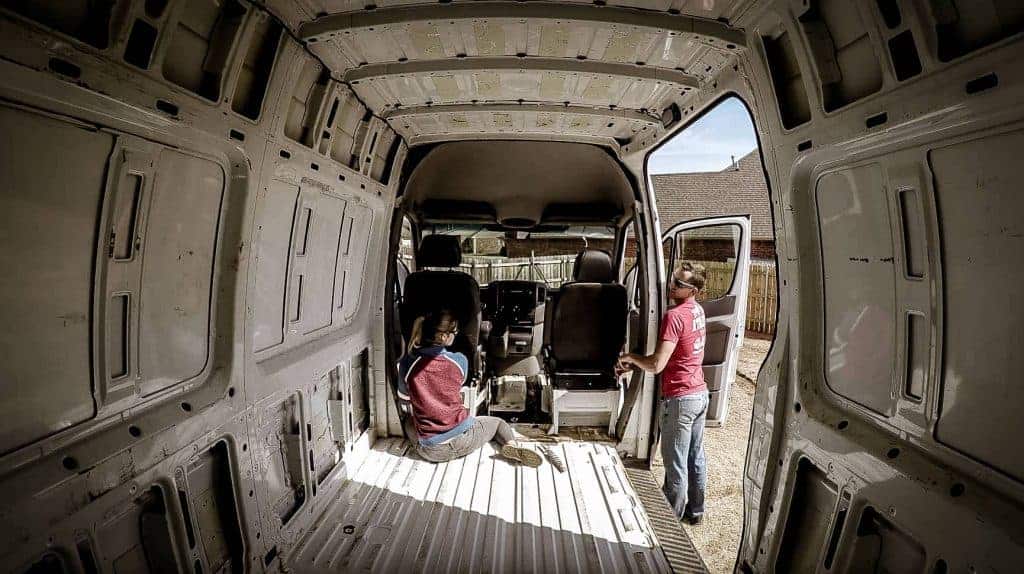
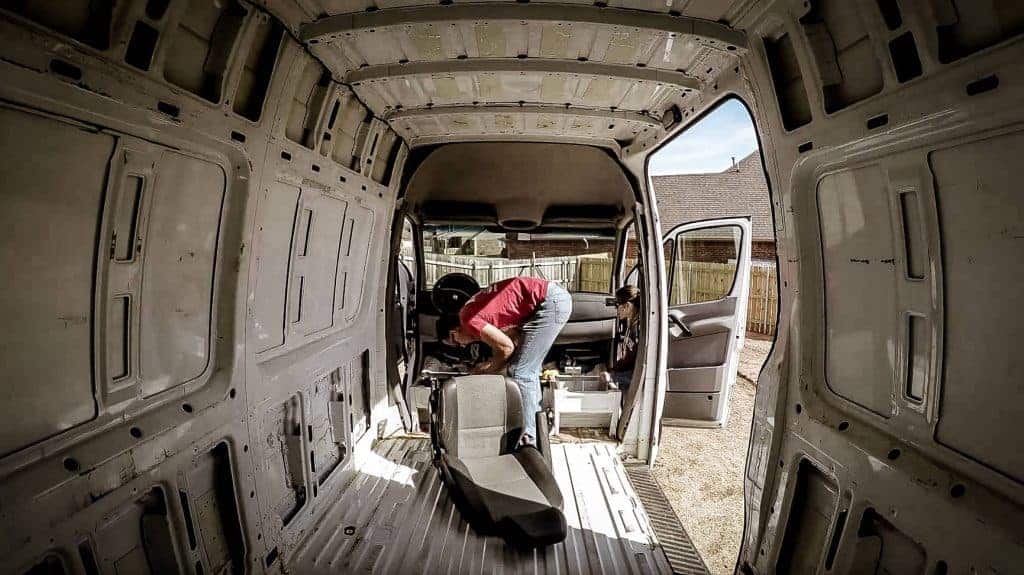
We needed to clean underneath the seats as well as install swivel-seats, so they needed to go… but only for a while…
Removing the seats in our Mercedes Sprinter was a pretty straightforward process, honestly, and fortunately had nothing that was exciting about it.
Tools/Items You Will Need
STEP BY STEP… LET’S GO
Removing the seats vs removing the pedestals: We chose to just remove the seats rather than the pedestals. Under the drivers seat, there are a fair amount of electronics that are connected to the pedestals that we did not need to remove. Removing the seats allowed us to access the areas we needed to clean just fine.

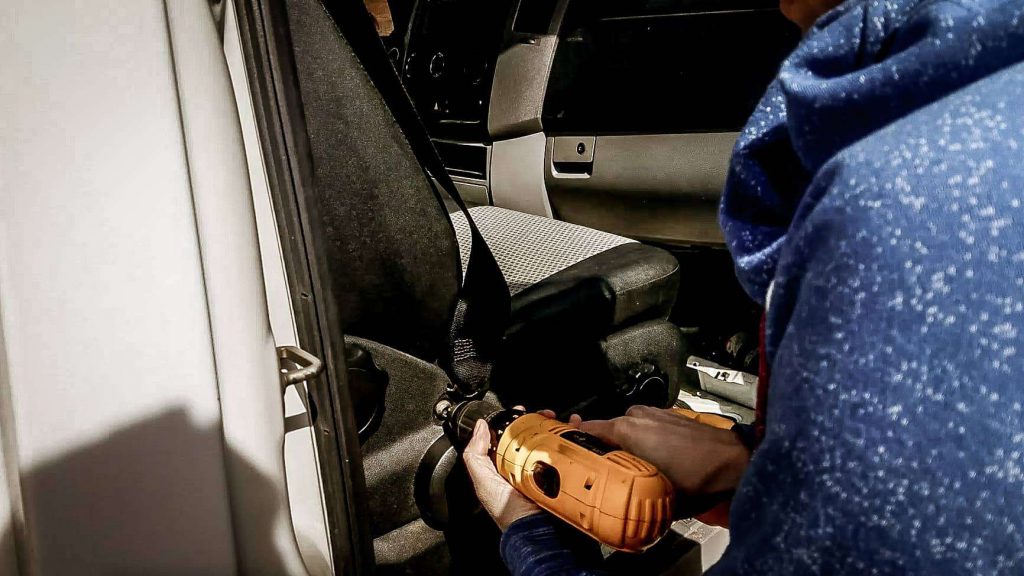
Remove the 4 bolts that connect the base of the seat to the pedestal. You will need a Torx bit and drill or a Torx key to remove these.

Remove the bolt that connects the seat belt to the seat. This also requires the aforementioned Torx bit.

Disconnect the seat belt safety wire (drivers side only): Press the side of the clip, wiggle, and pull. Grunt a little if it’s not coming loose. That usually does the trick.
Stay Organized! A little time organizing now will save you time and money down the road. Put all of the bolts into a baggie labled “Seats” and zip tie them to the seats or put the bag in a box specifically for storing all of the hardware for the built.


One Response
4.5